
PATCH NOTES
- Added a workshop mission scenario editor where players can create custom scenarios for other players to play - Added manage mods section in the workshop editor to allow players to control which mods are enabled & in which version - Added scenarios section in the main menu containing the scenarios created by other players. - Known issues: for now the Italy DLC faction should for not be used in the workshop editor. Hey, this short guide will show you how to create a custom mission scenarios that you can upload to Steam Workshop and share with other players.SCENARIO MISSION GUIDE
Creating new scenarios 1. To create a new mission scenario first go to “Workshop” in the main menu. 2. Then select “Edit scenarios” 3. You will be presented with a list of scenarios that you created. Initially that list will be empty. Click the “Create new” button at the bottom. 4. You will be prompted to enter the Steam workshop mod name. This name will be the one visible on the Steam Workshop page. NOTE: this name cannot be changed later, so pick wisely.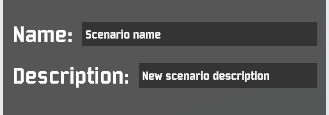 5. Next up, assign Scenario name & description:
6. After that, it’s time to create some missions. Use “Add” button in the middle column to add new missions.
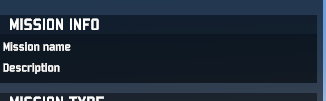
7. Choose mission name & description at the top of the right panel:
5. Next up, assign Scenario name & description:
6. After that, it’s time to create some missions. Use “Add” button in the middle column to add new missions.
7. Choose mission name & description at the top of the right panel:
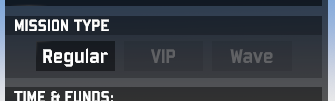
 8. When a new mission is created, you can configure its various parameters the way you would in Sandbox. Additionally, it’s also possible to create VIP-protect & VIP-kill missions as well as Wave survival missions:
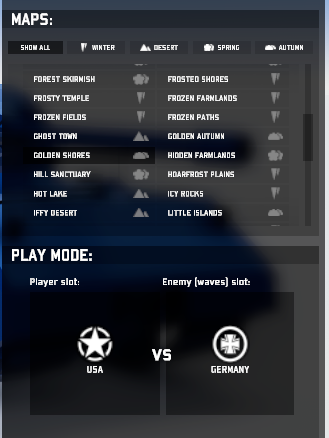
 9. Select the remaining options such as the map, factions fighting, 1v1 or 2v2 or FFA. Note that those options cannot be changed once units are deployed.
 10.Use “Start” button to begin deploying units. The map will begin loading.
11.Once, on the map you should be presented with the following interface:
10.Use “Start” button to begin deploying units. The map will begin loading.
11.Once, on the map you should be presented with the following interface:
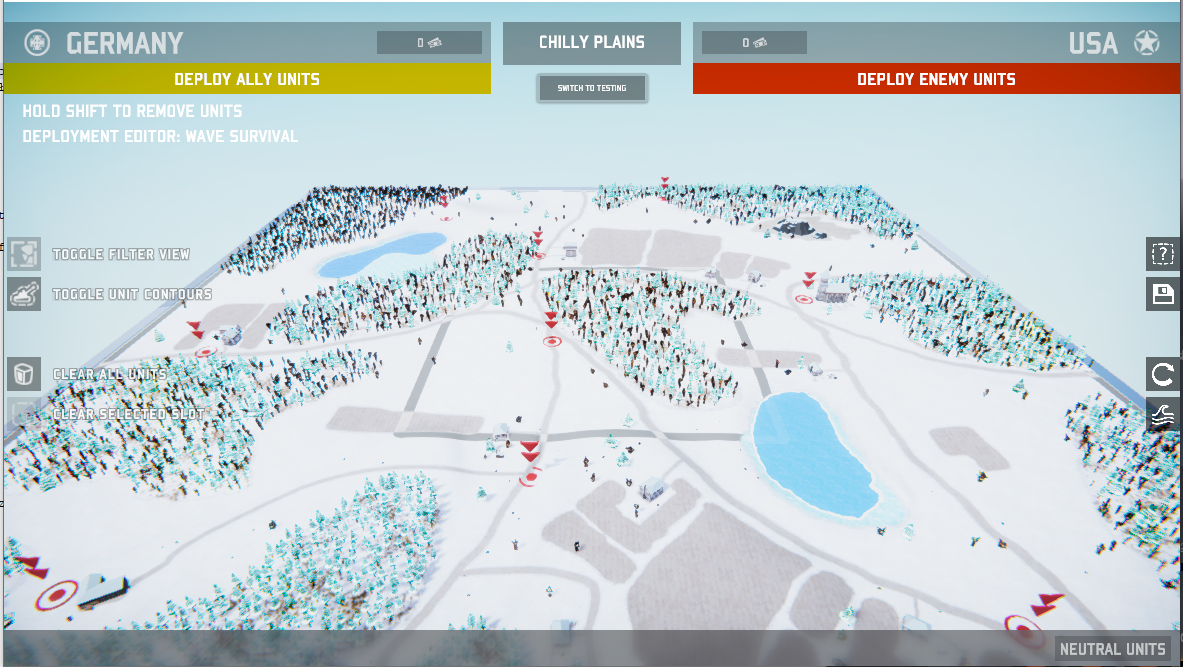 12.Yellow and red prompts at the top remind you which side is the player’s side and which sides will be the enemy sides.
13.Buttons on the right allow you to save your deployment, discard changes and switch between waves (in wave type missions).
14.Use “Switch to testing” button at the top to enter mission testing mode. In this units any changes to the deployment will be temporary - you can for instance deploy units that the player could deploy and see how the result plays out.
15.Use “Switch to editing” button to go back to deploying units that will be part of the saved mission.
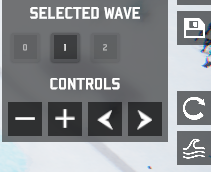
16.Additionally, in wave missions you can click on the Wave icon to open this panel that enables switching between different waves of enemy units:
12.Yellow and red prompts at the top remind you which side is the player’s side and which sides will be the enemy sides.
13.Buttons on the right allow you to save your deployment, discard changes and switch between waves (in wave type missions).
14.Use “Switch to testing” button at the top to enter mission testing mode. In this units any changes to the deployment will be temporary - you can for instance deploy units that the player could deploy and see how the result plays out.
15.Use “Switch to editing” button to go back to deploying units that will be part of the saved mission.
16.Additionally, in wave missions you can click on the Wave icon to open this panel that enables switching between different waves of enemy units:
 17.Once you’re ready, click on the Save icon on the right to save changes to your deployment.
The prompt will make sure you want to close mission editor (the changes will be saved). You land back in the scenario editor inside workshop.
18.At any time, you can click “Save and close” button on the left to save your changes to the scenario to disk and exit the workshop editor.
19.Once your mission scenario is complete, you can click “Upload to Steam”. If no errors are found, the scenario will be uploaded to Steam and an overlay for your new Workshop item will be opened.
20.You can make changes to your scenarios and use “Upload to Steam” again to upload new versions of the mod.
21.NOTE, even though you are the mod author, the mod will not be automatically subscribed for you. You have to follow the same steps as are listed in the “Play a scenario from workshop” section.
17.Once you’re ready, click on the Save icon on the right to save changes to your deployment.
The prompt will make sure you want to close mission editor (the changes will be saved). You land back in the scenario editor inside workshop.
18.At any time, you can click “Save and close” button on the left to save your changes to the scenario to disk and exit the workshop editor.
19.Once your mission scenario is complete, you can click “Upload to Steam”. If no errors are found, the scenario will be uploaded to Steam and an overlay for your new Workshop item will be opened.
20.You can make changes to your scenarios and use “Upload to Steam” again to upload new versions of the mod.
21.NOTE, even though you are the mod author, the mod will not be automatically subscribed for you. You have to follow the same steps as are listed in the “Play a scenario from workshop” section.
