
Body Modifications
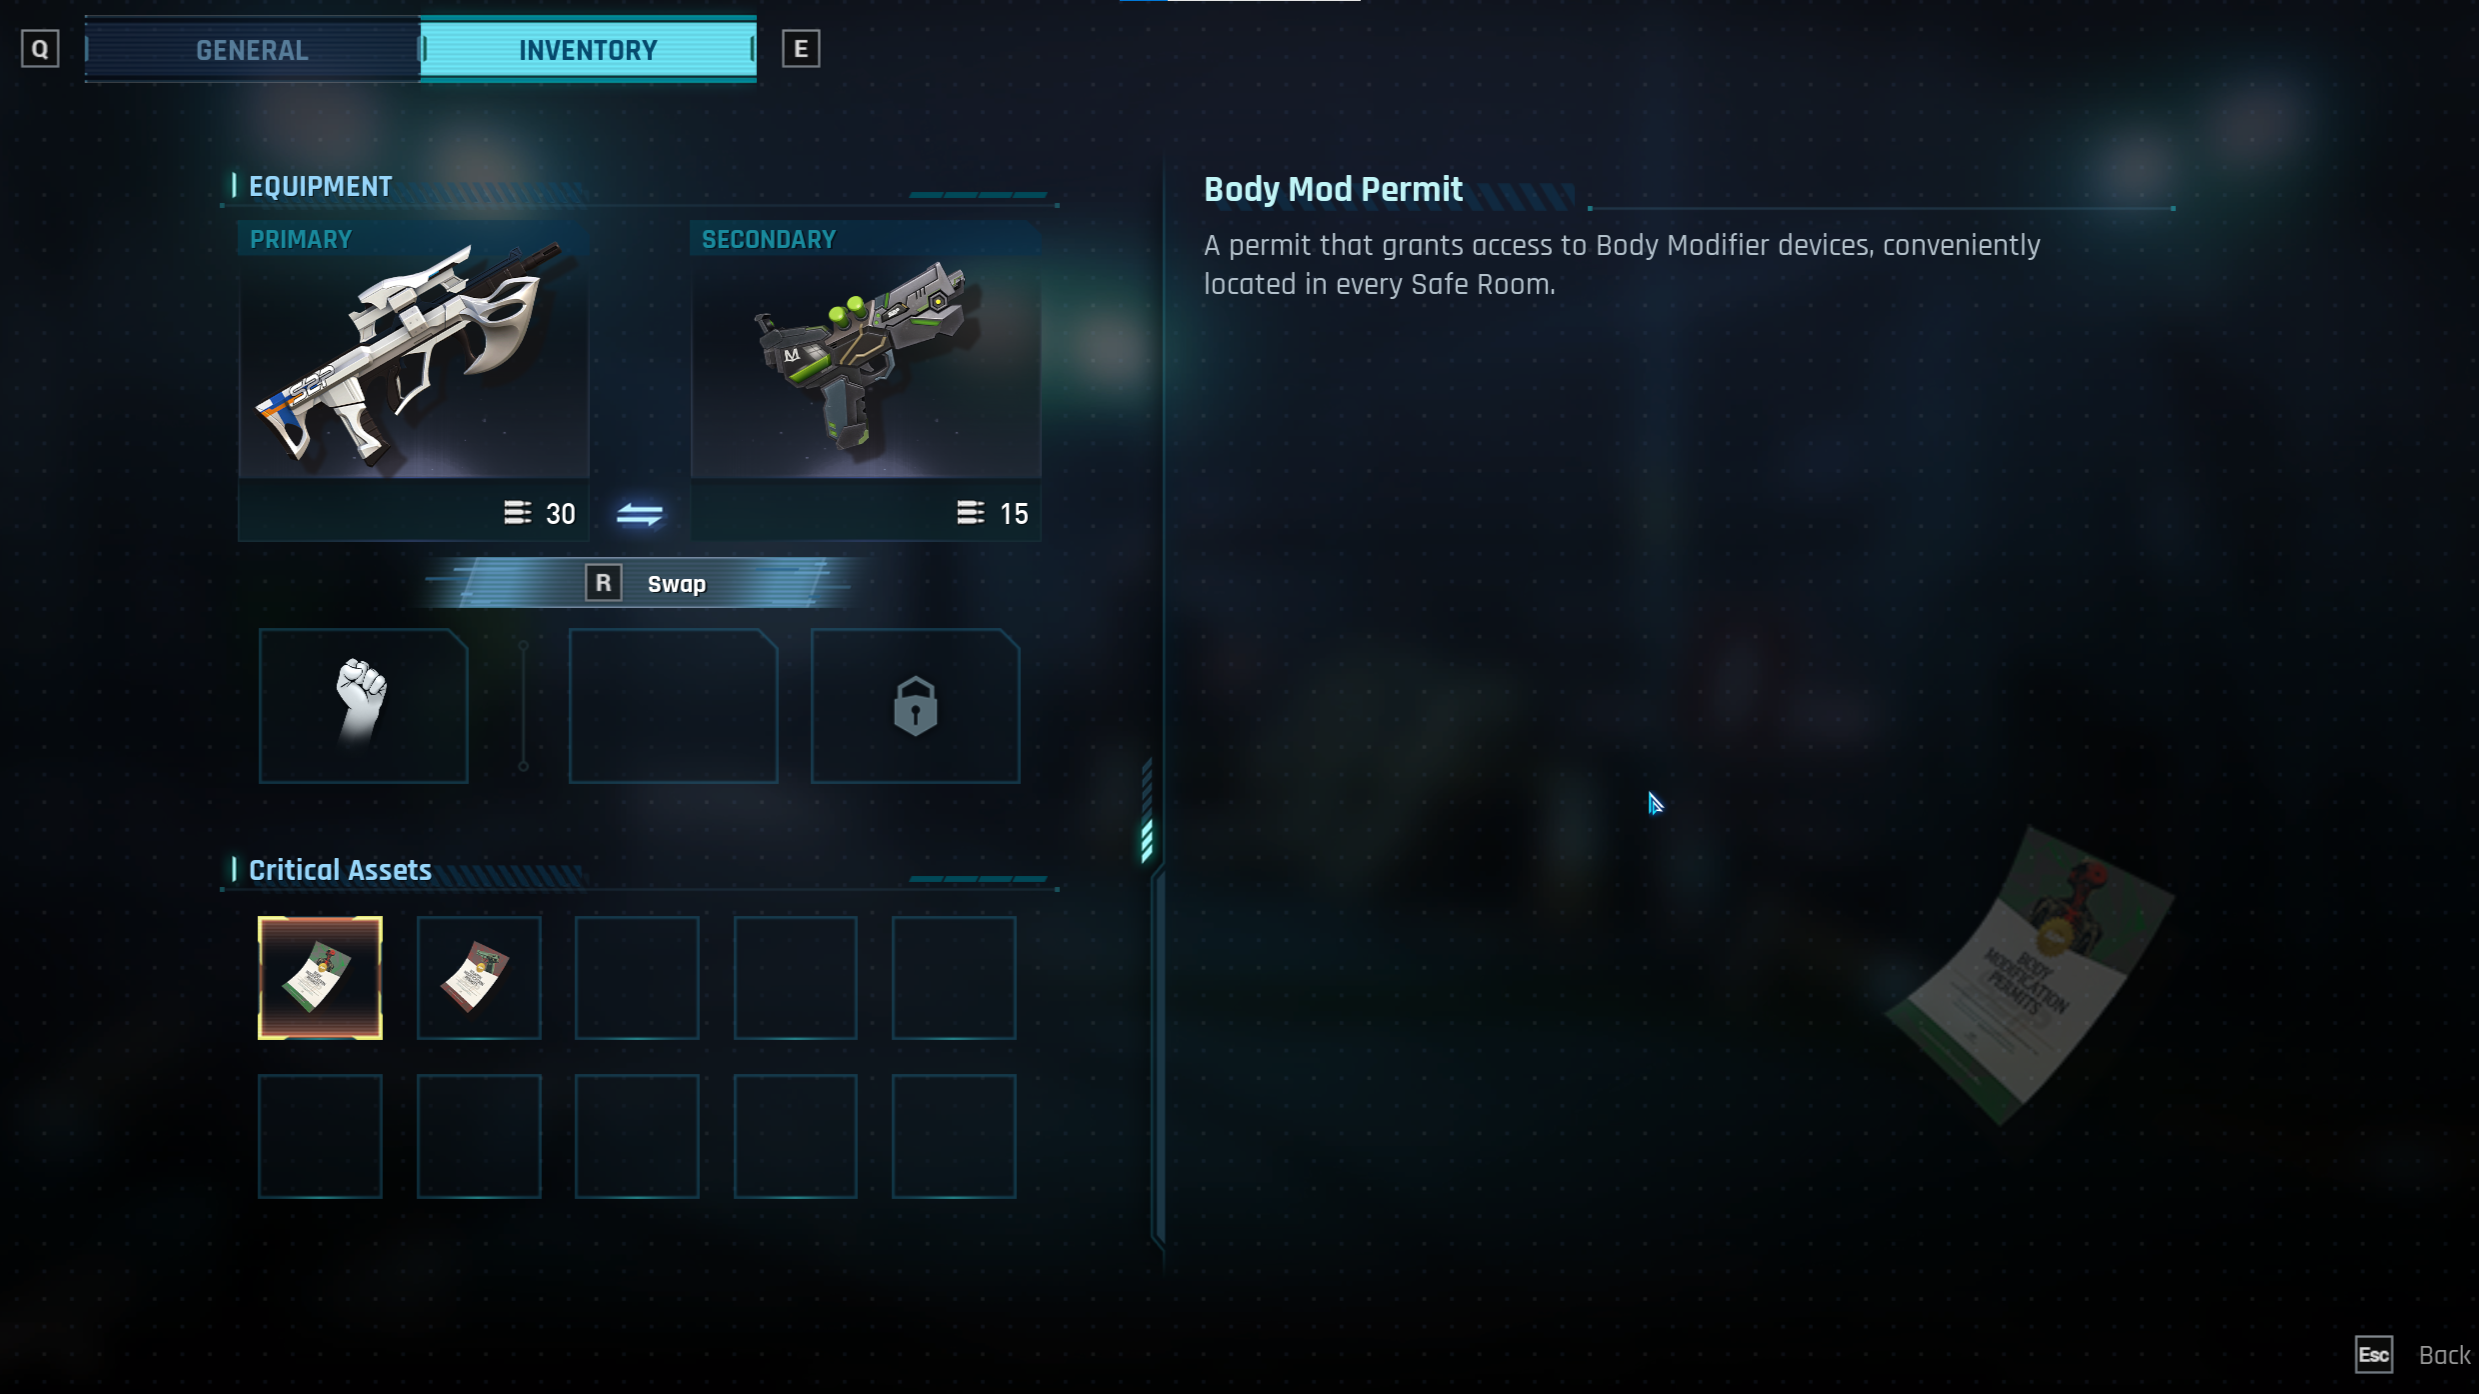 Body modifications are randomized perks and side-effects that change each time you roll them. They can be purchased from the Body Modifier in every Safe Room, after the player has found a Body Mod Permit on the Lobby Level.
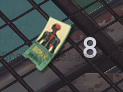 Body Mod Vouchers can be collected during gameplay, and are spent at the machine like tickets, to roll for upgrades.
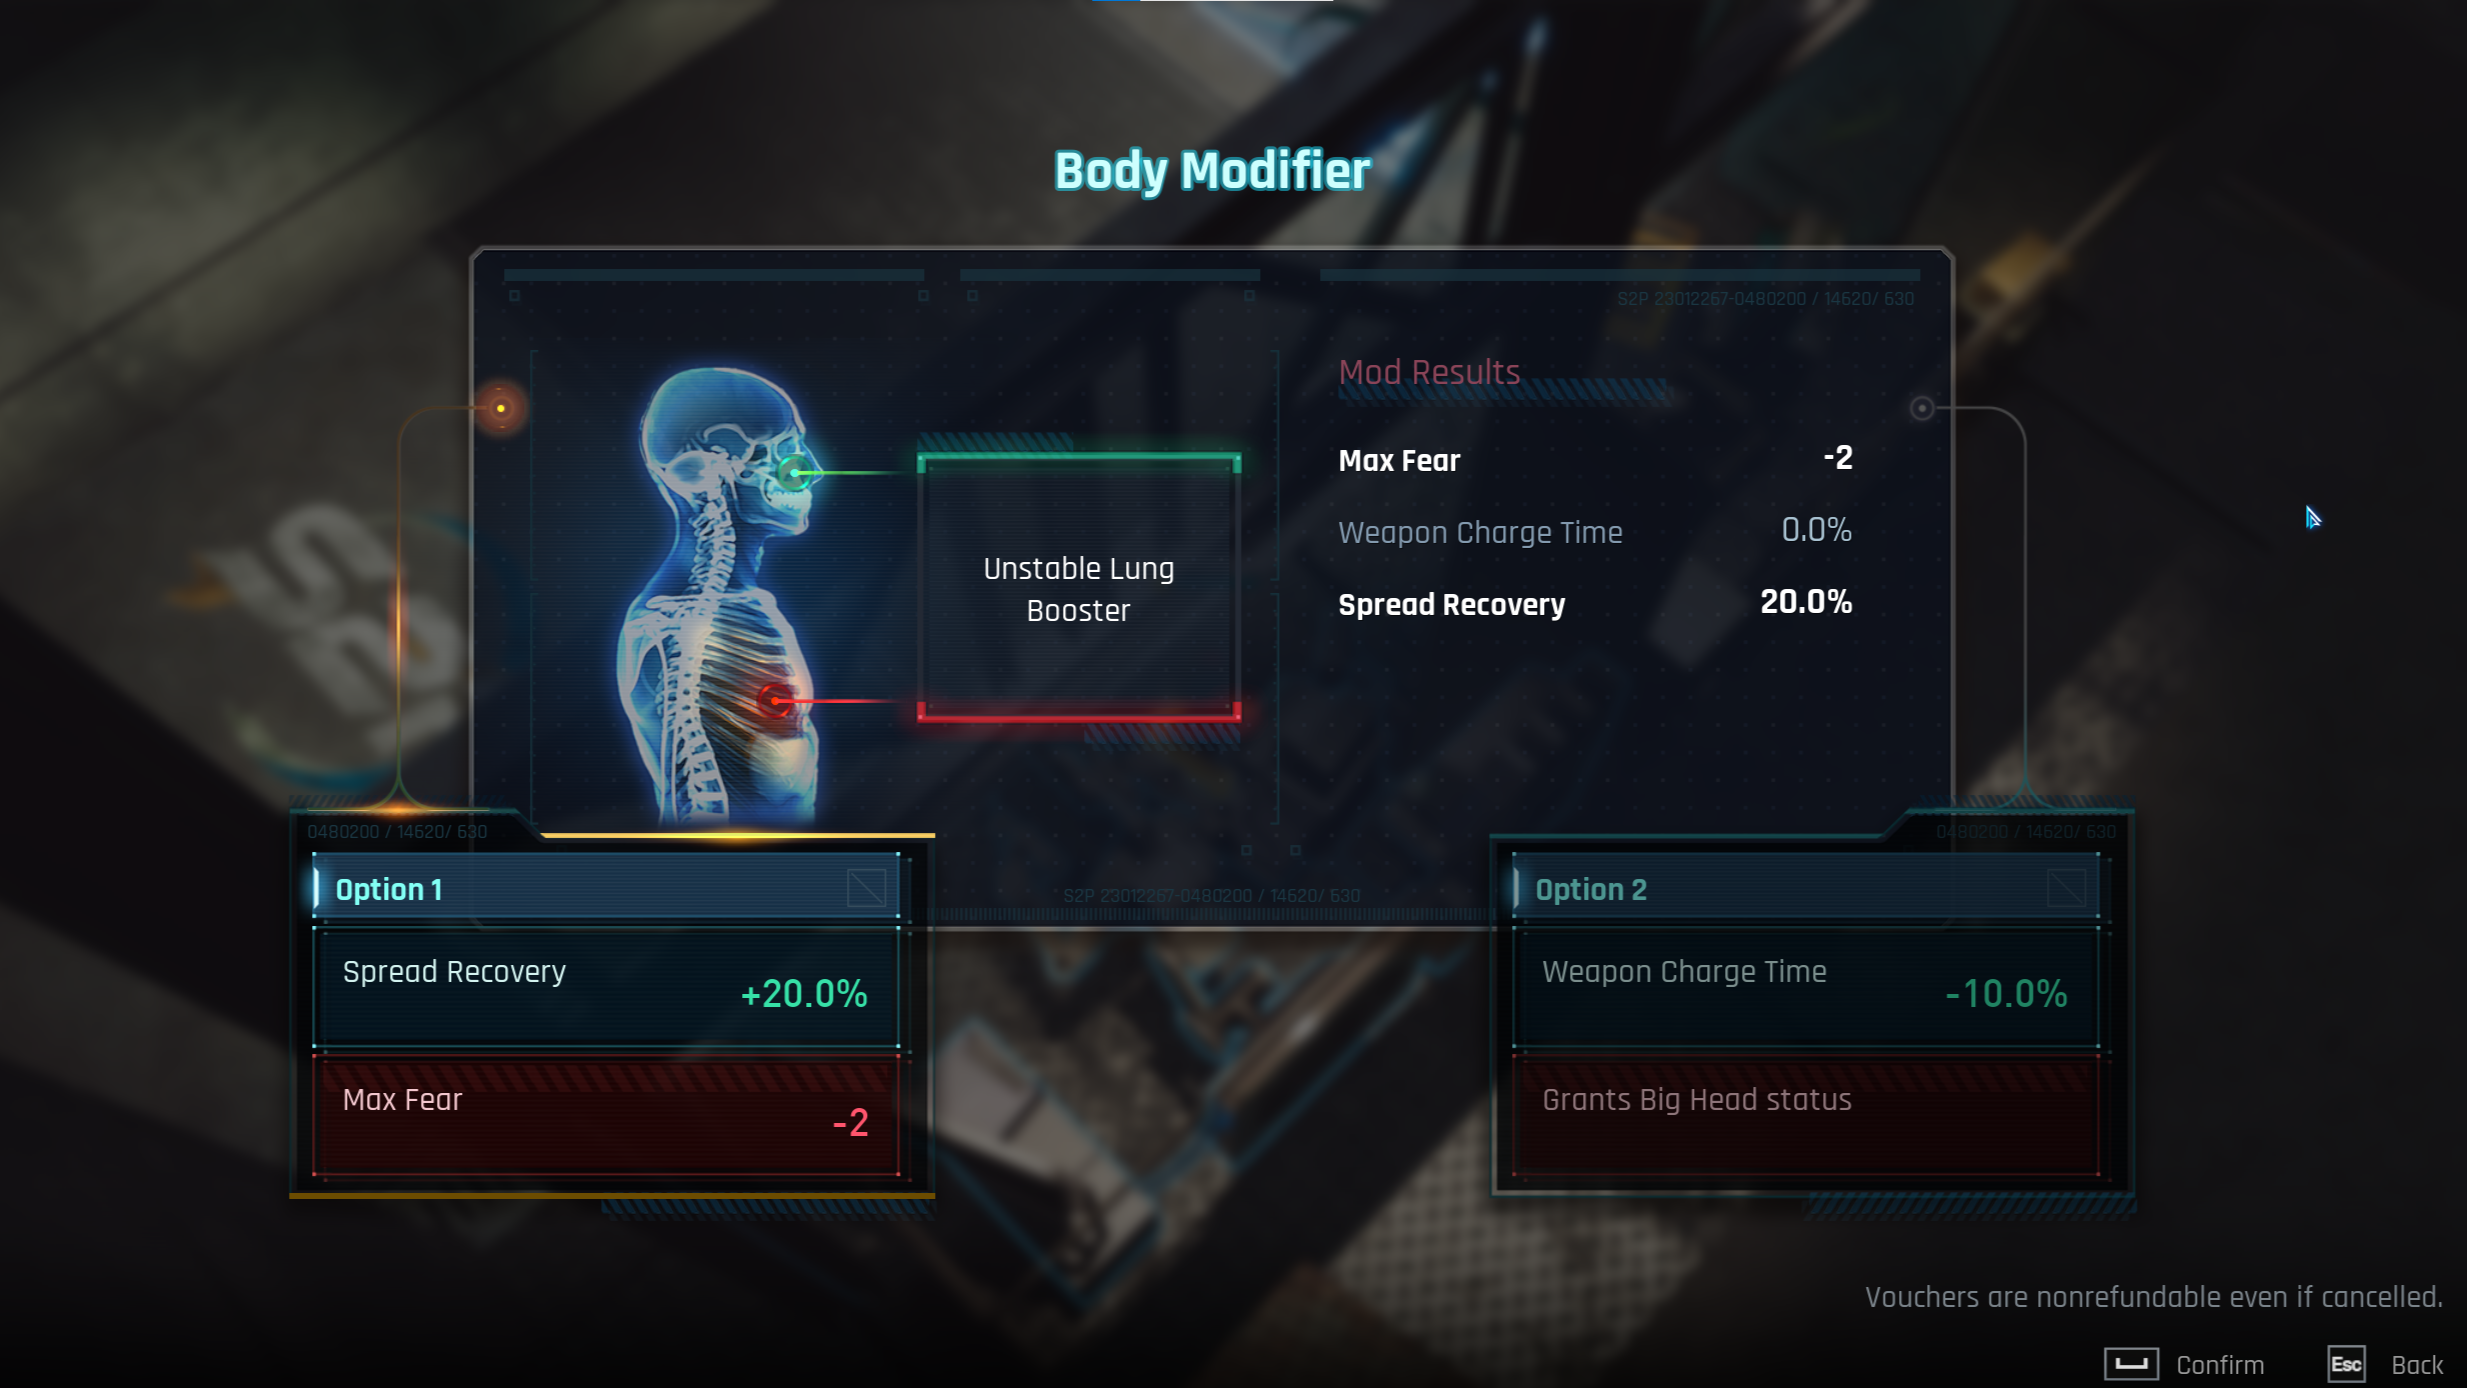 Spending a ticket will always grant two choices of mods, which will always grant some kind of benefit, and may (but not always) come with a side-effect. These effects stack without limit, and they also reset each time you die, so it’s best to spend vouchers as soon as you can and think about what kind of build you’re going for this run.
(If I were given the choices in the image, I would take the one on the right, since the Arc Cannon is my favorite weapon.)
Spending a ticket will always grant two choices of mods, which will always grant some kind of benefit, and may (but not always) come with a side-effect. These effects stack without limit, and they also reset each time you die, so it’s best to spend vouchers as soon as you can and think about what kind of build you’re going for this run.
(If I were given the choices in the image, I would take the one on the right, since the Arc Cannon is my favorite weapon.)
Weapon Modification
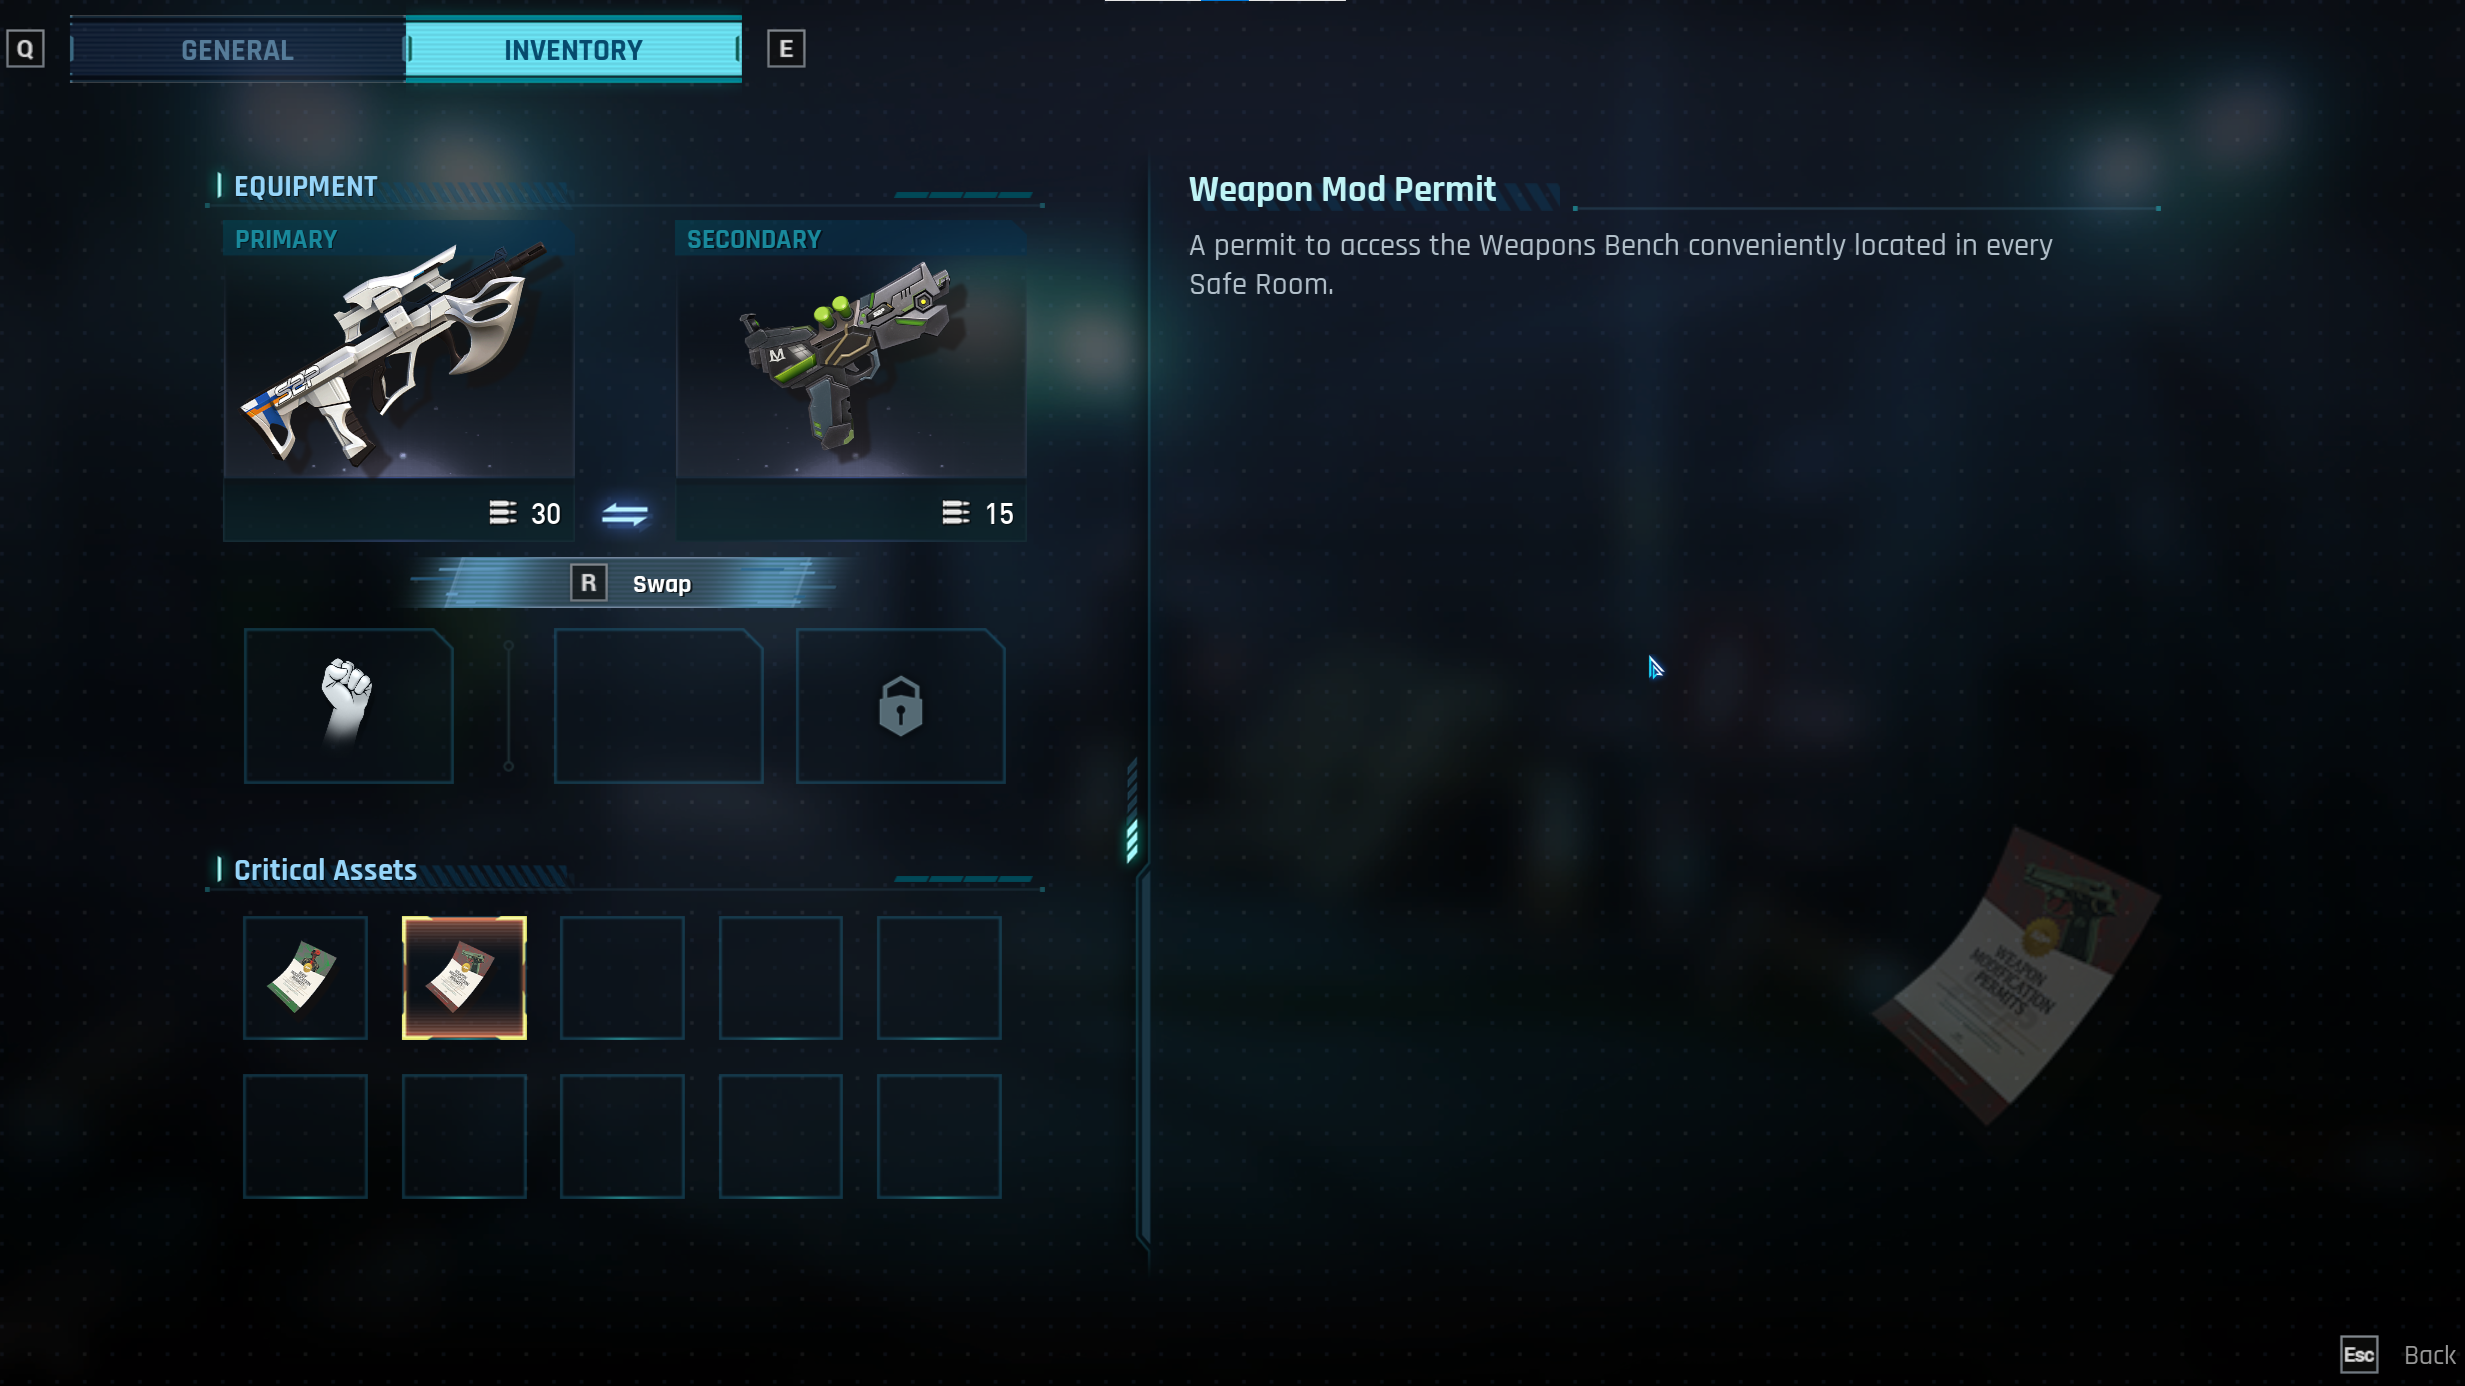 Weapon modifications can be made at the Weapon Bench in every Safe Room, which can be unlocked with the Weapon Mod Permit. That can be found early in the Office Level and, like the Body Mod Permit, is retained even after death.
Weapon modifications are extremely powerful, so they take a bit more to unlock than body mods.
Weapon modifications can be made at the Weapon Bench in every Safe Room, which can be unlocked with the Weapon Mod Permit. That can be found early in the Office Level and, like the Body Mod Permit, is retained even after death.
Weapon modifications are extremely powerful, so they take a bit more to unlock than body mods.
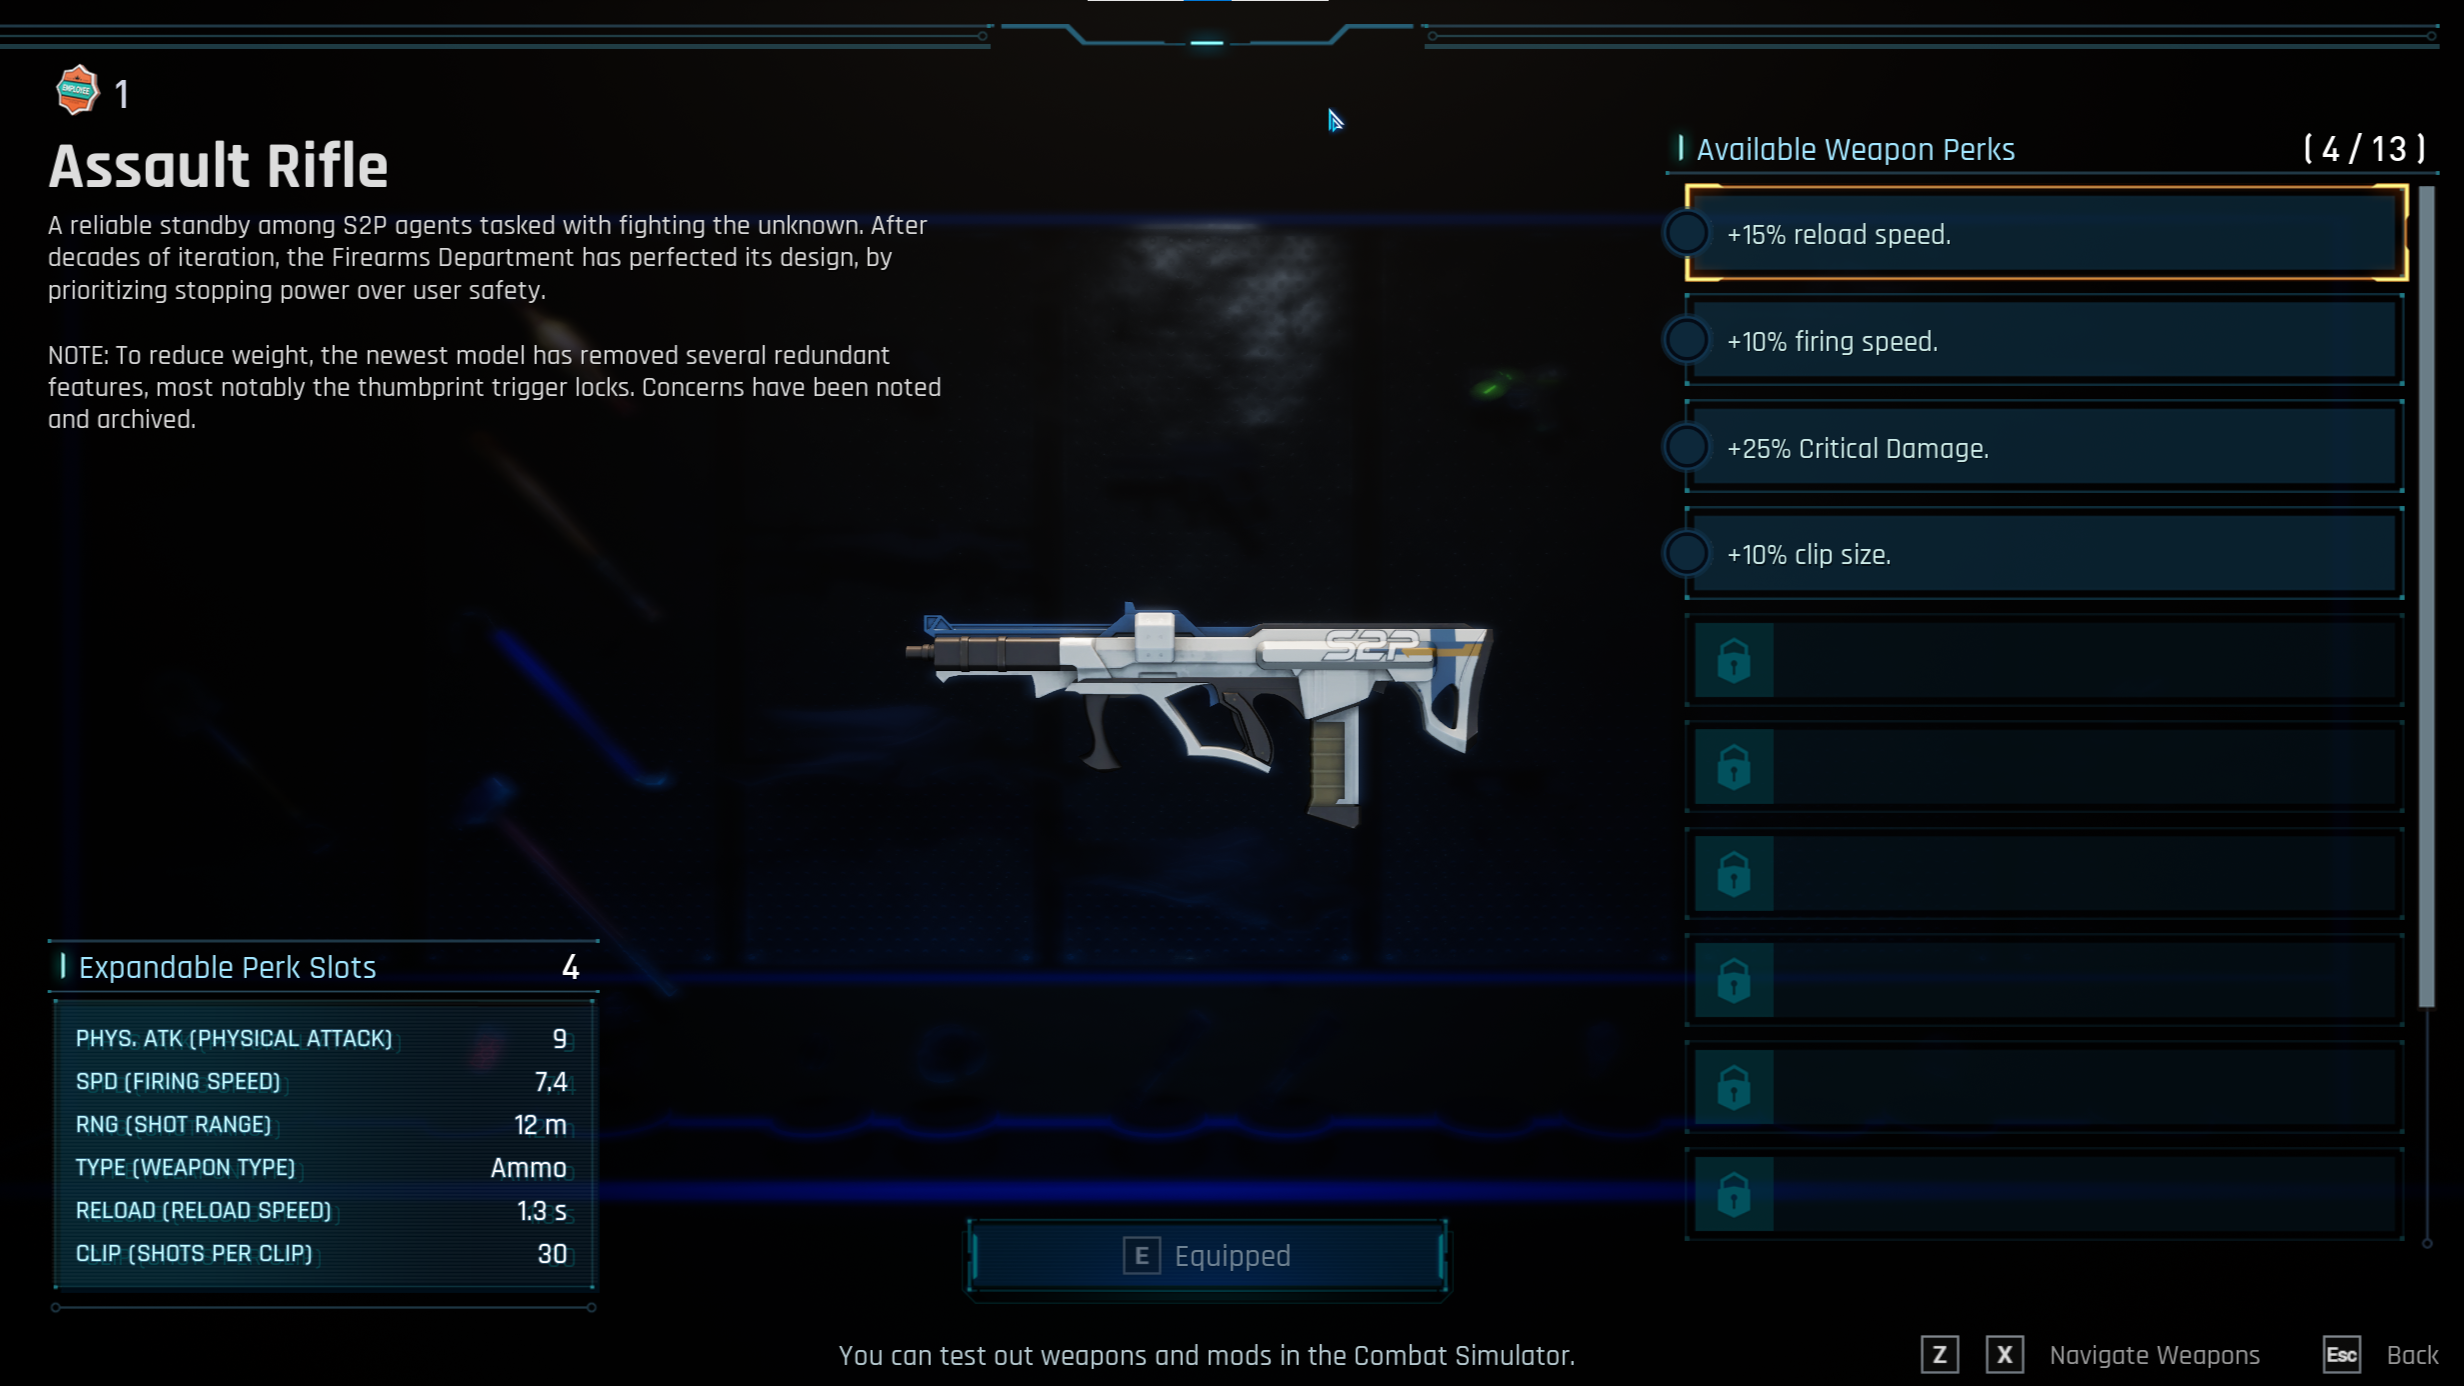 First, you’ll need to find modular Weapon Attachments throughout the facility, to unlock sets of perks. The perks obtained for each weapon are permanently retained and can be checked in the Armory of the Command Center. (In the 0.31 patch, we provide 4 perks each for the Assault Rifle, SMG, and Shotgun, as a default.)
Next, you’ll need to collect Perk Vouchers during a run, and spend them at the Weapons Bench to attach a perk to a gun.
First, you’ll need to find modular Weapon Attachments throughout the facility, to unlock sets of perks. The perks obtained for each weapon are permanently retained and can be checked in the Armory of the Command Center. (In the 0.31 patch, we provide 4 perks each for the Assault Rifle, SMG, and Shotgun, as a default.)
Next, you’ll need to collect Perk Vouchers during a run, and spend them at the Weapons Bench to attach a perk to a gun.

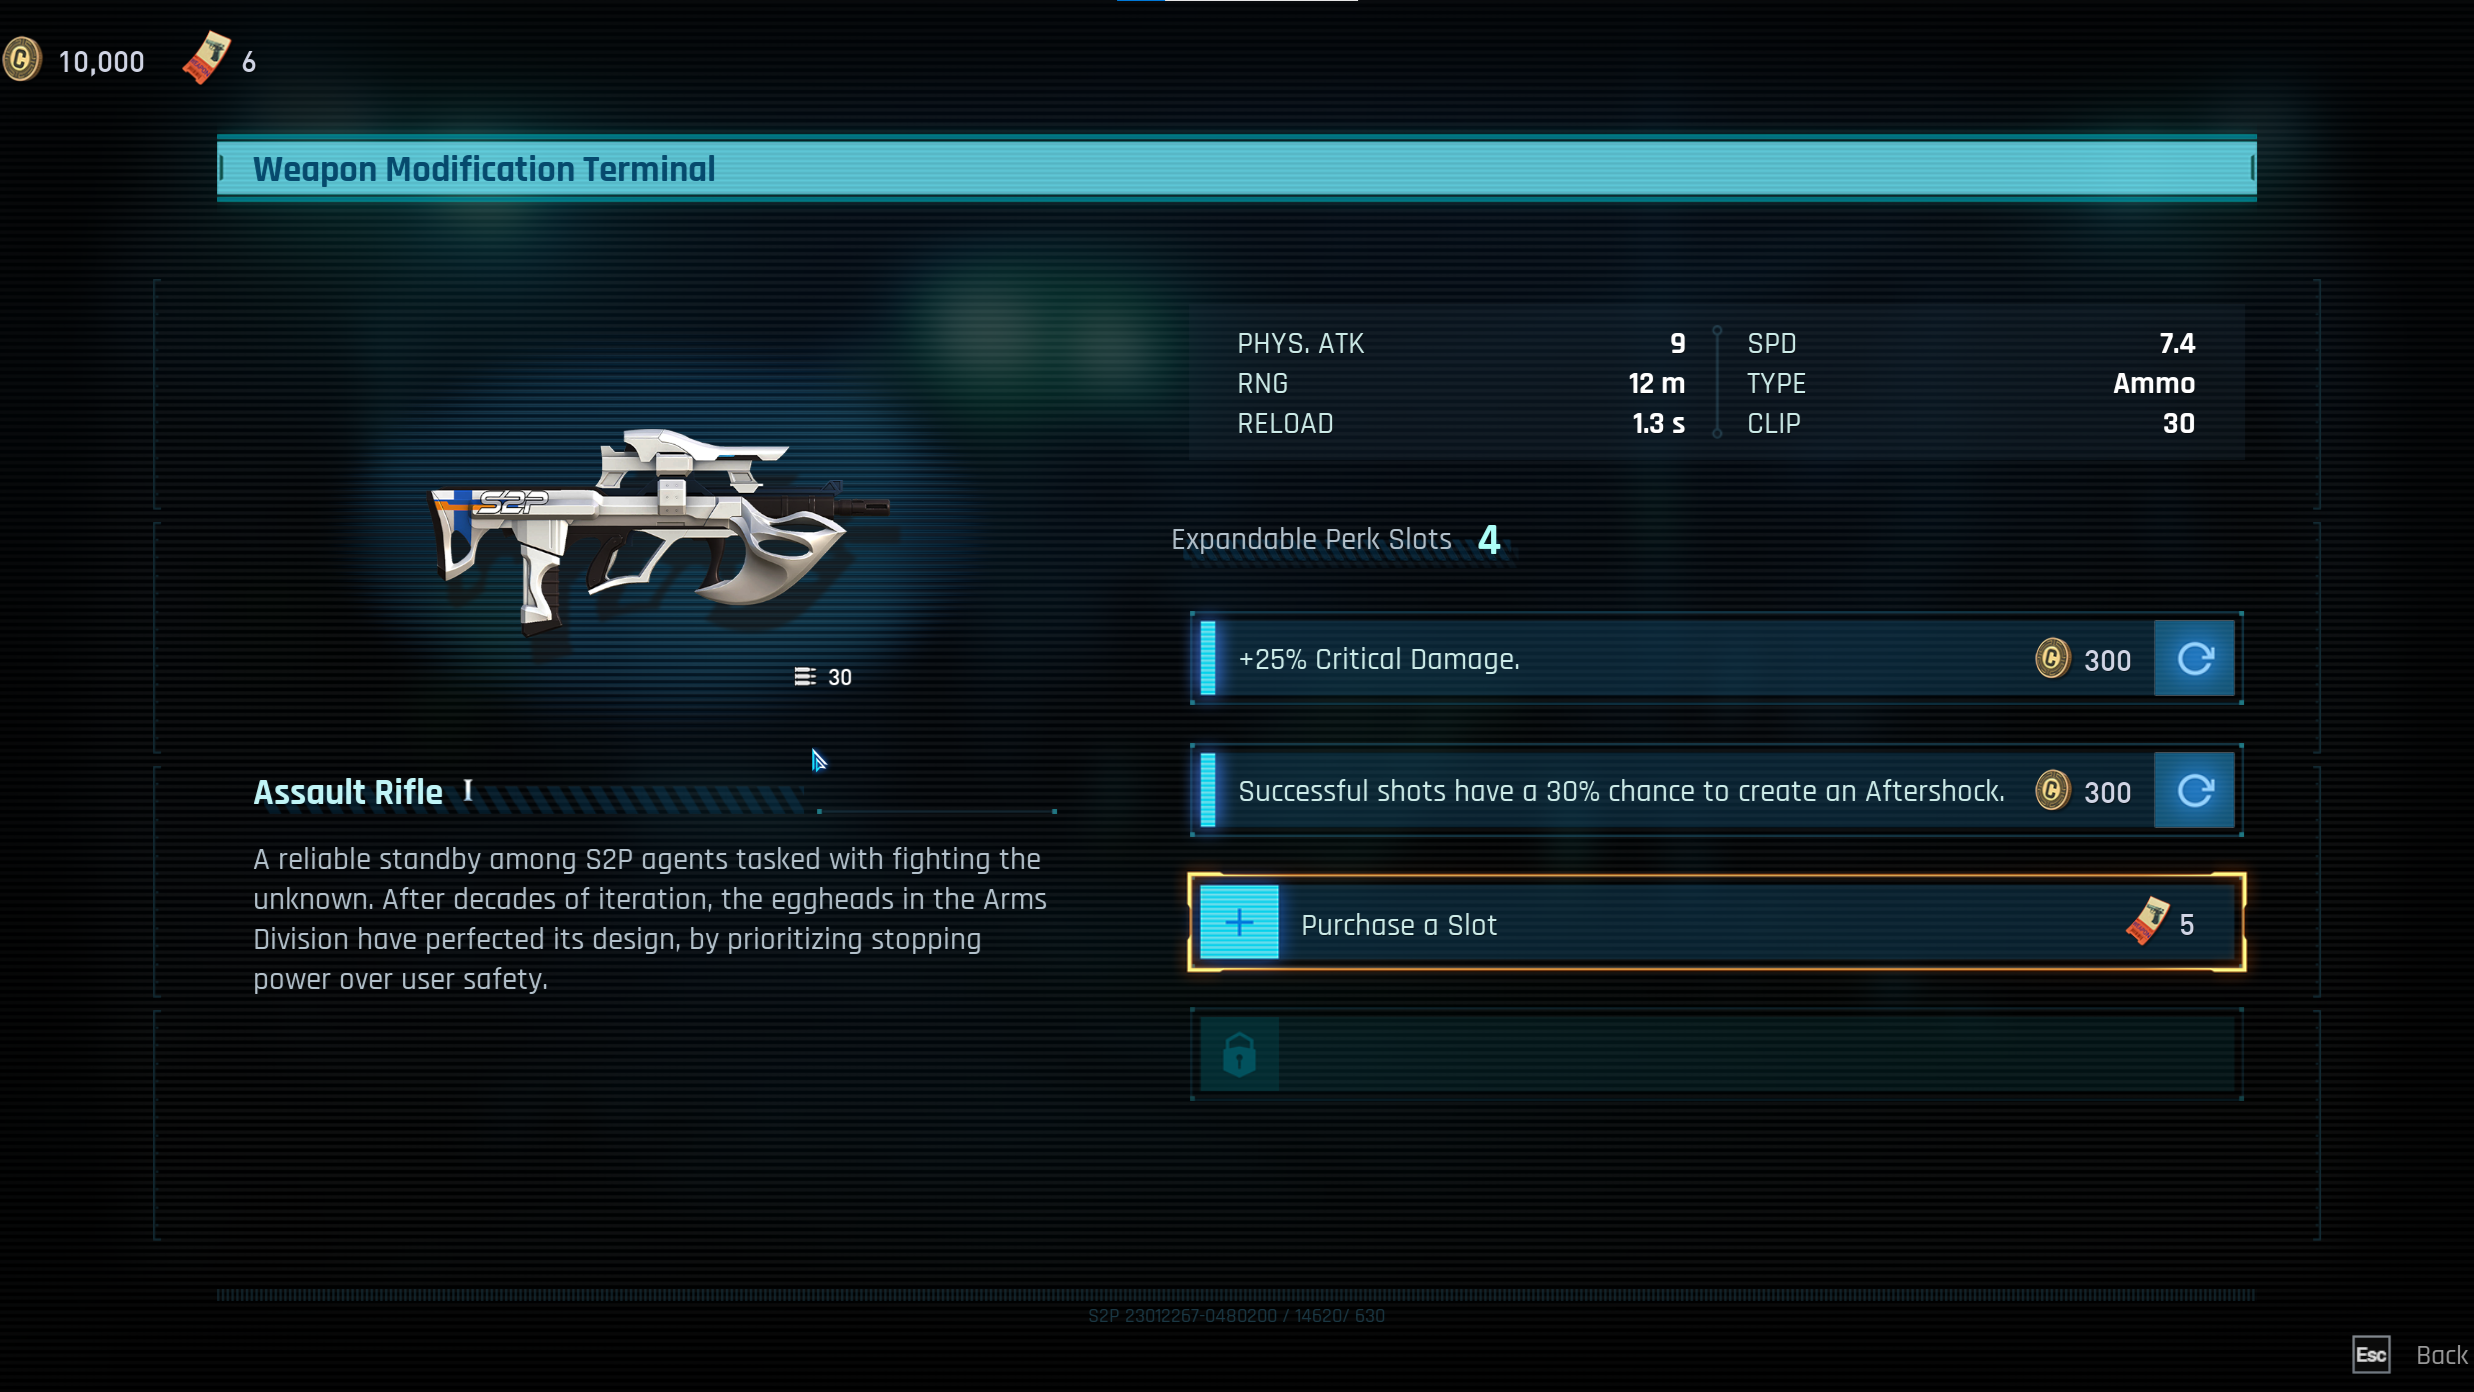 Spending a perk voucher fills a slot with one randomly-selected perk from all the ones you’ve unlocked. Once filled, you can also spend some credits to reroll a slot.
 Weapon modifications are some of the most powerful single-run progression elements in the game. The fourth perk for the AR, in the image above, is one of the rarest in the game – so make sure to select it, if you ever come across it. The Aftershock and Pierce perks are also personal favorites.
Parking Garage Security Room
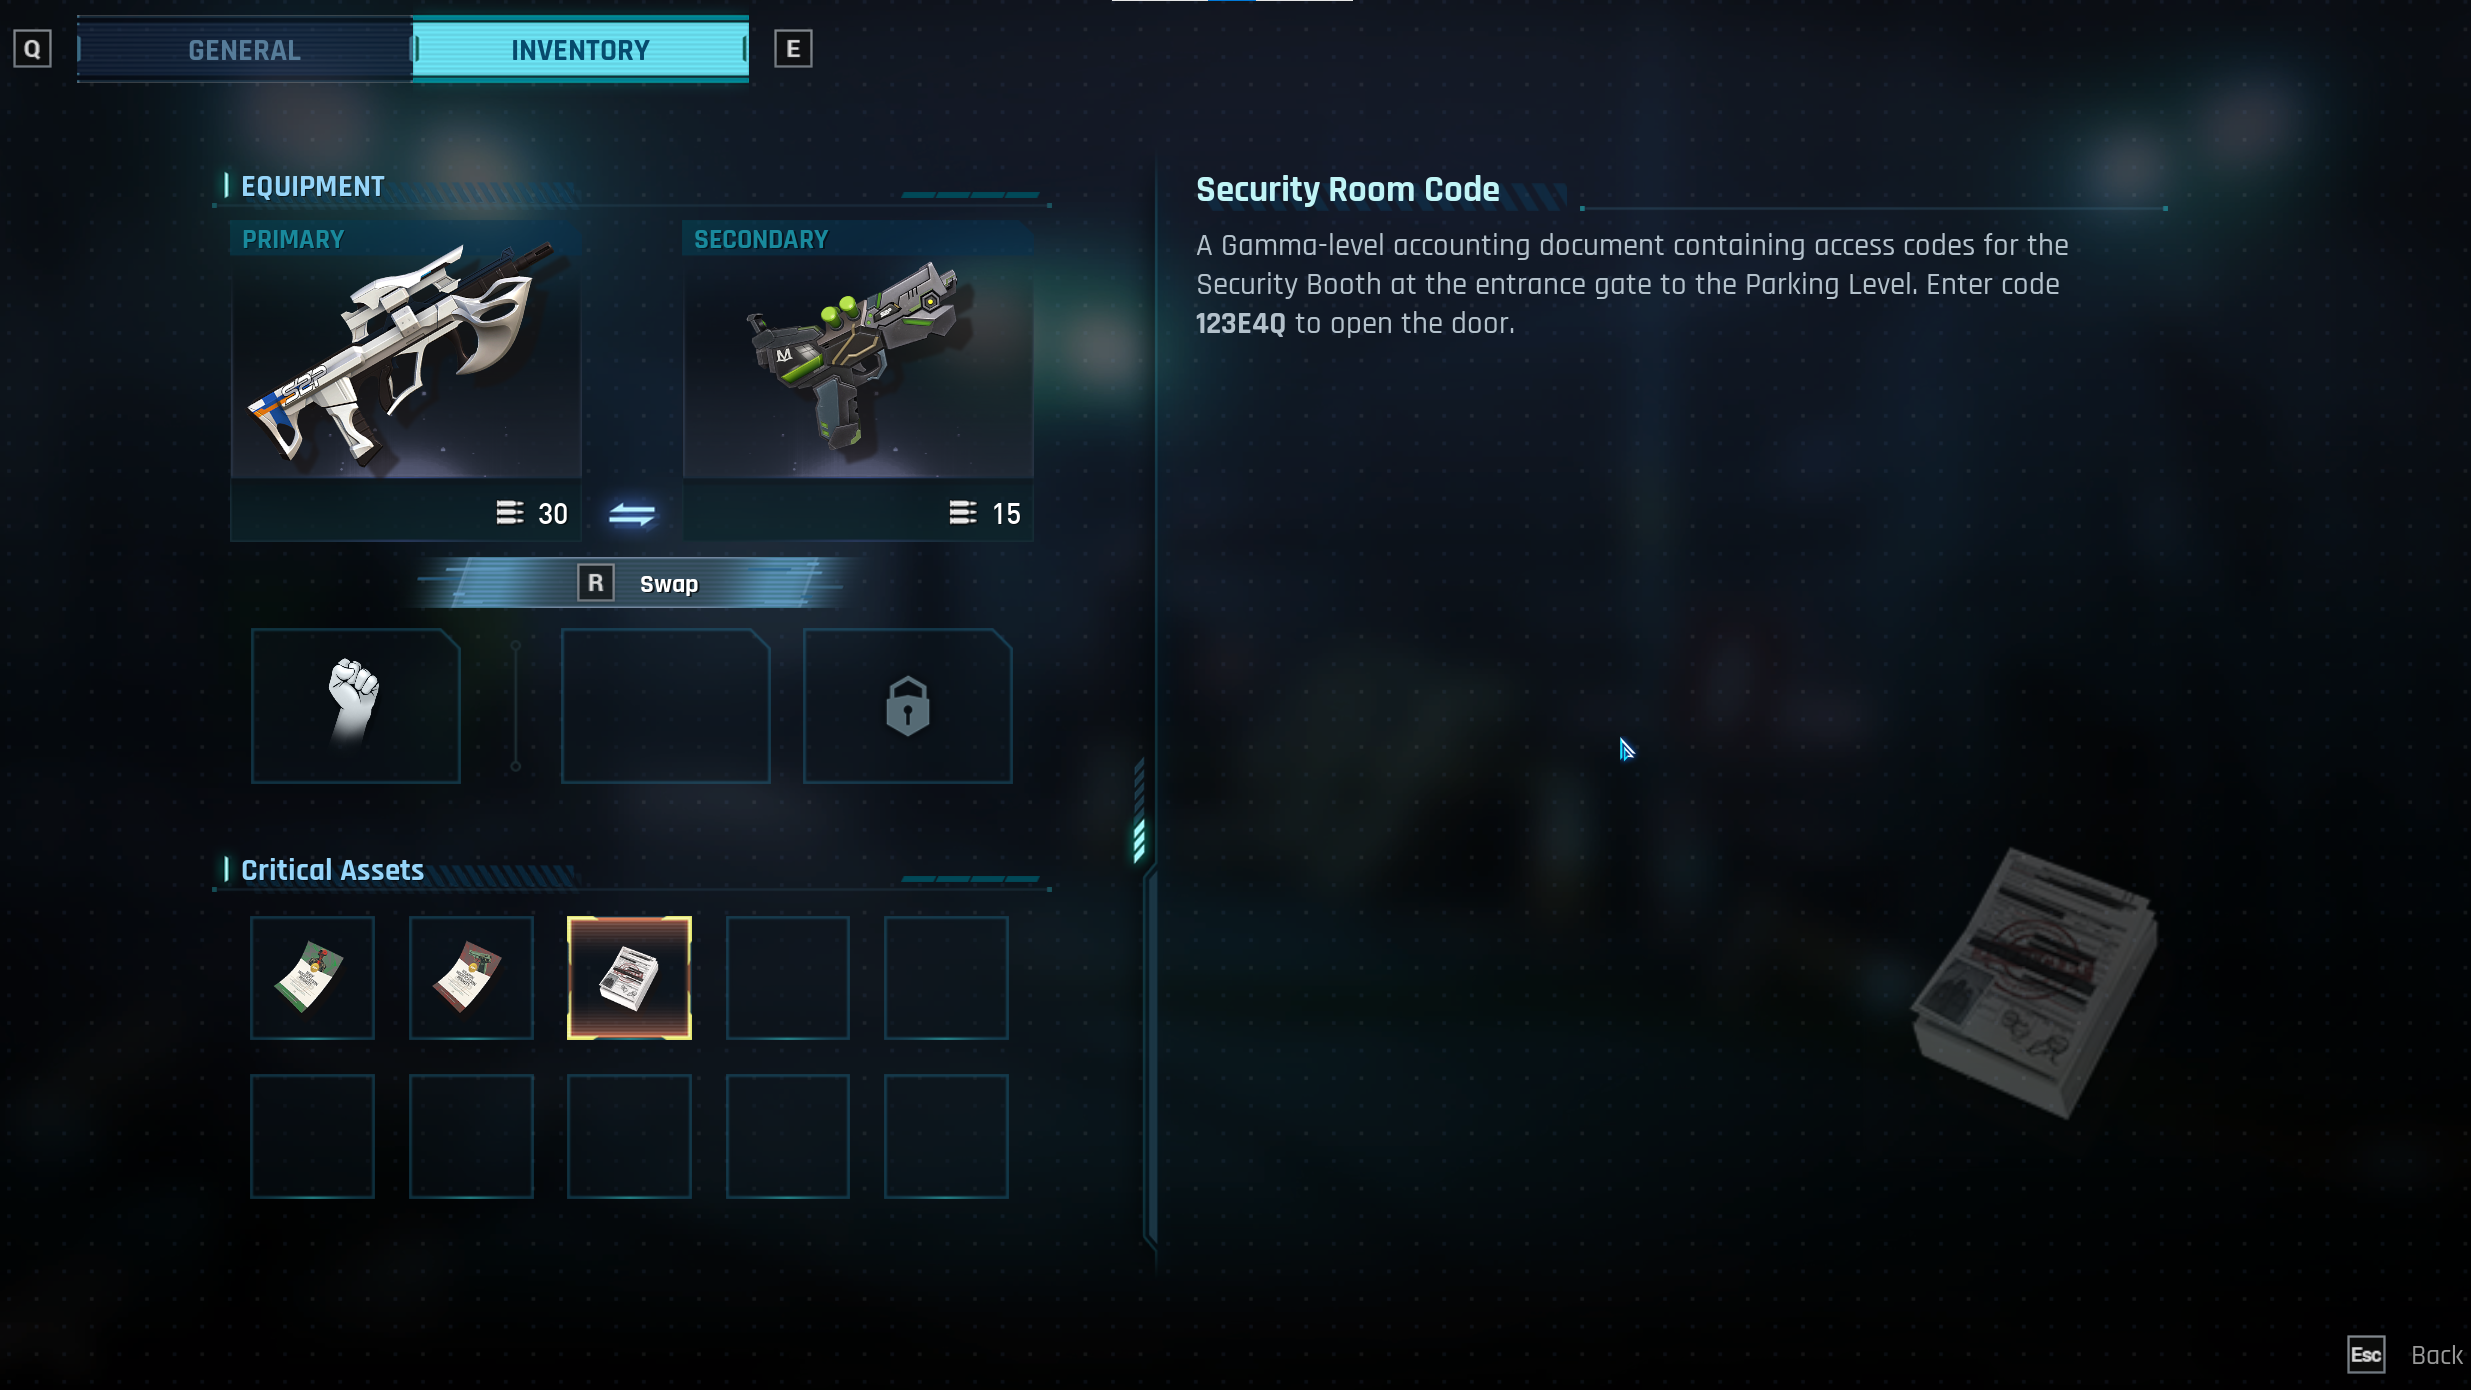 While exploring Section 13, you will likely stumble across the Security Room Code.
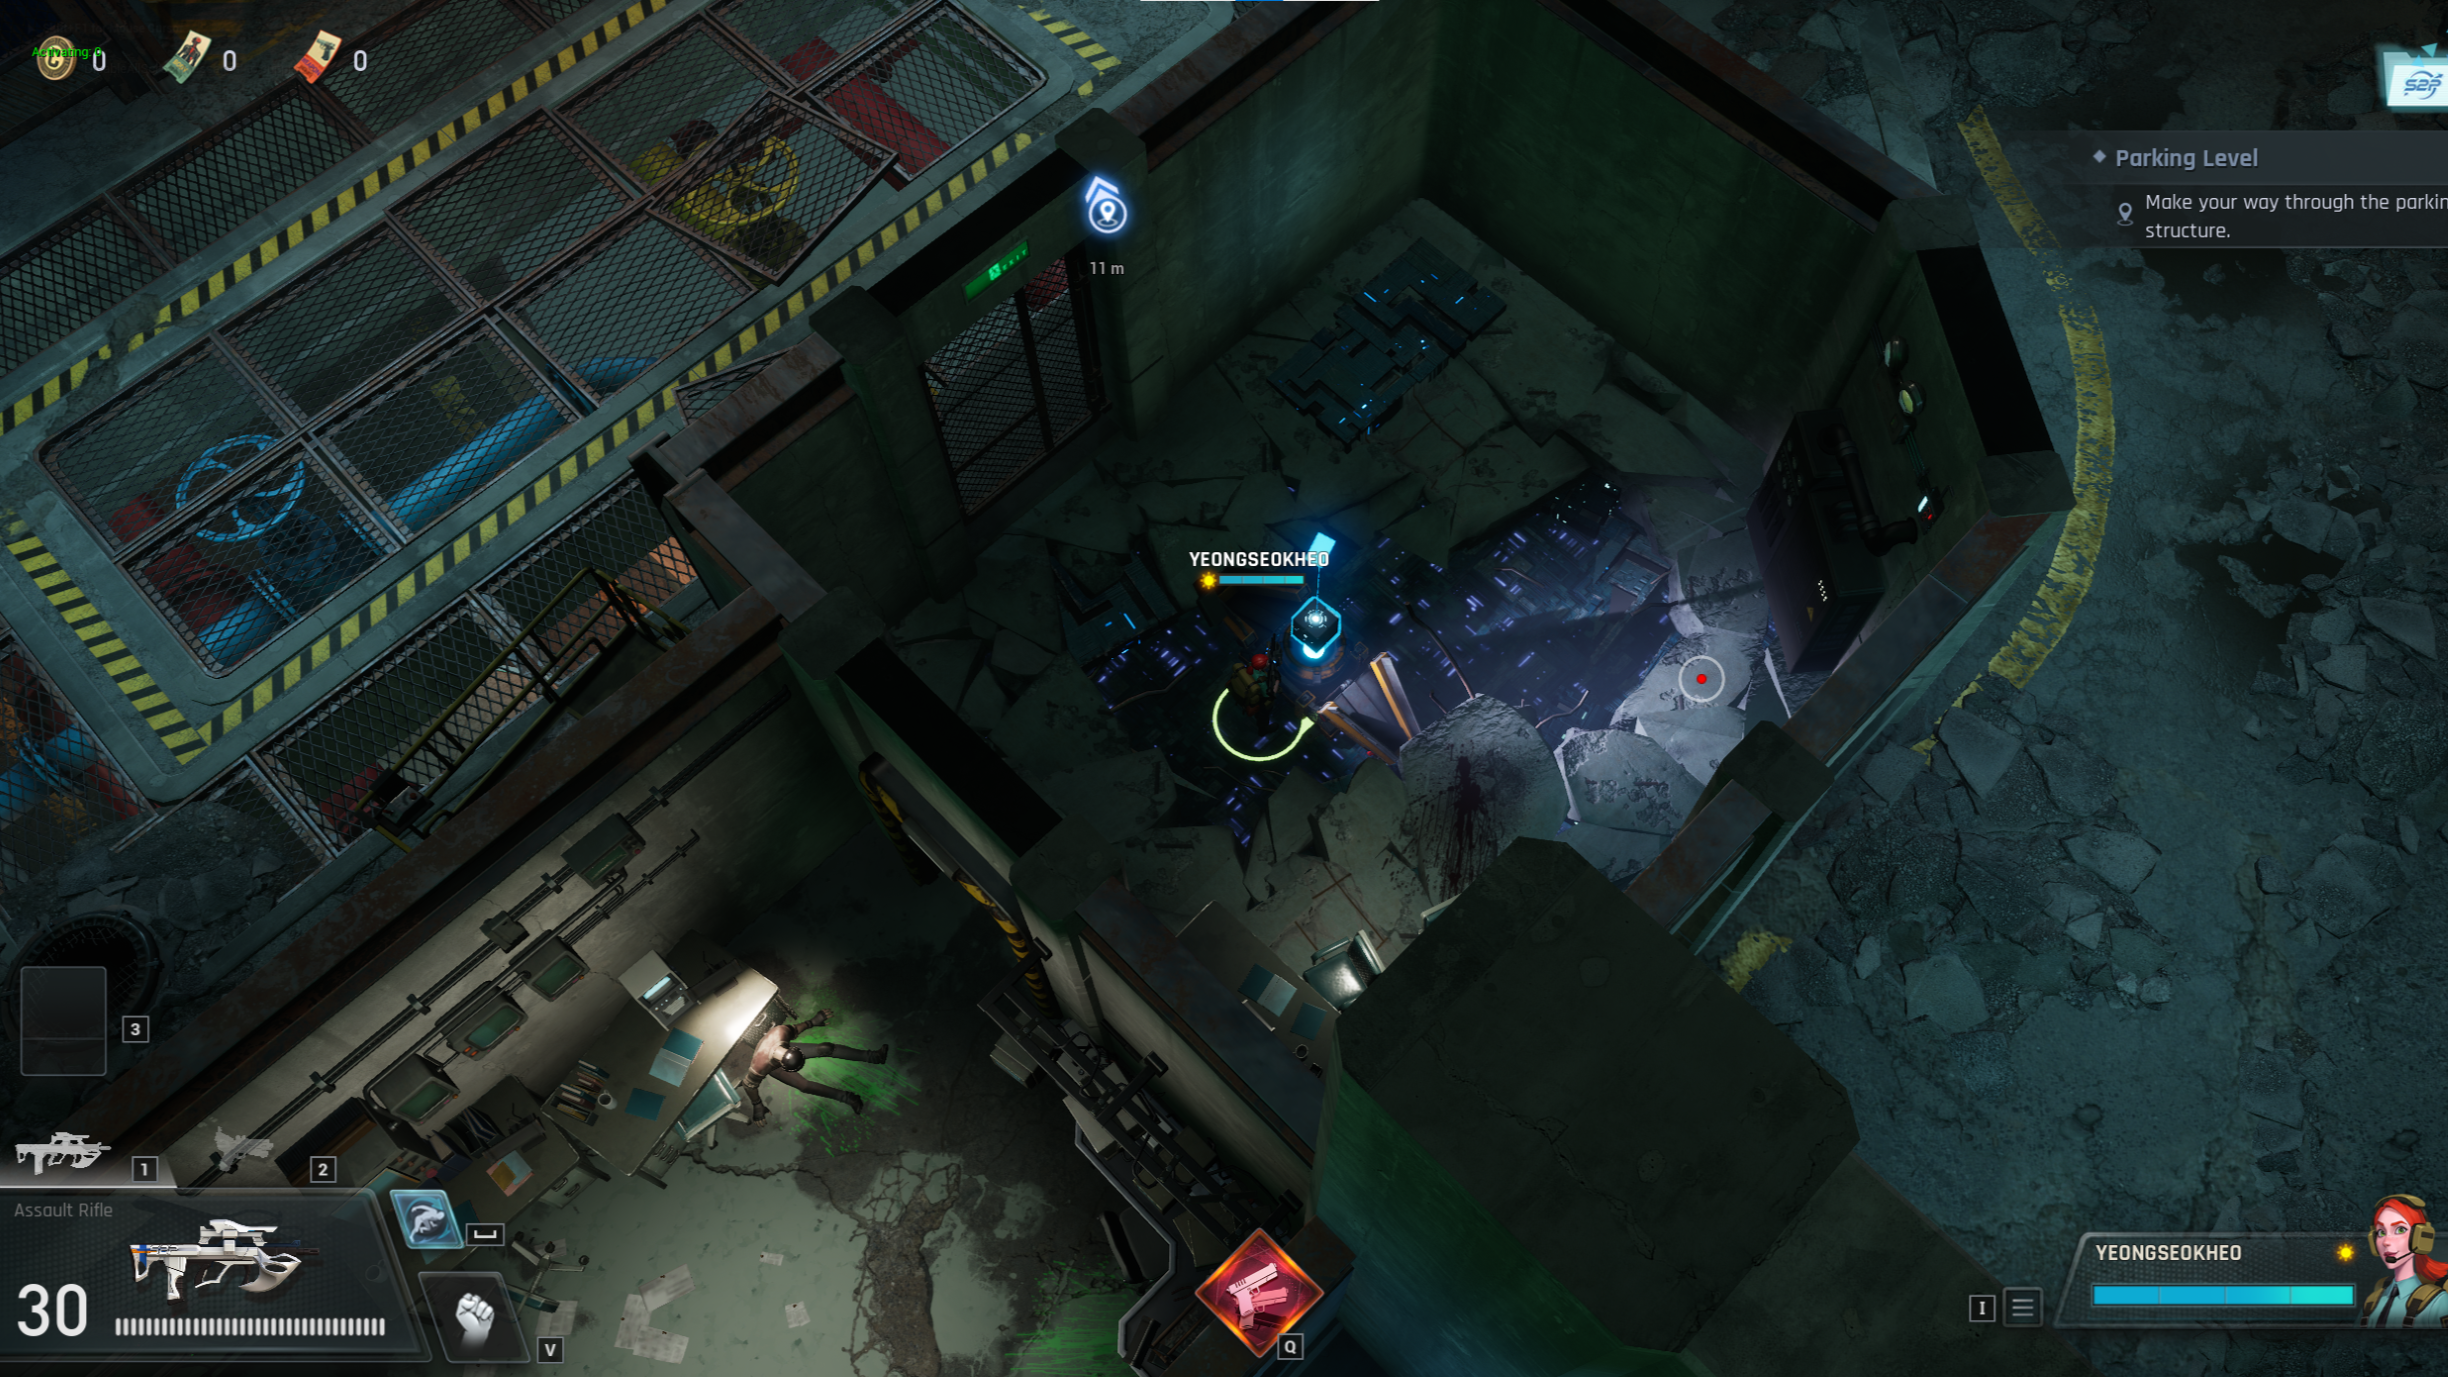
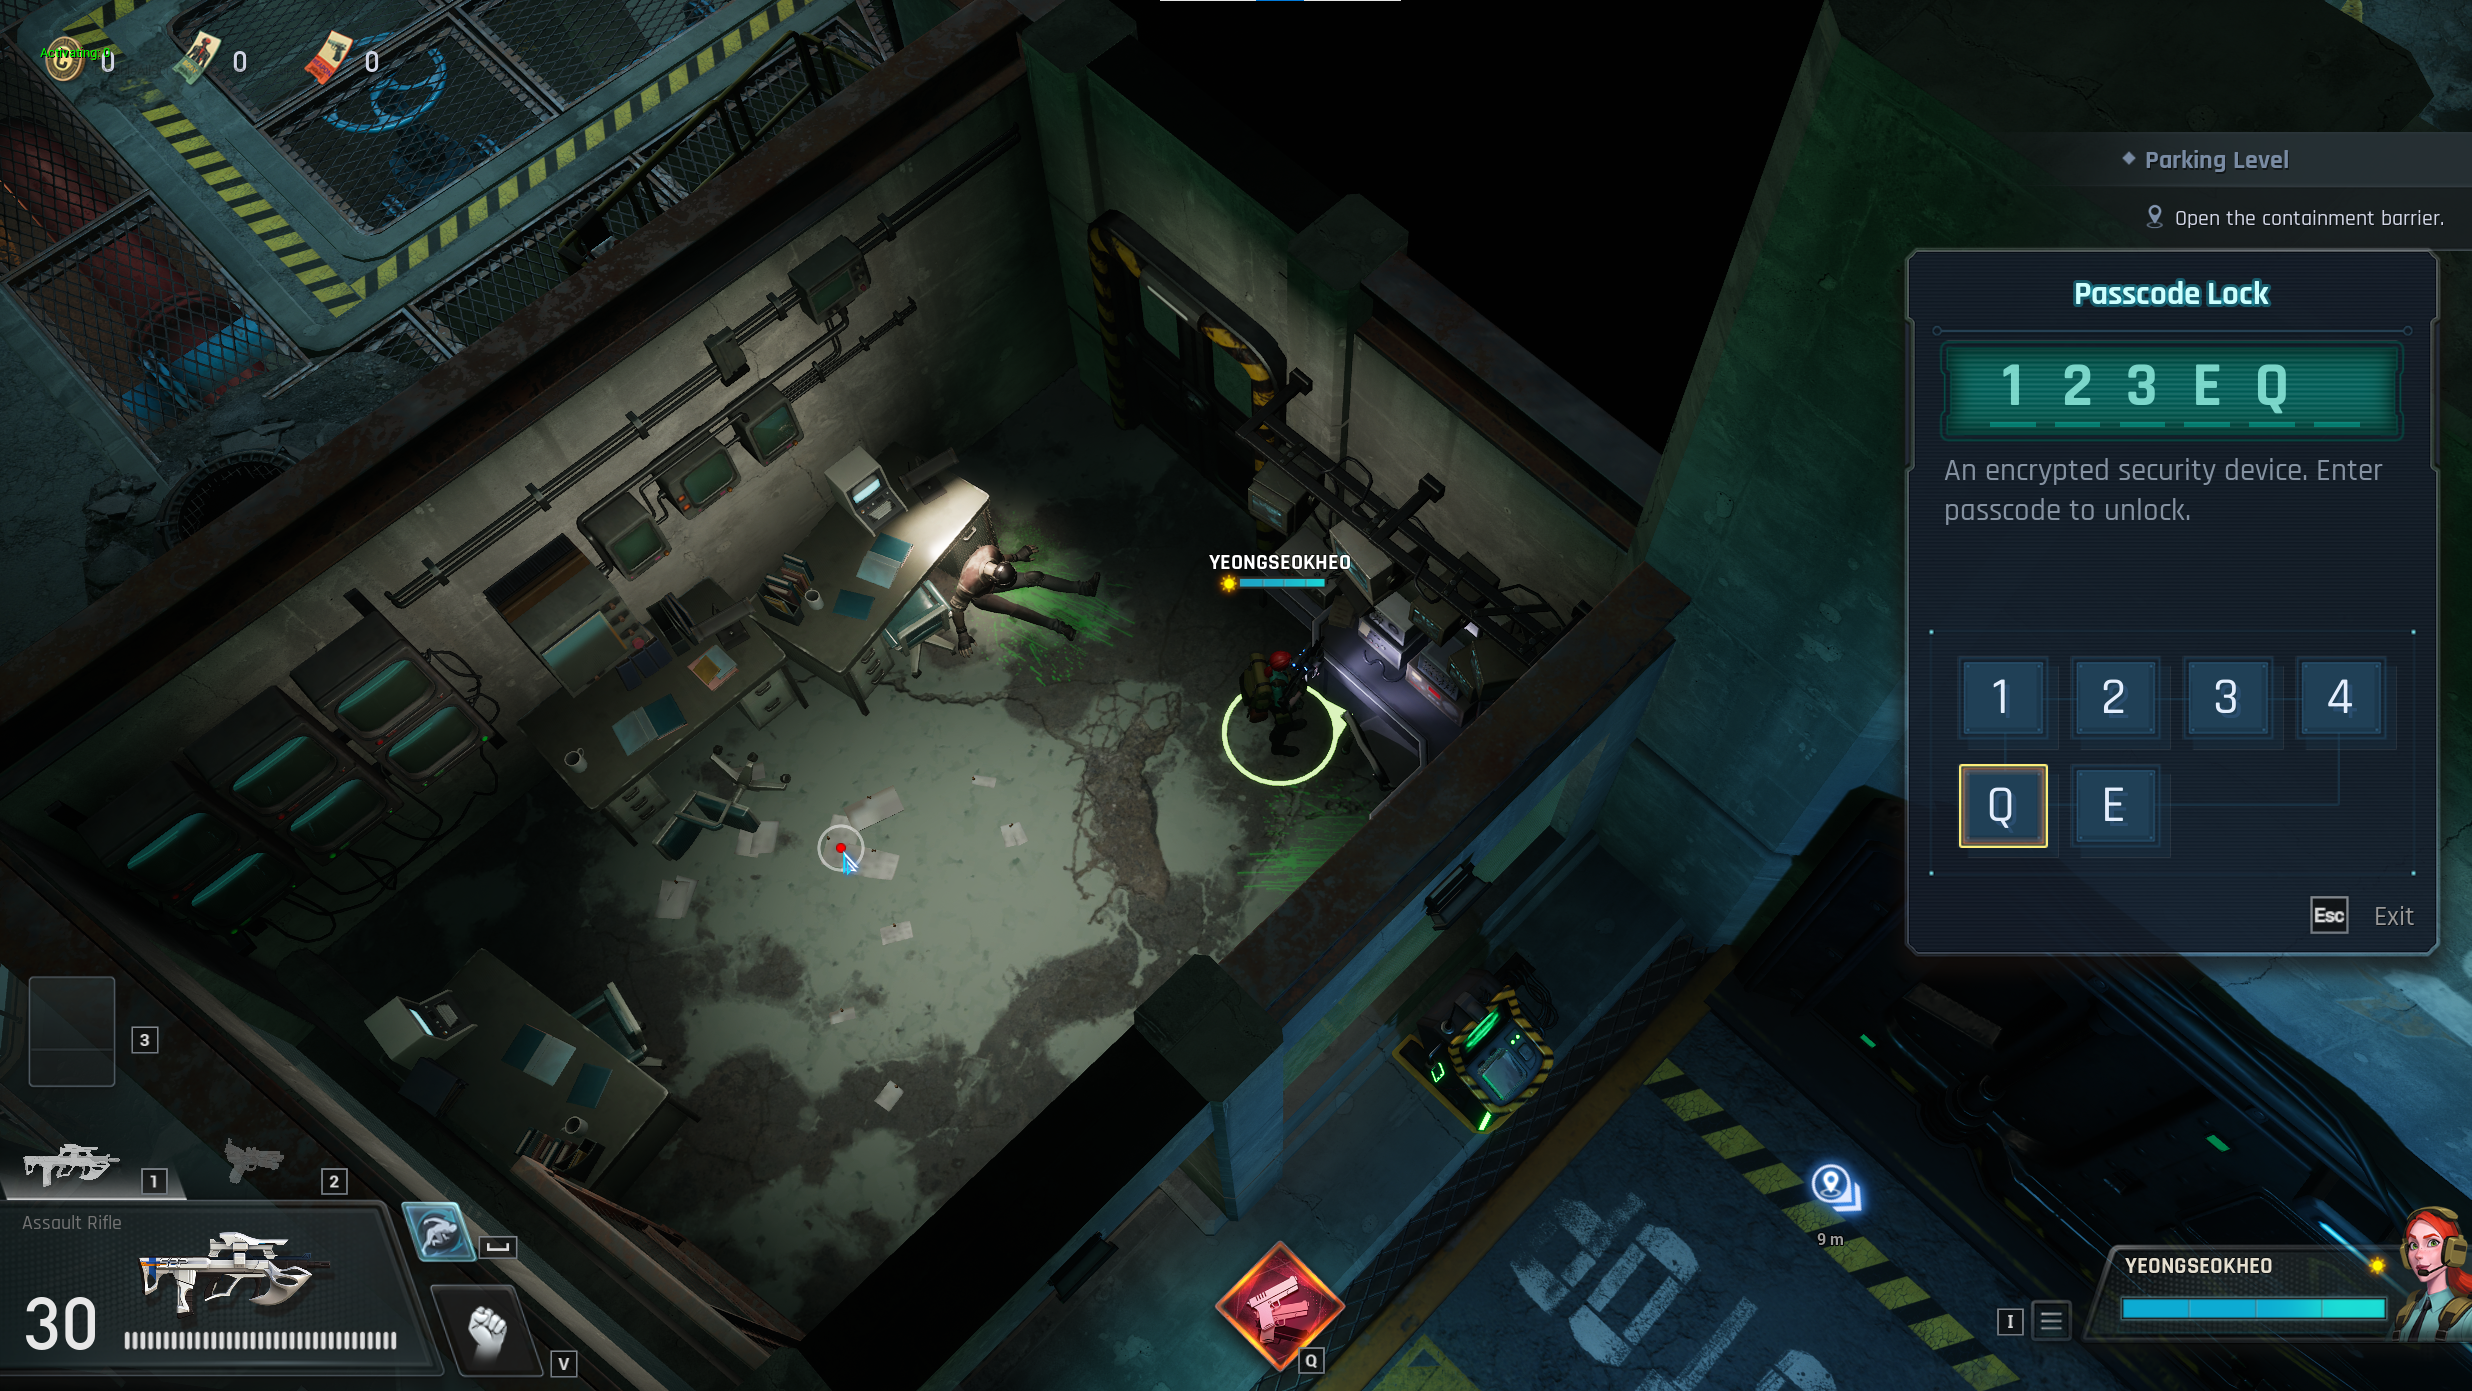 This can be used in the security booth just outside the main gate in the Parking Level, to access a hidden armory.
 Inside, you can obtain a Prime Nethercube – a special drop that only offers Platinum-grade Synaptic, making it very useful.
This, combined with the Reroll Enhancements and Sign-On Bonus upgrades (which let you reroll Synaptic Enhancements and start with more credits) will let you start every run with an immediate and powerful head-start.
Inside, you can obtain a Prime Nethercube – a special drop that only offers Platinum-grade Synaptic, making it very useful.
This, combined with the Reroll Enhancements and Sign-On Bonus upgrades (which let you reroll Synaptic Enhancements and start with more credits) will let you start every run with an immediate and powerful head-start.
Cargo Elevator
 By exploring the base carefully, you can find a code to unlock the Cargo Elevator. (But the code is randomly generated and unique to each player, so you won’t be able to just look them up online!)
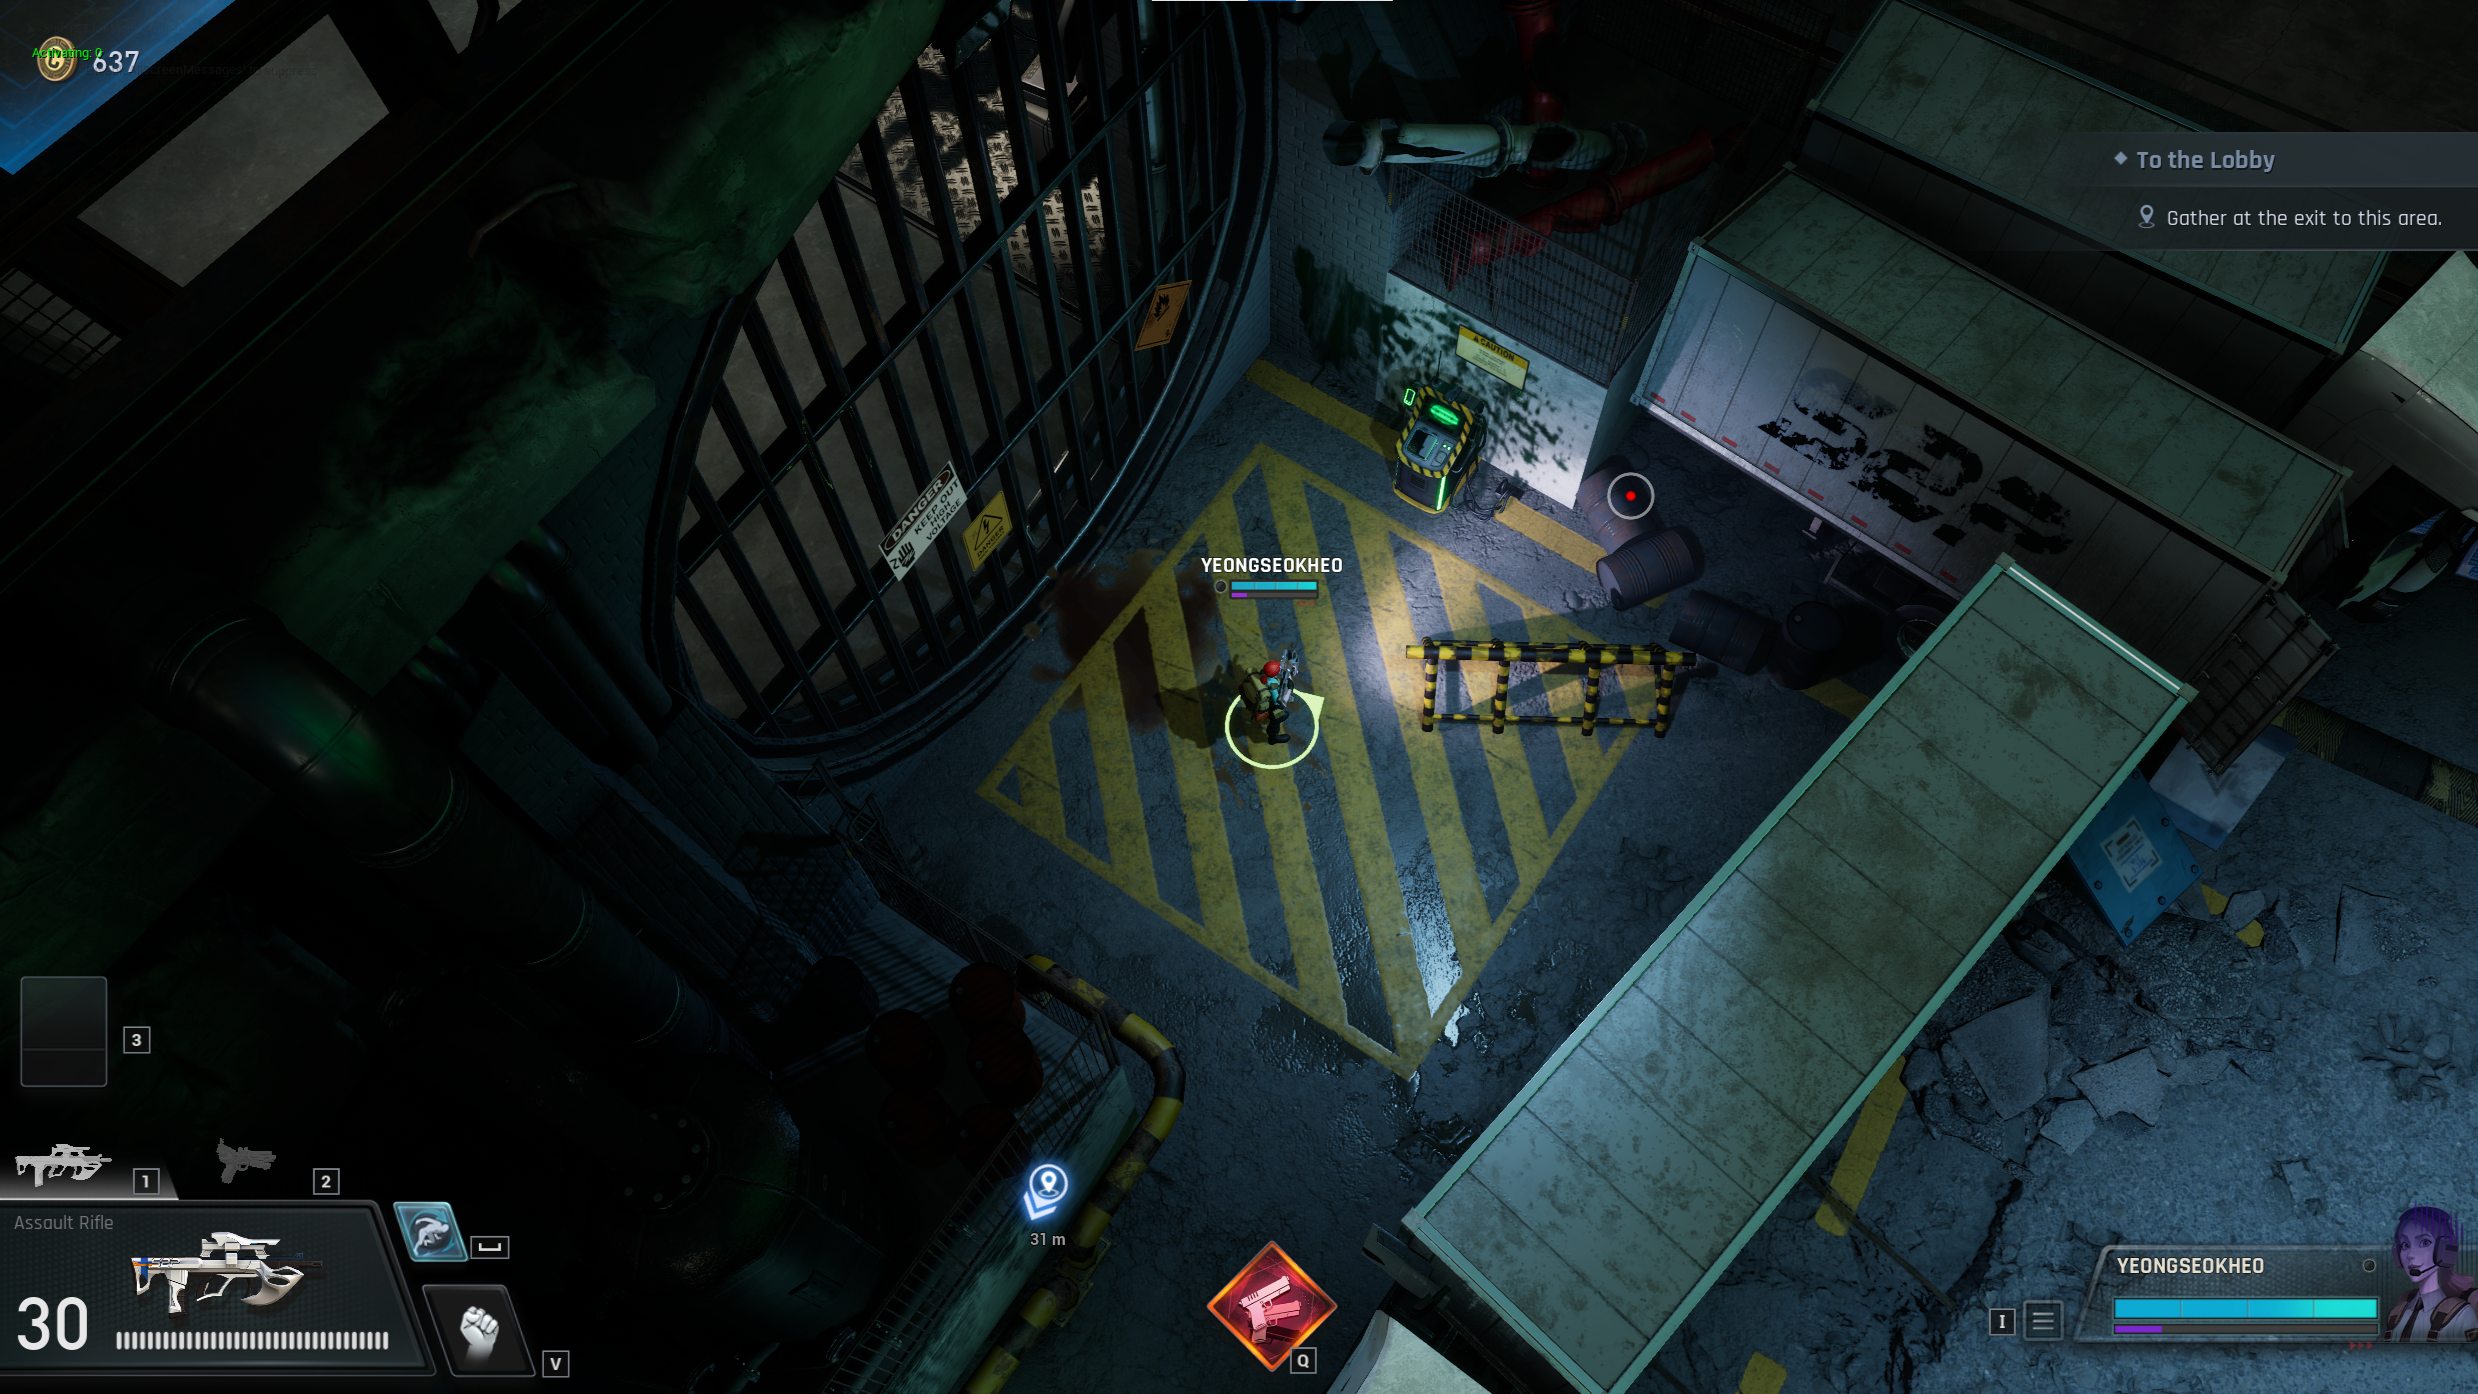
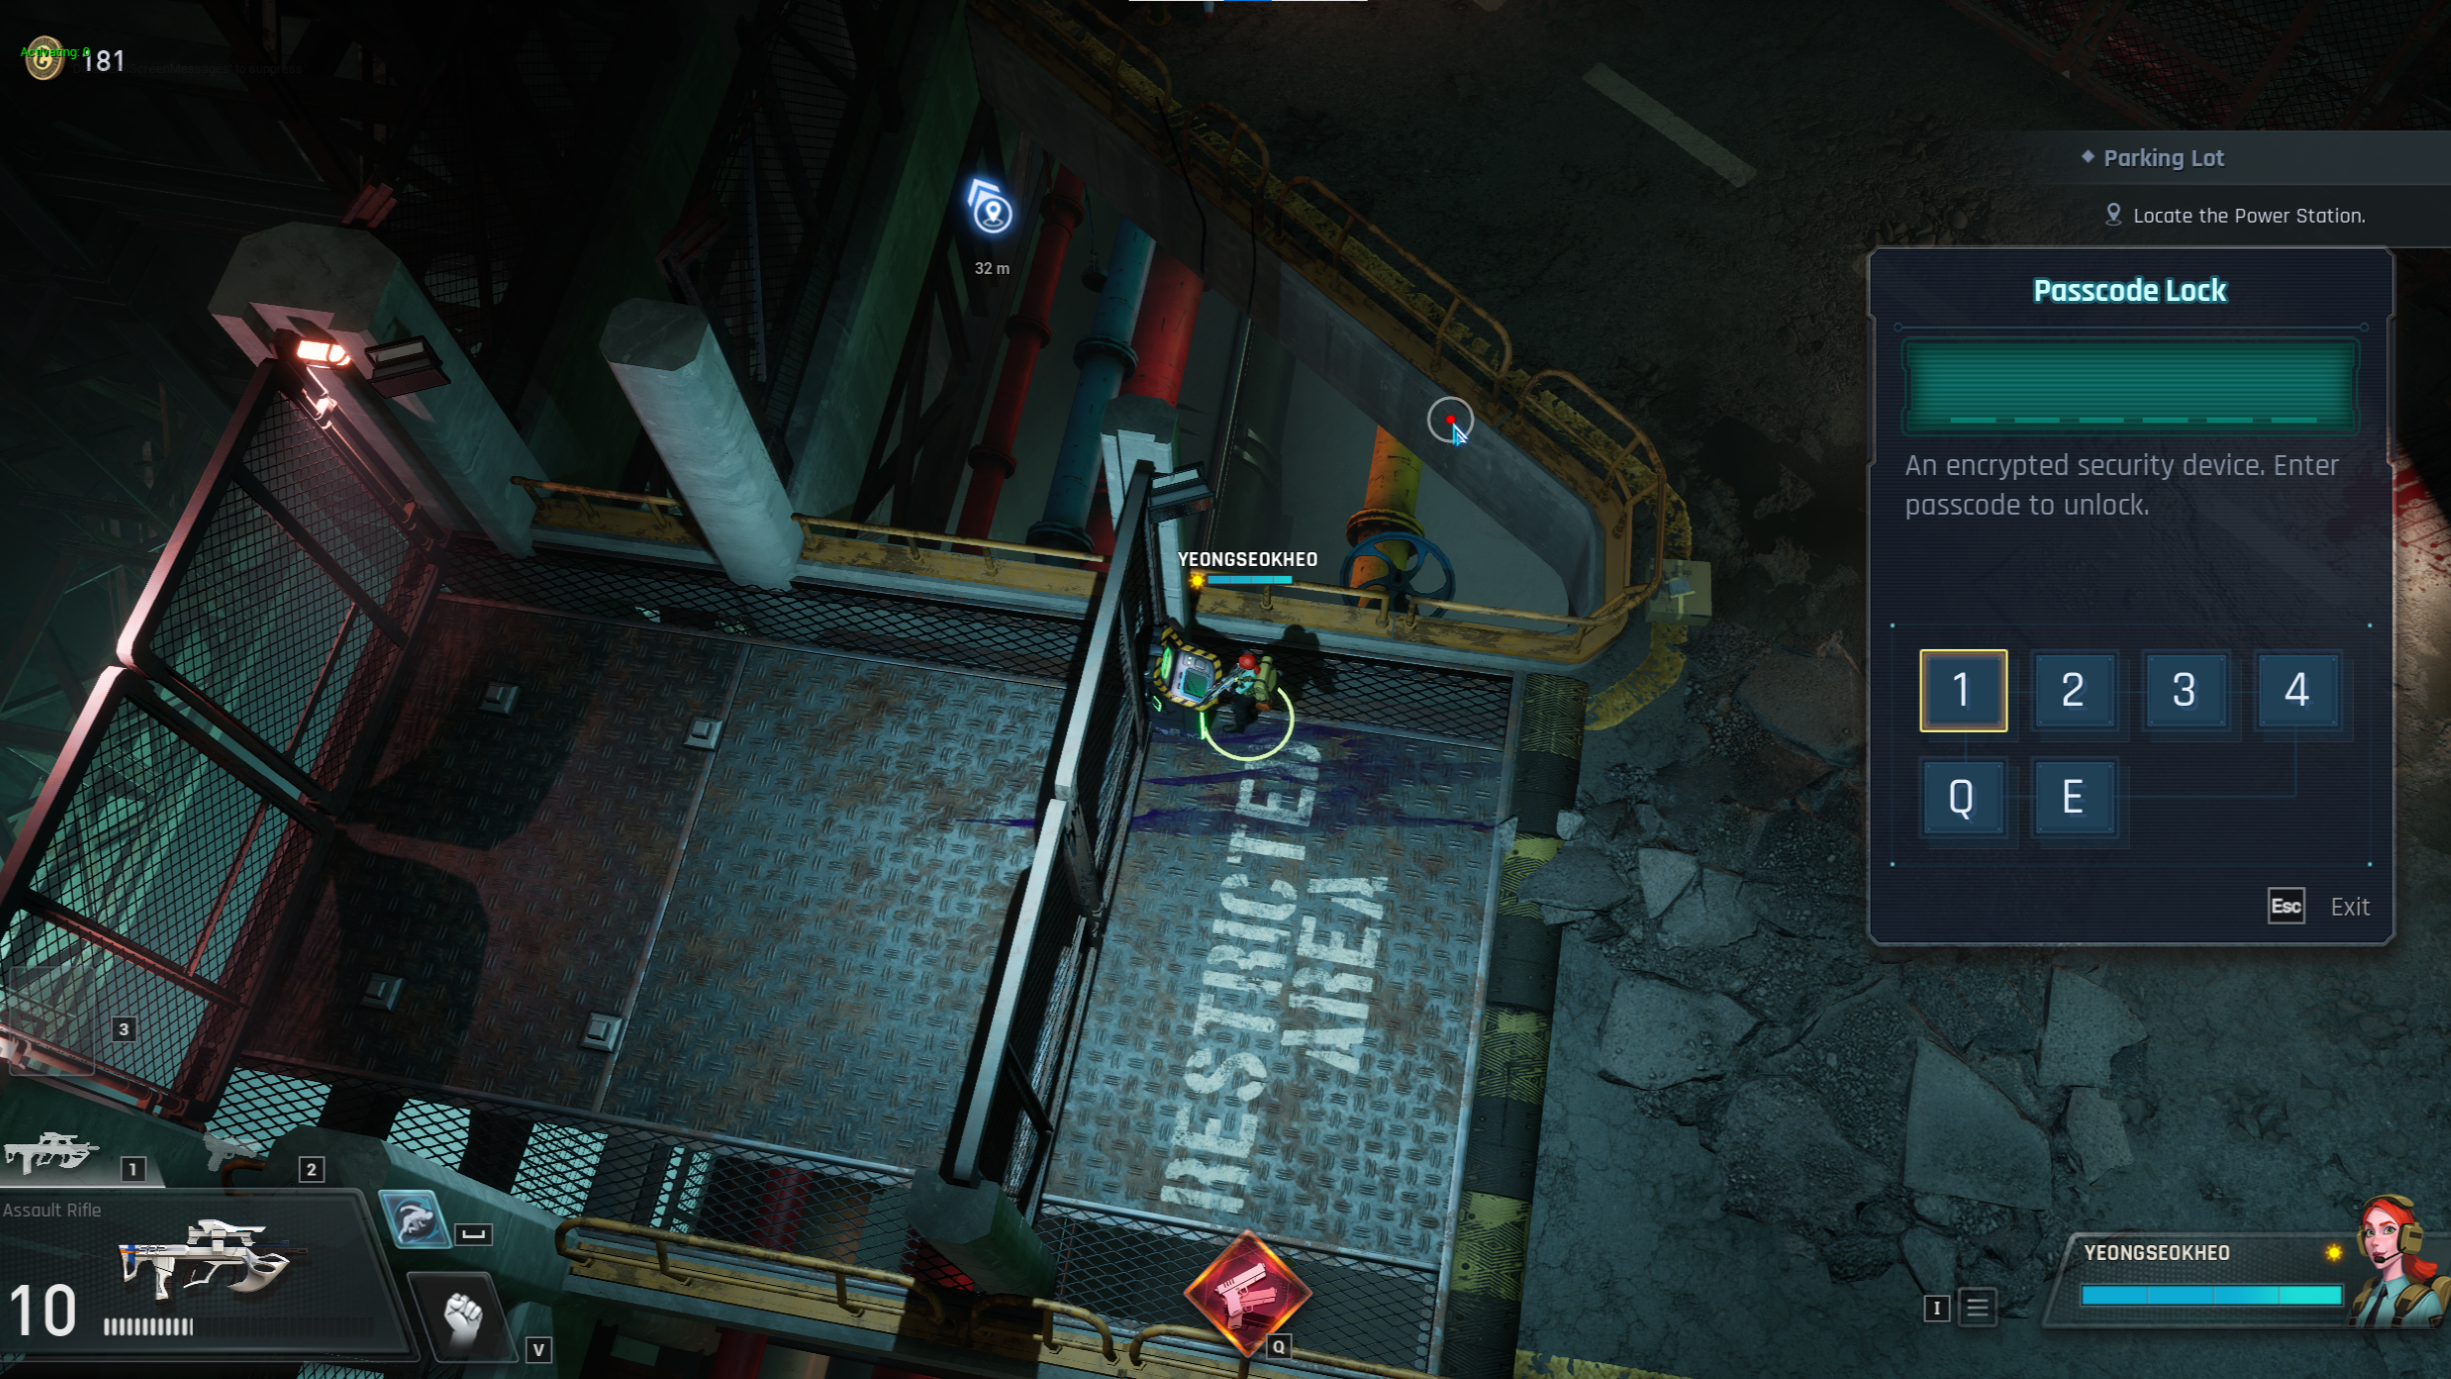 On some variants of the Parking Level, you’ll have access to the elevator. Just punch in the passcode and climb aboard…
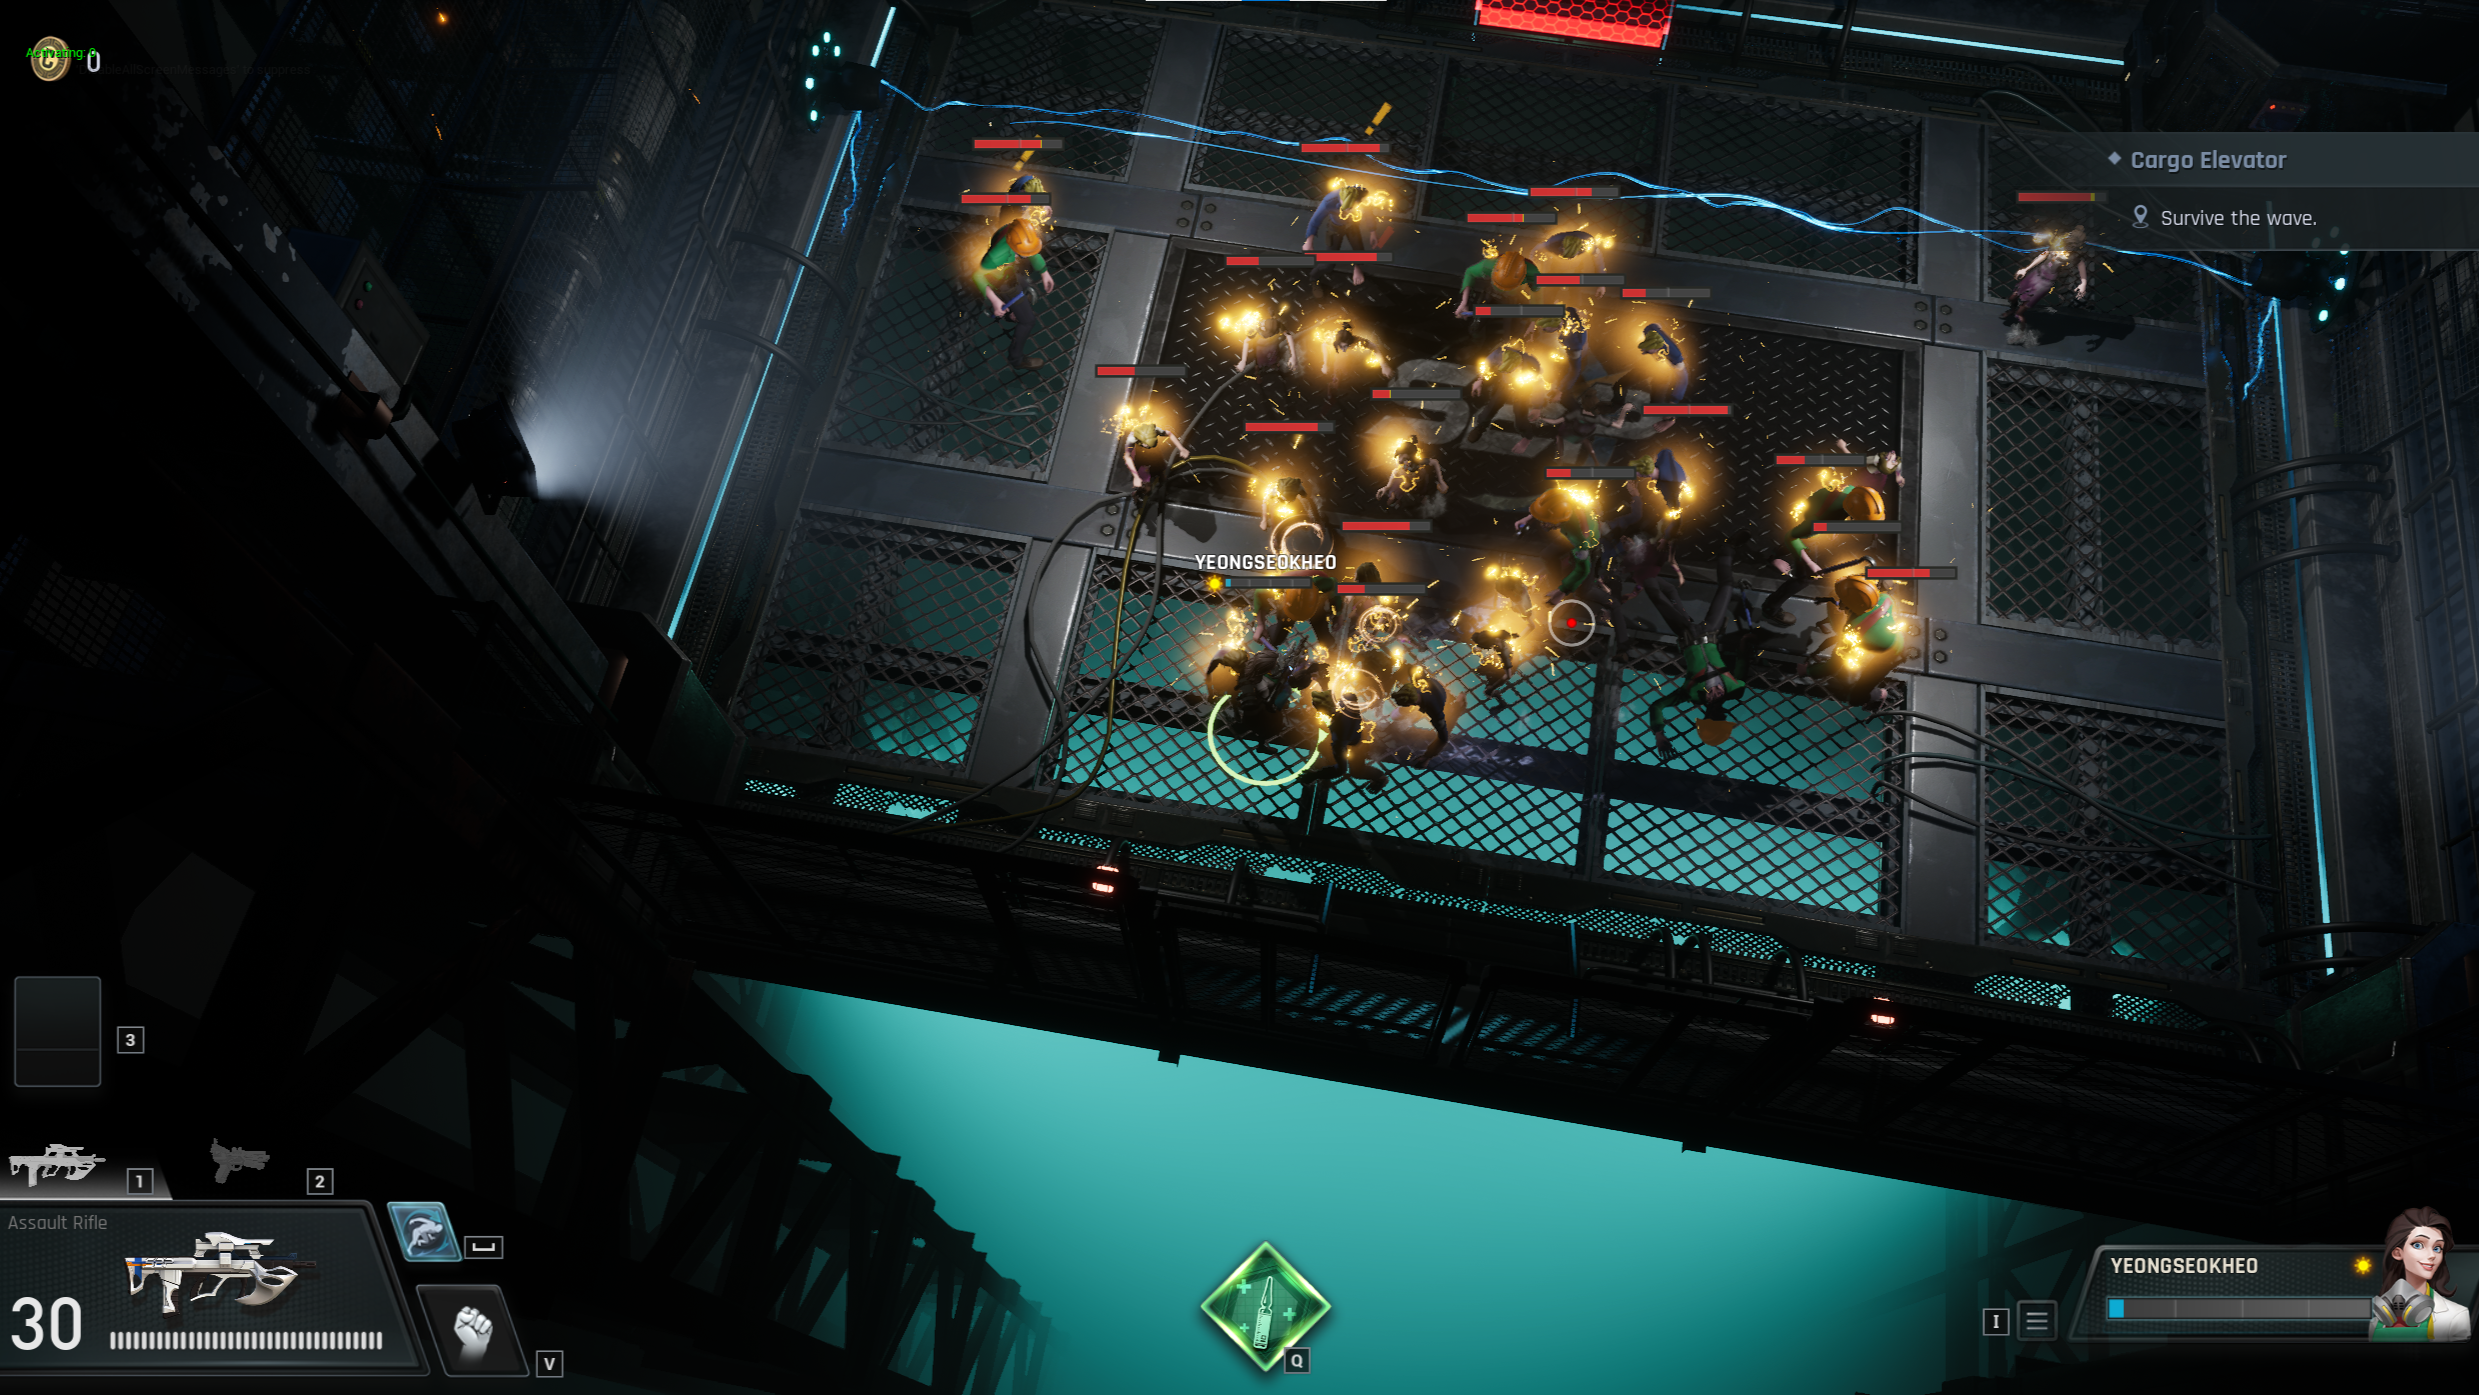 …where you’ll find your former coworkers ready to throw you a welcome party.
Clearing the elevator within the time limit and/or without taking any damage grants you better rewards at the end.
The elevator also takes you directly to the Office level, bypassing the Lobby. I recommend this challenge to agents who want good rewards and quick progression.
…where you’ll find your former coworkers ready to throw you a welcome party.
Clearing the elevator within the time limit and/or without taking any damage grants you better rewards at the end.
The elevator also takes you directly to the Office level, bypassing the Lobby. I recommend this challenge to agents who want good rewards and quick progression.
Sanitation Tunnels
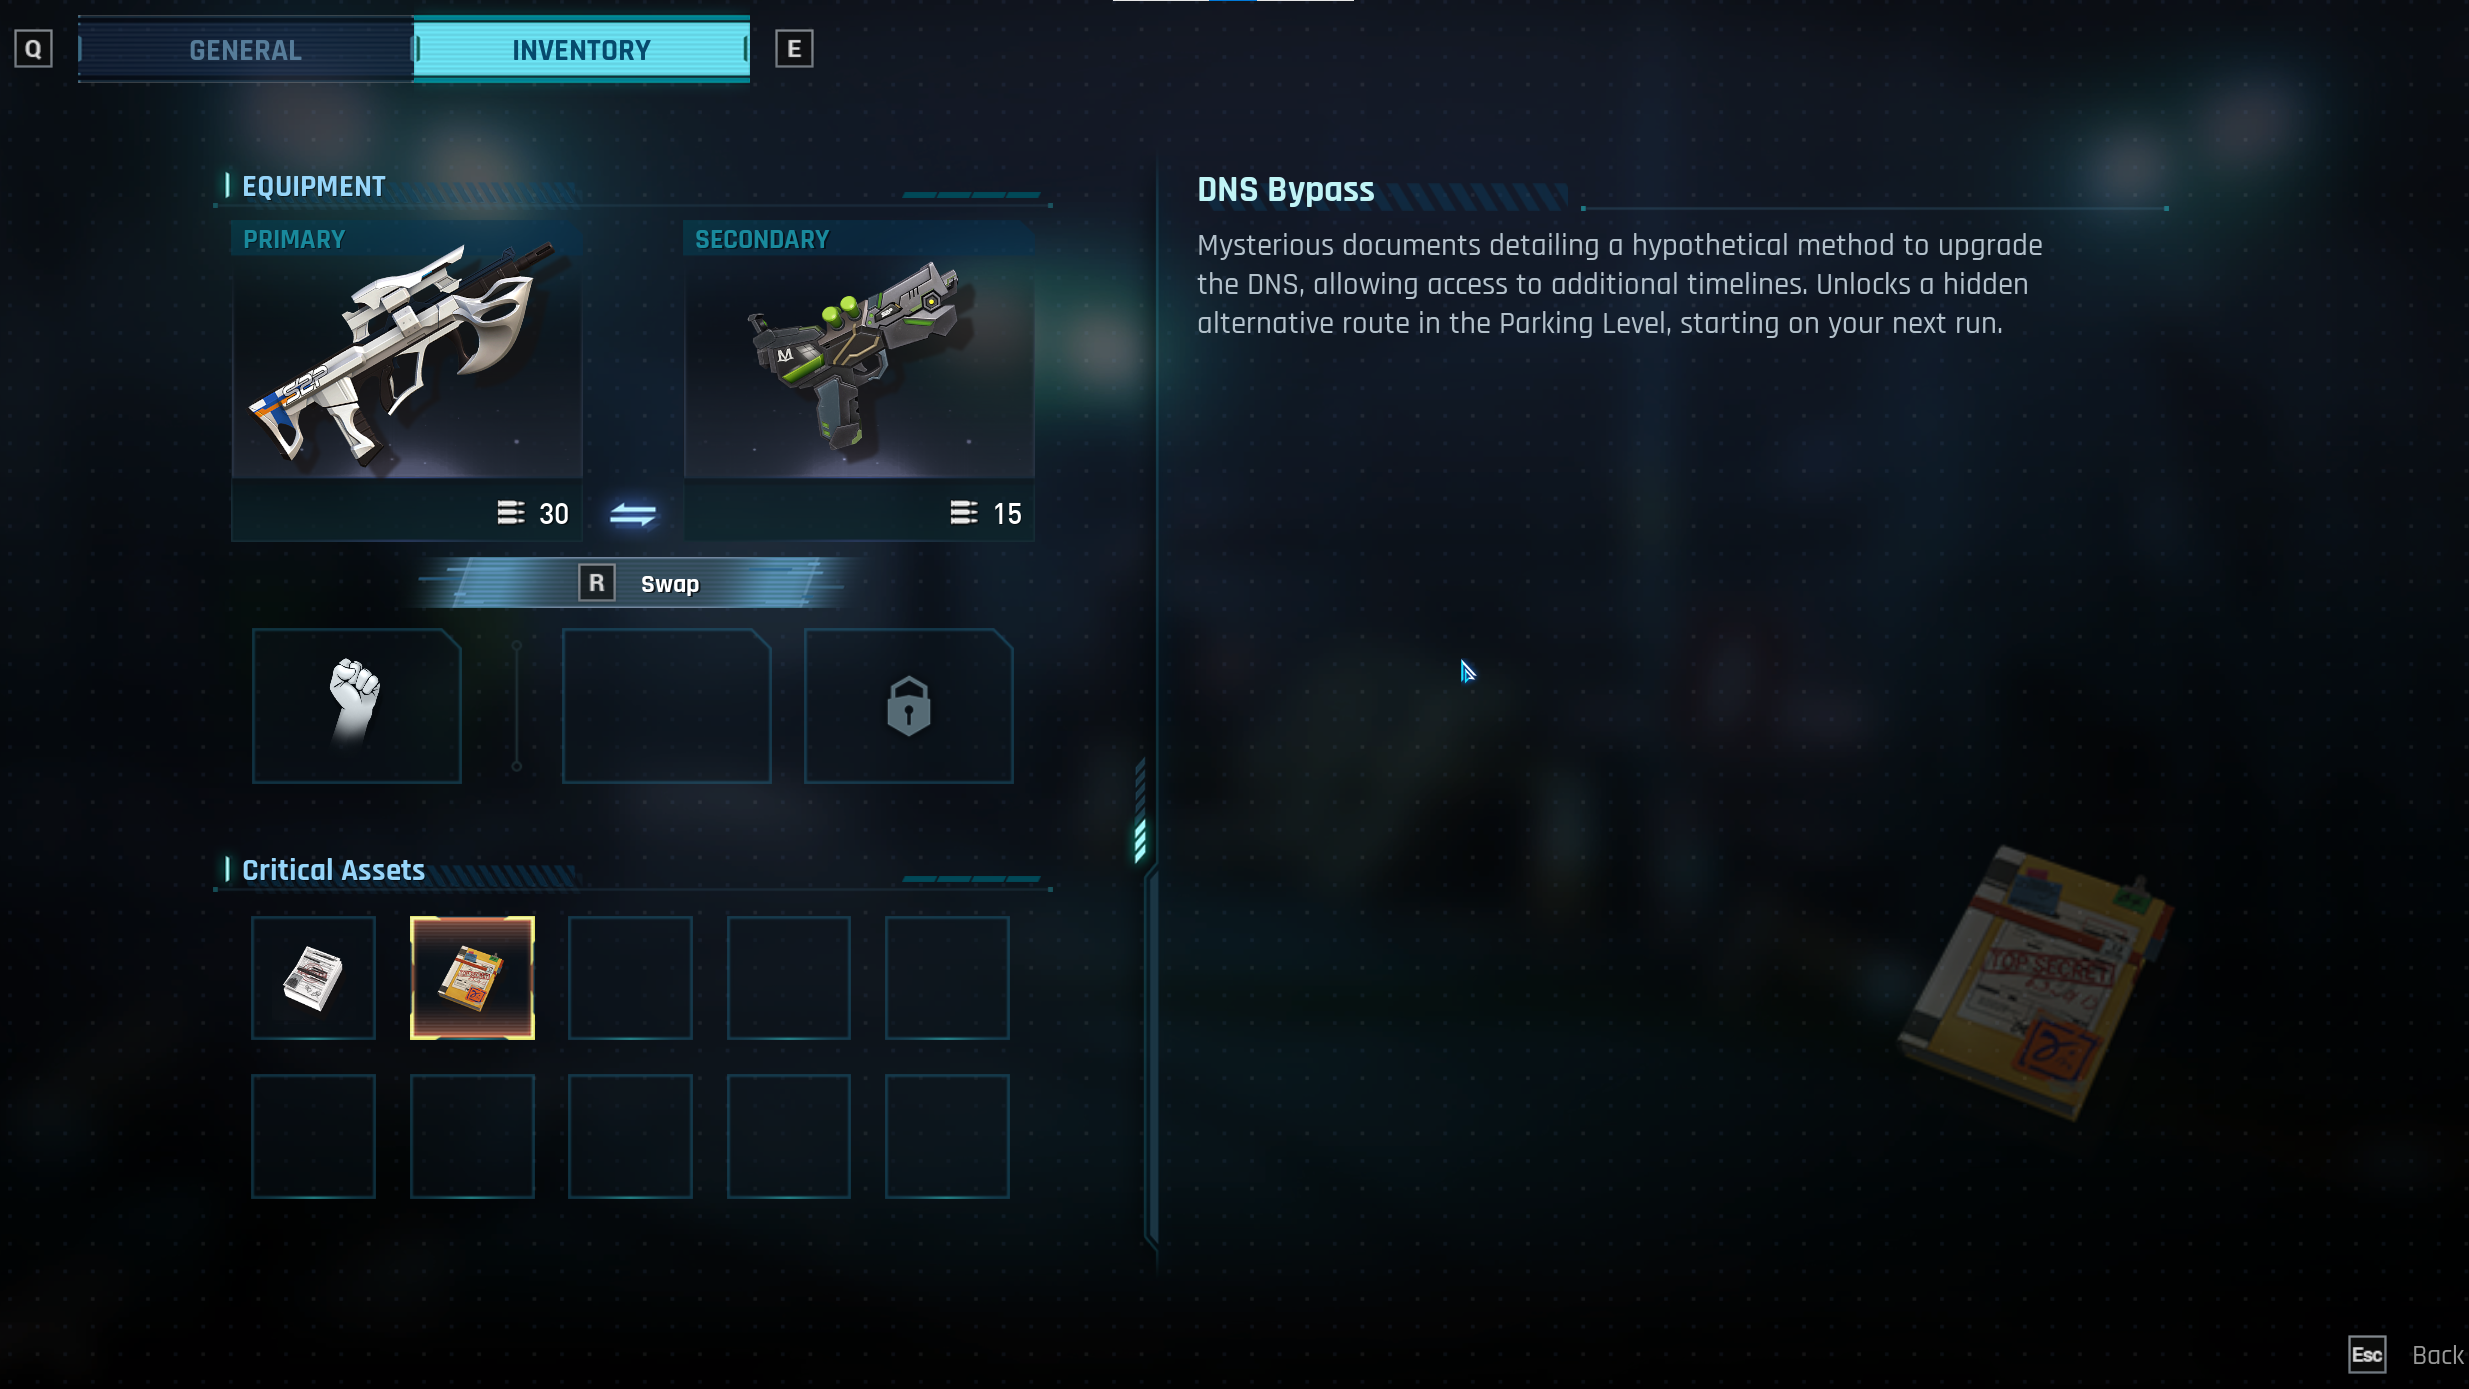 You can enter the Sanitation Tunnels after you obtain the DNS Bypass item.
 These can also be accessed through one of the Parking Level variants.
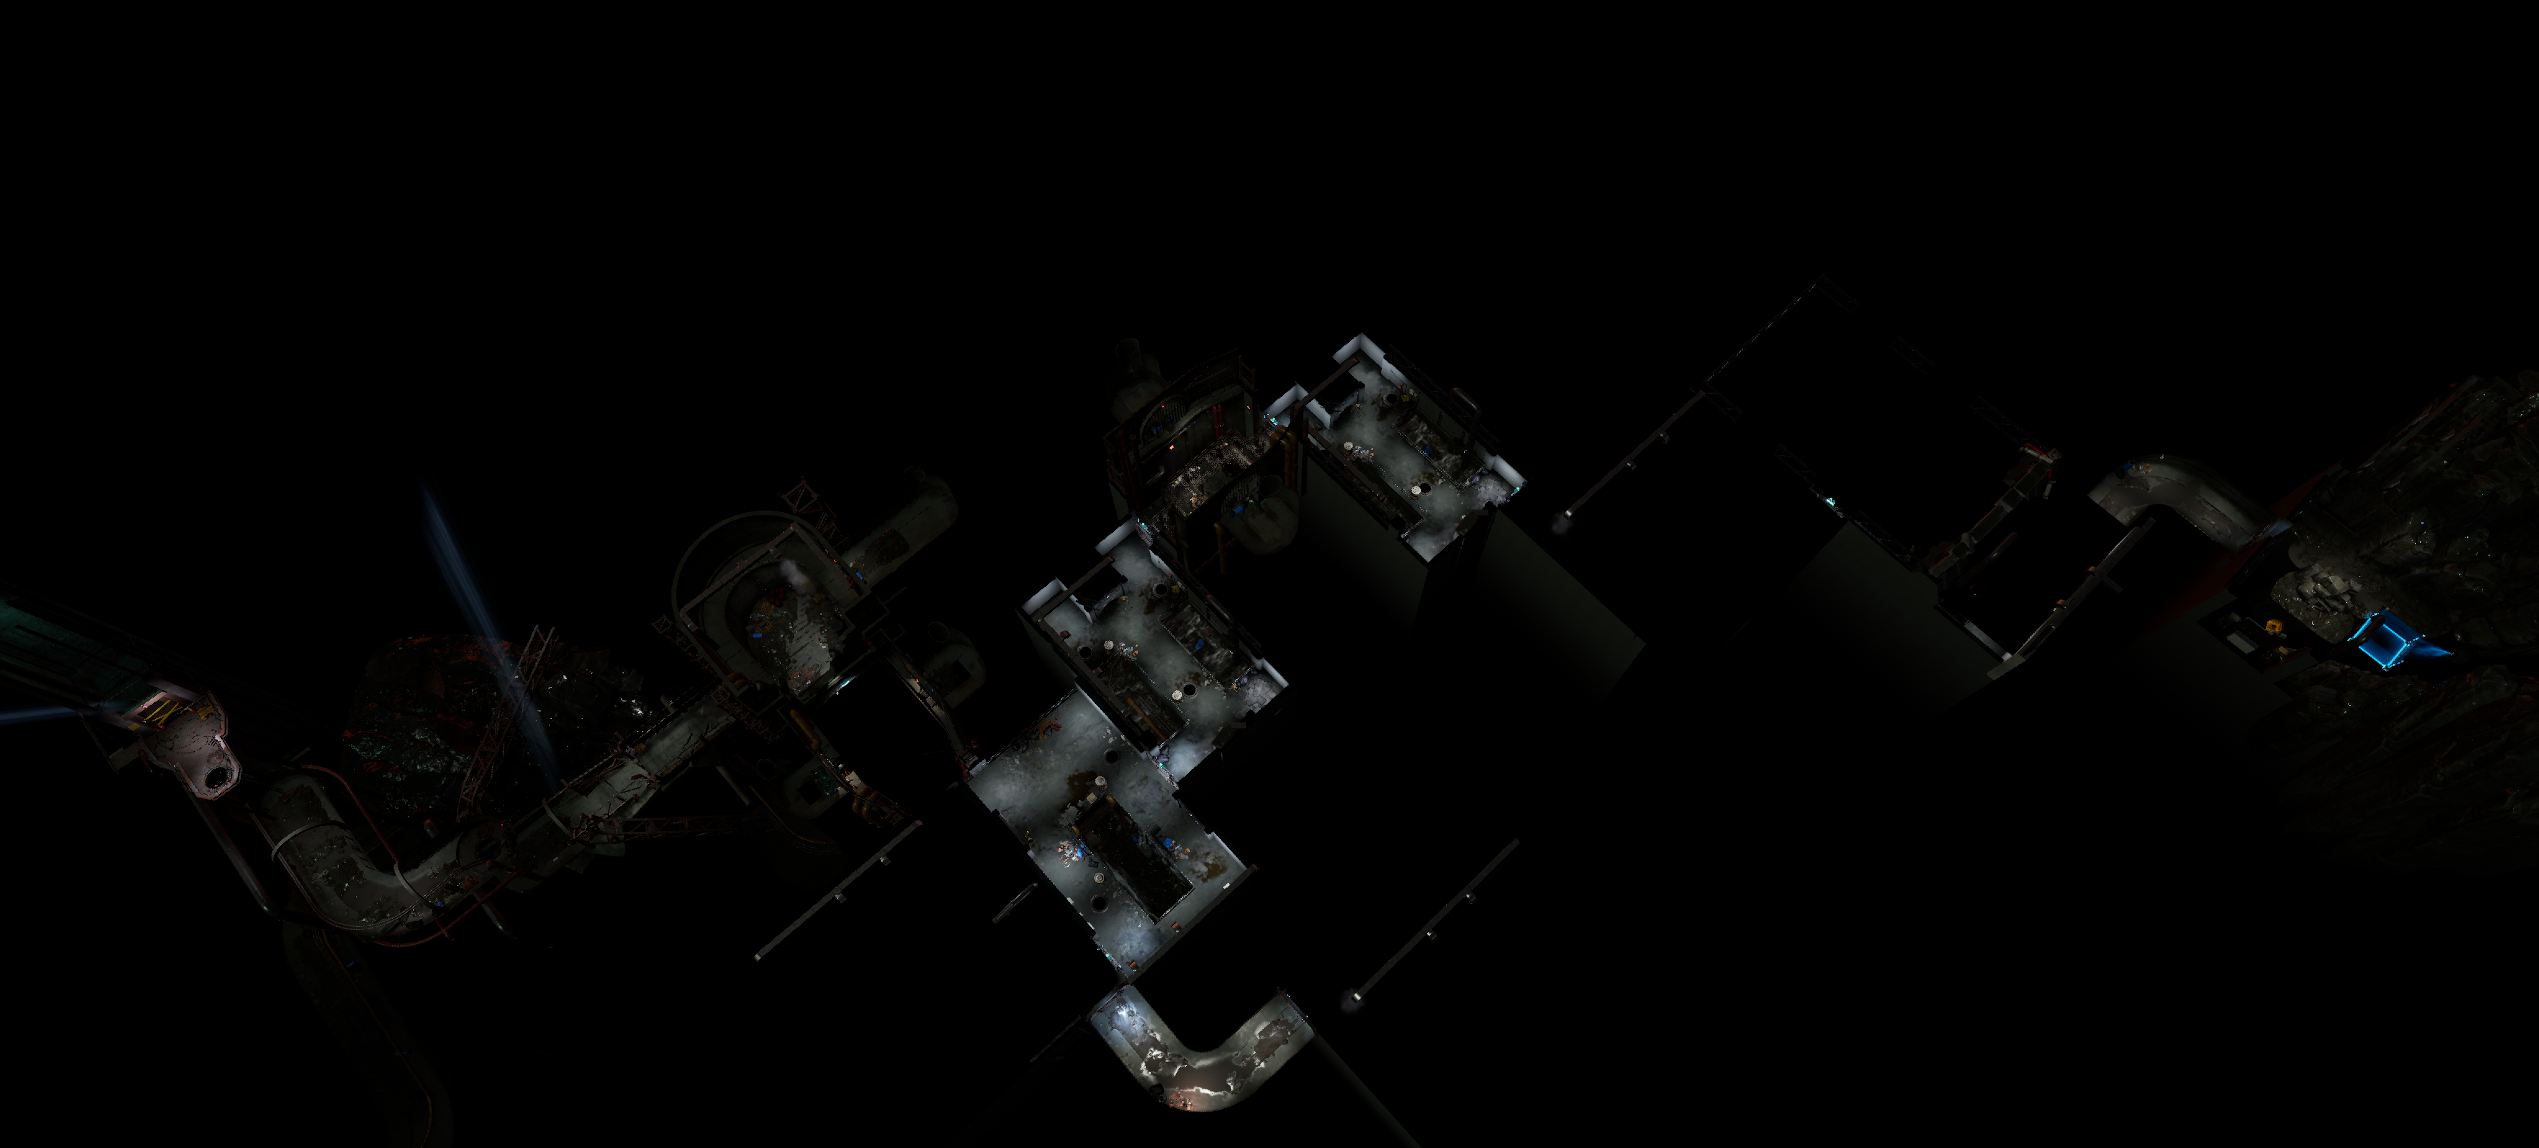
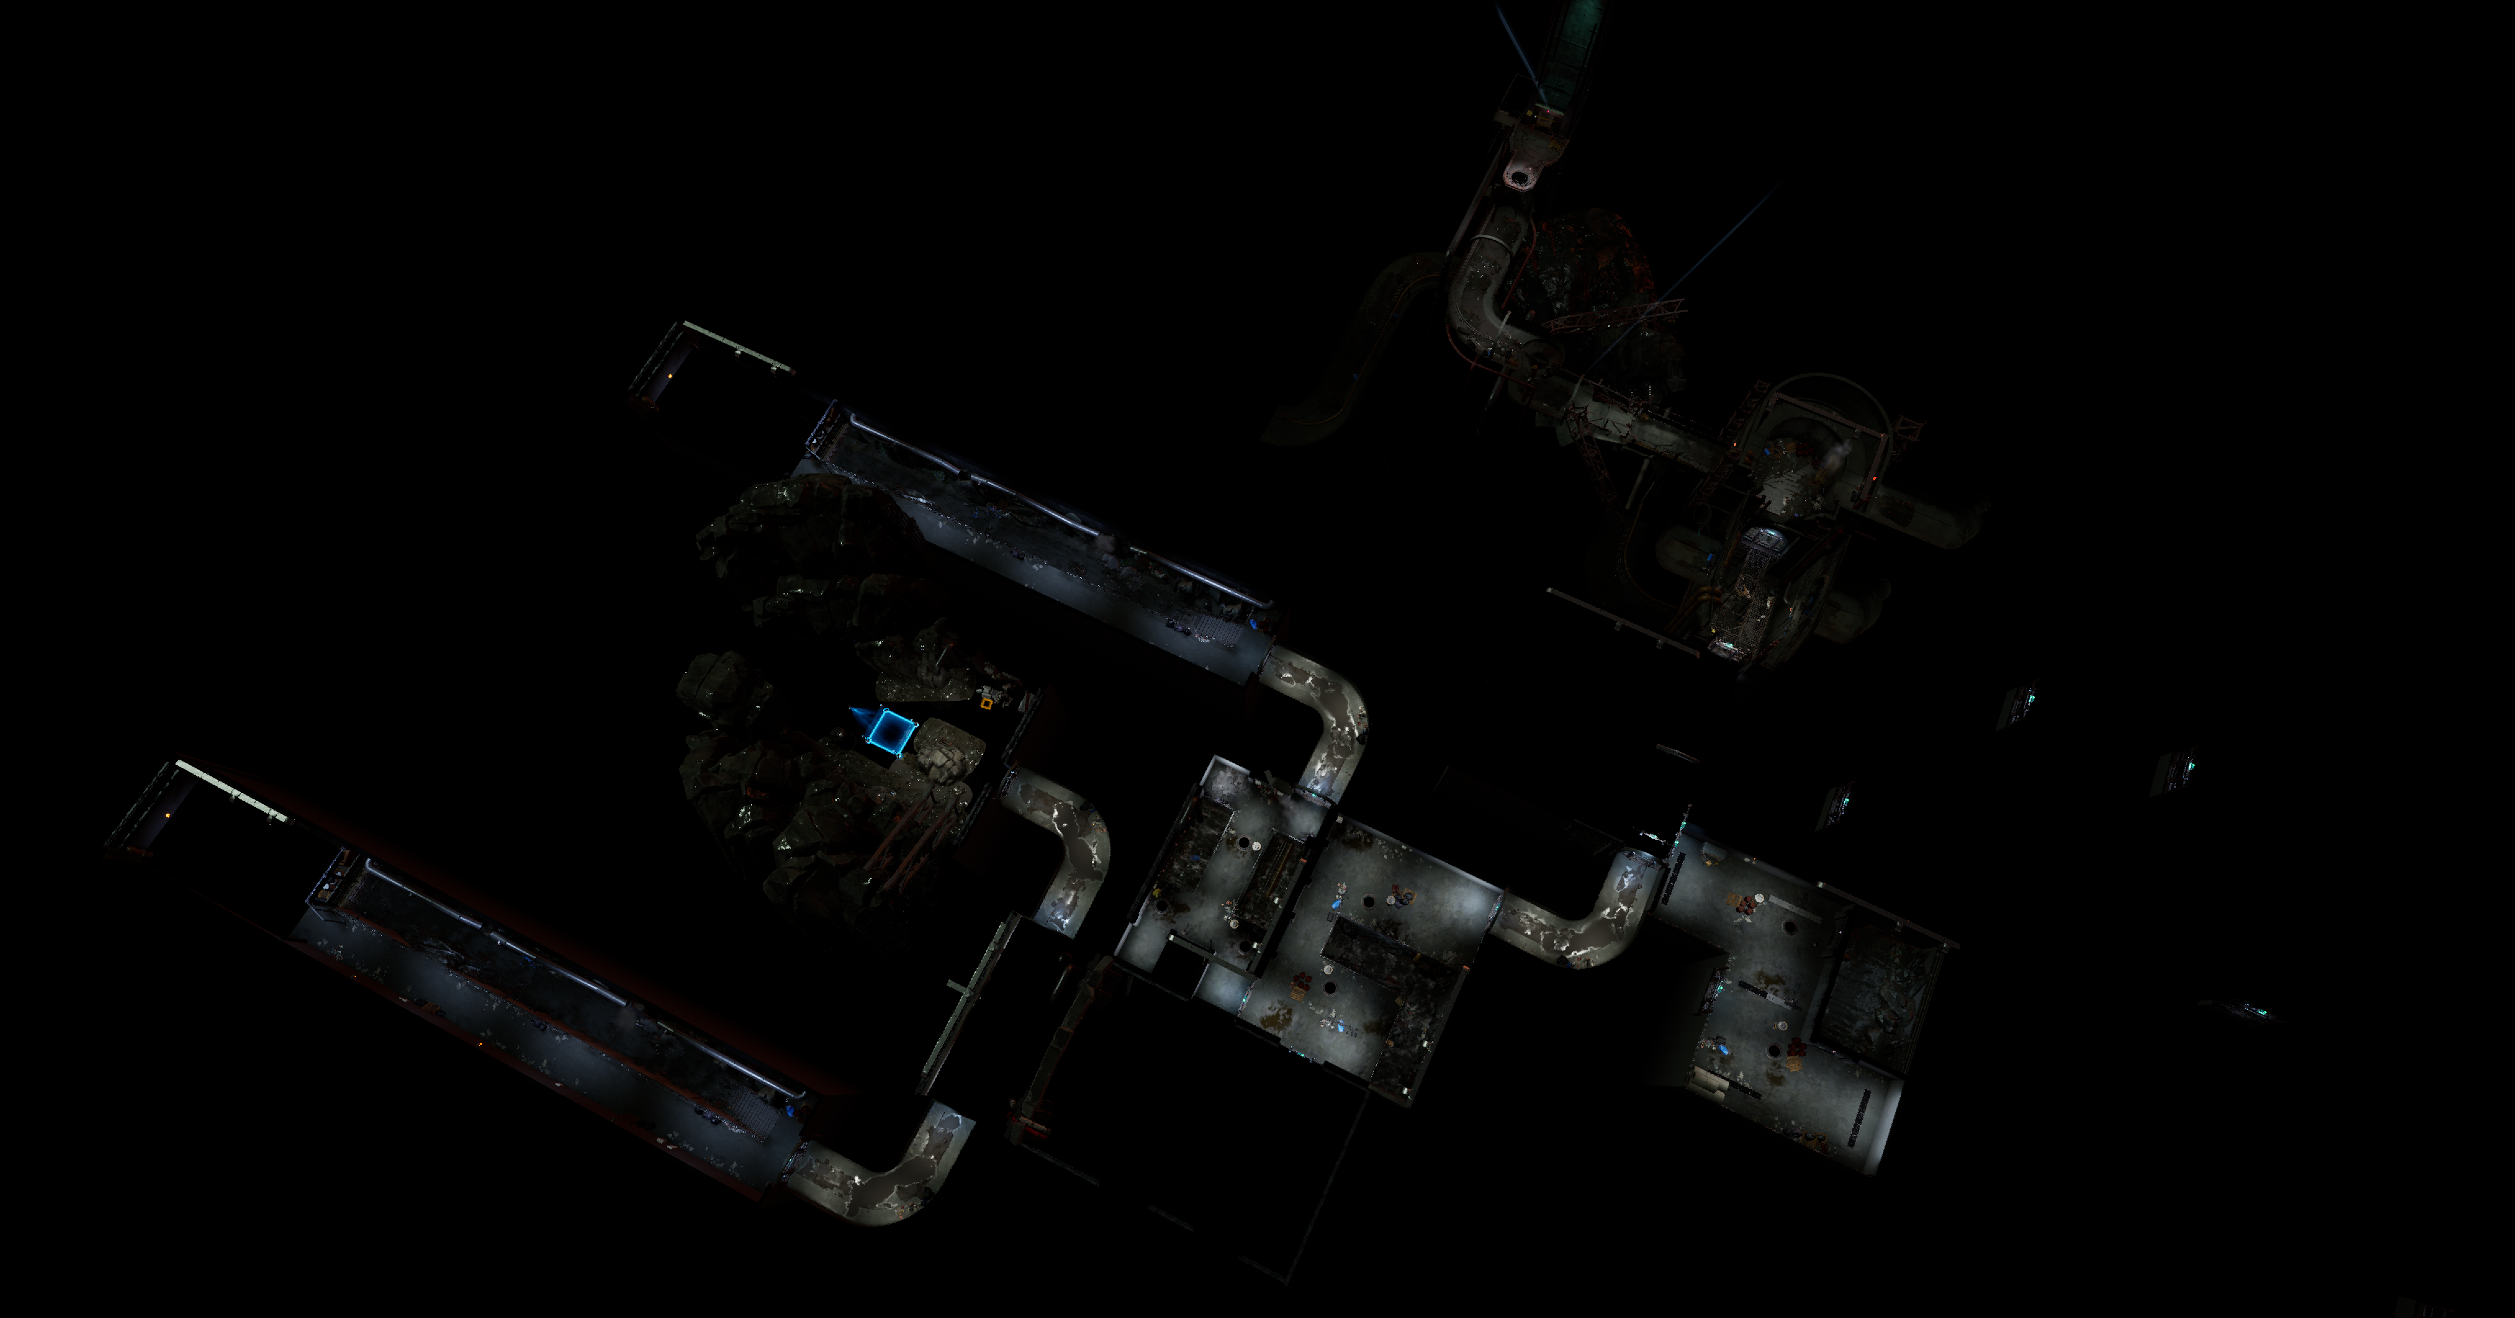 The Sanitation Tunnels are procedurally generated – meaning, the layout will change each time you enter. They’re great for Agents who want exciting rewards and a really scary, unpredictable combat experience. Like the elevator, they’ll also shortcut you directly to the Office level.
Location Unknown
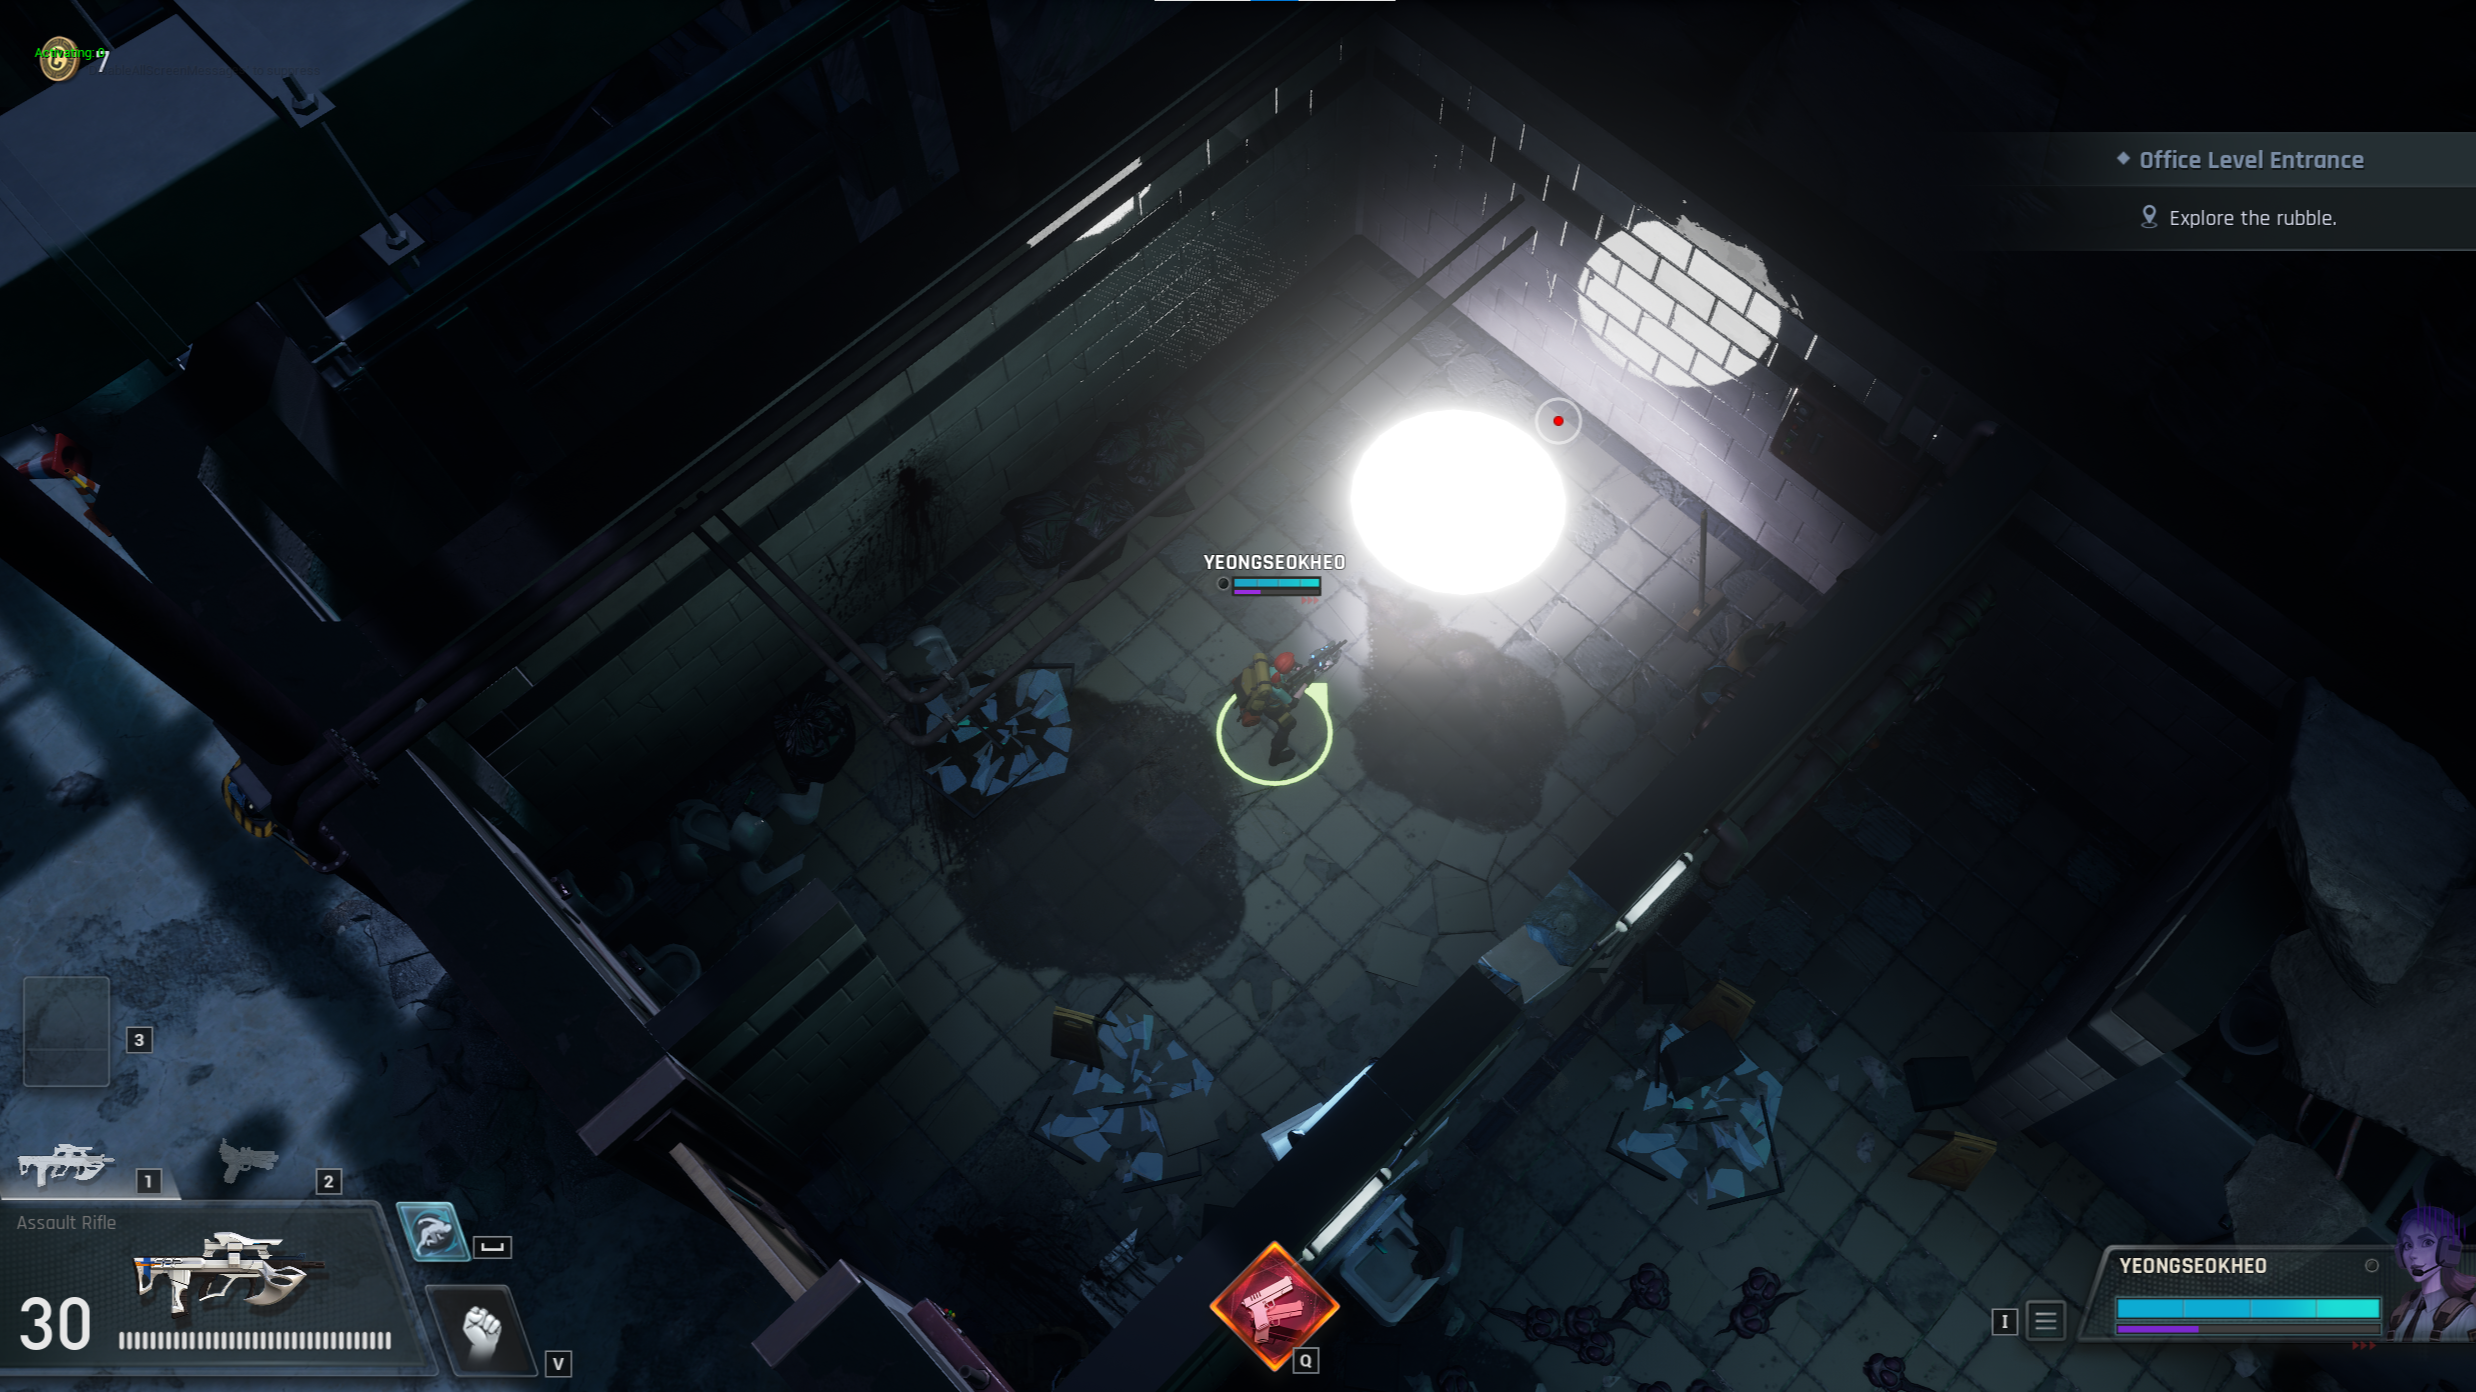 When it gets too hard to focus at work, a trip to bathroom is always an option… unless you work at S2P, where such things tend to get weird.
If you come across a strange portal in the restrooms of the Office Level, take a step inside. You may just find yourself transported to an exciting, cheerful wonderland full of new friends.
When it gets too hard to focus at work, a trip to bathroom is always an option… unless you work at S2P, where such things tend to get weird.
If you come across a strange portal in the restrooms of the Office Level, take a step inside. You may just find yourself transported to an exciting, cheerful wonderland full of new friends.
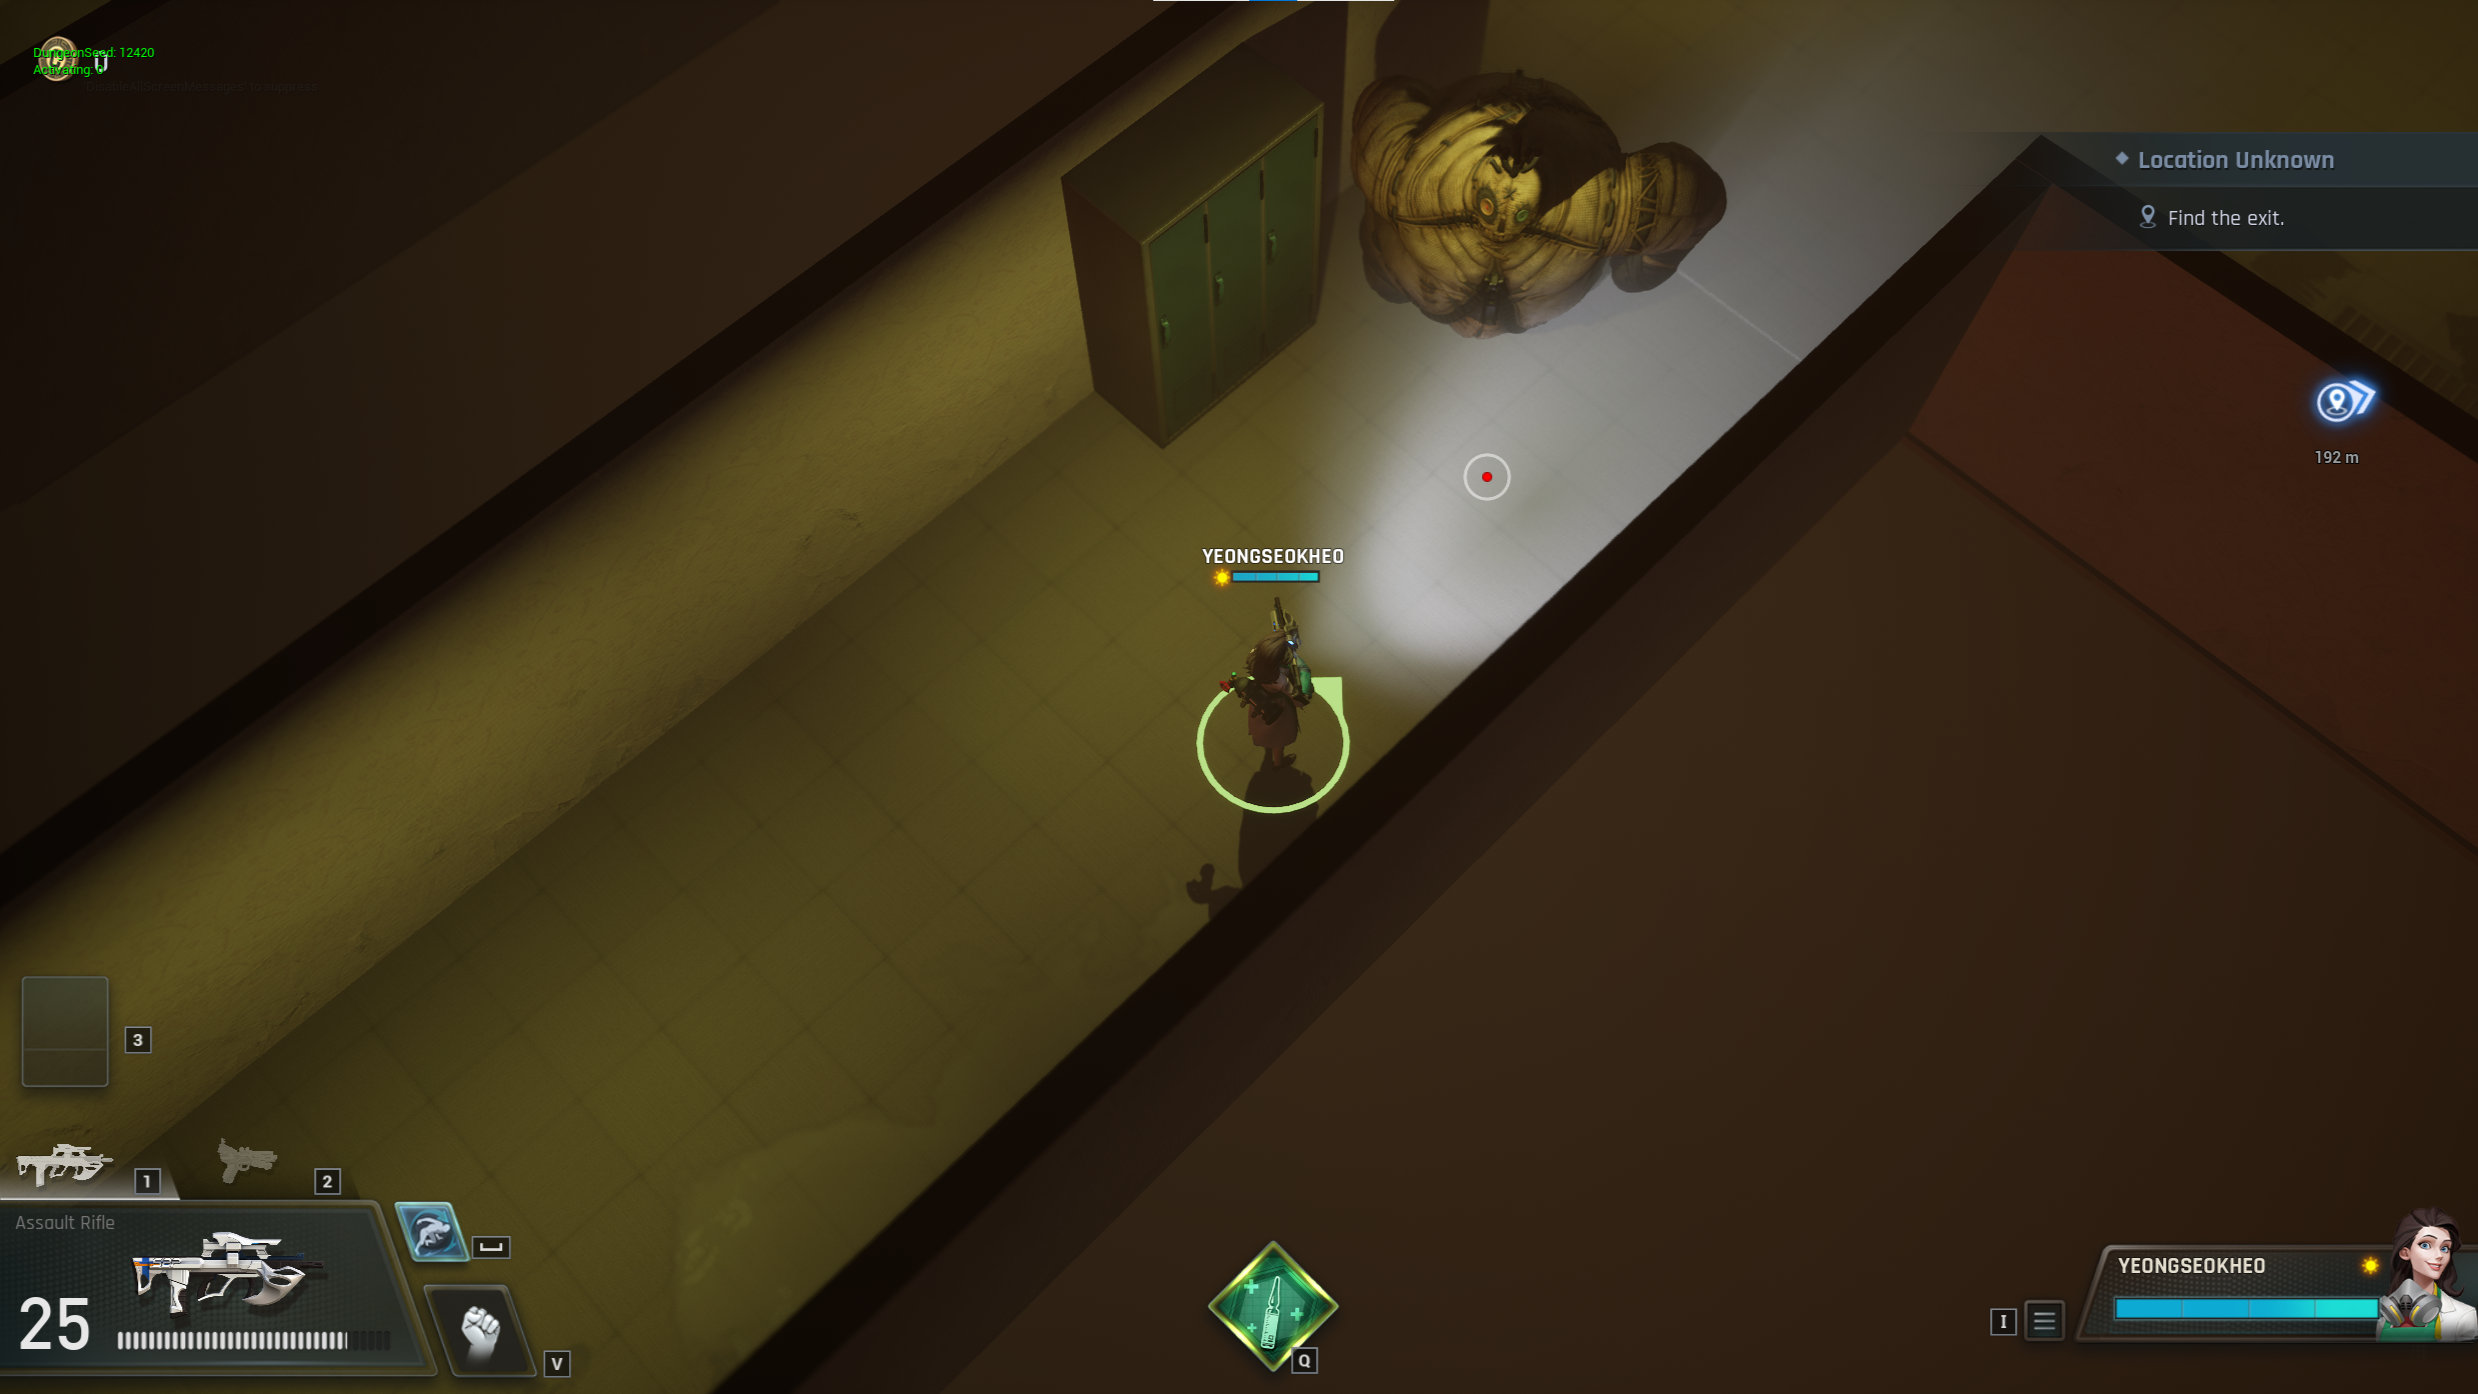
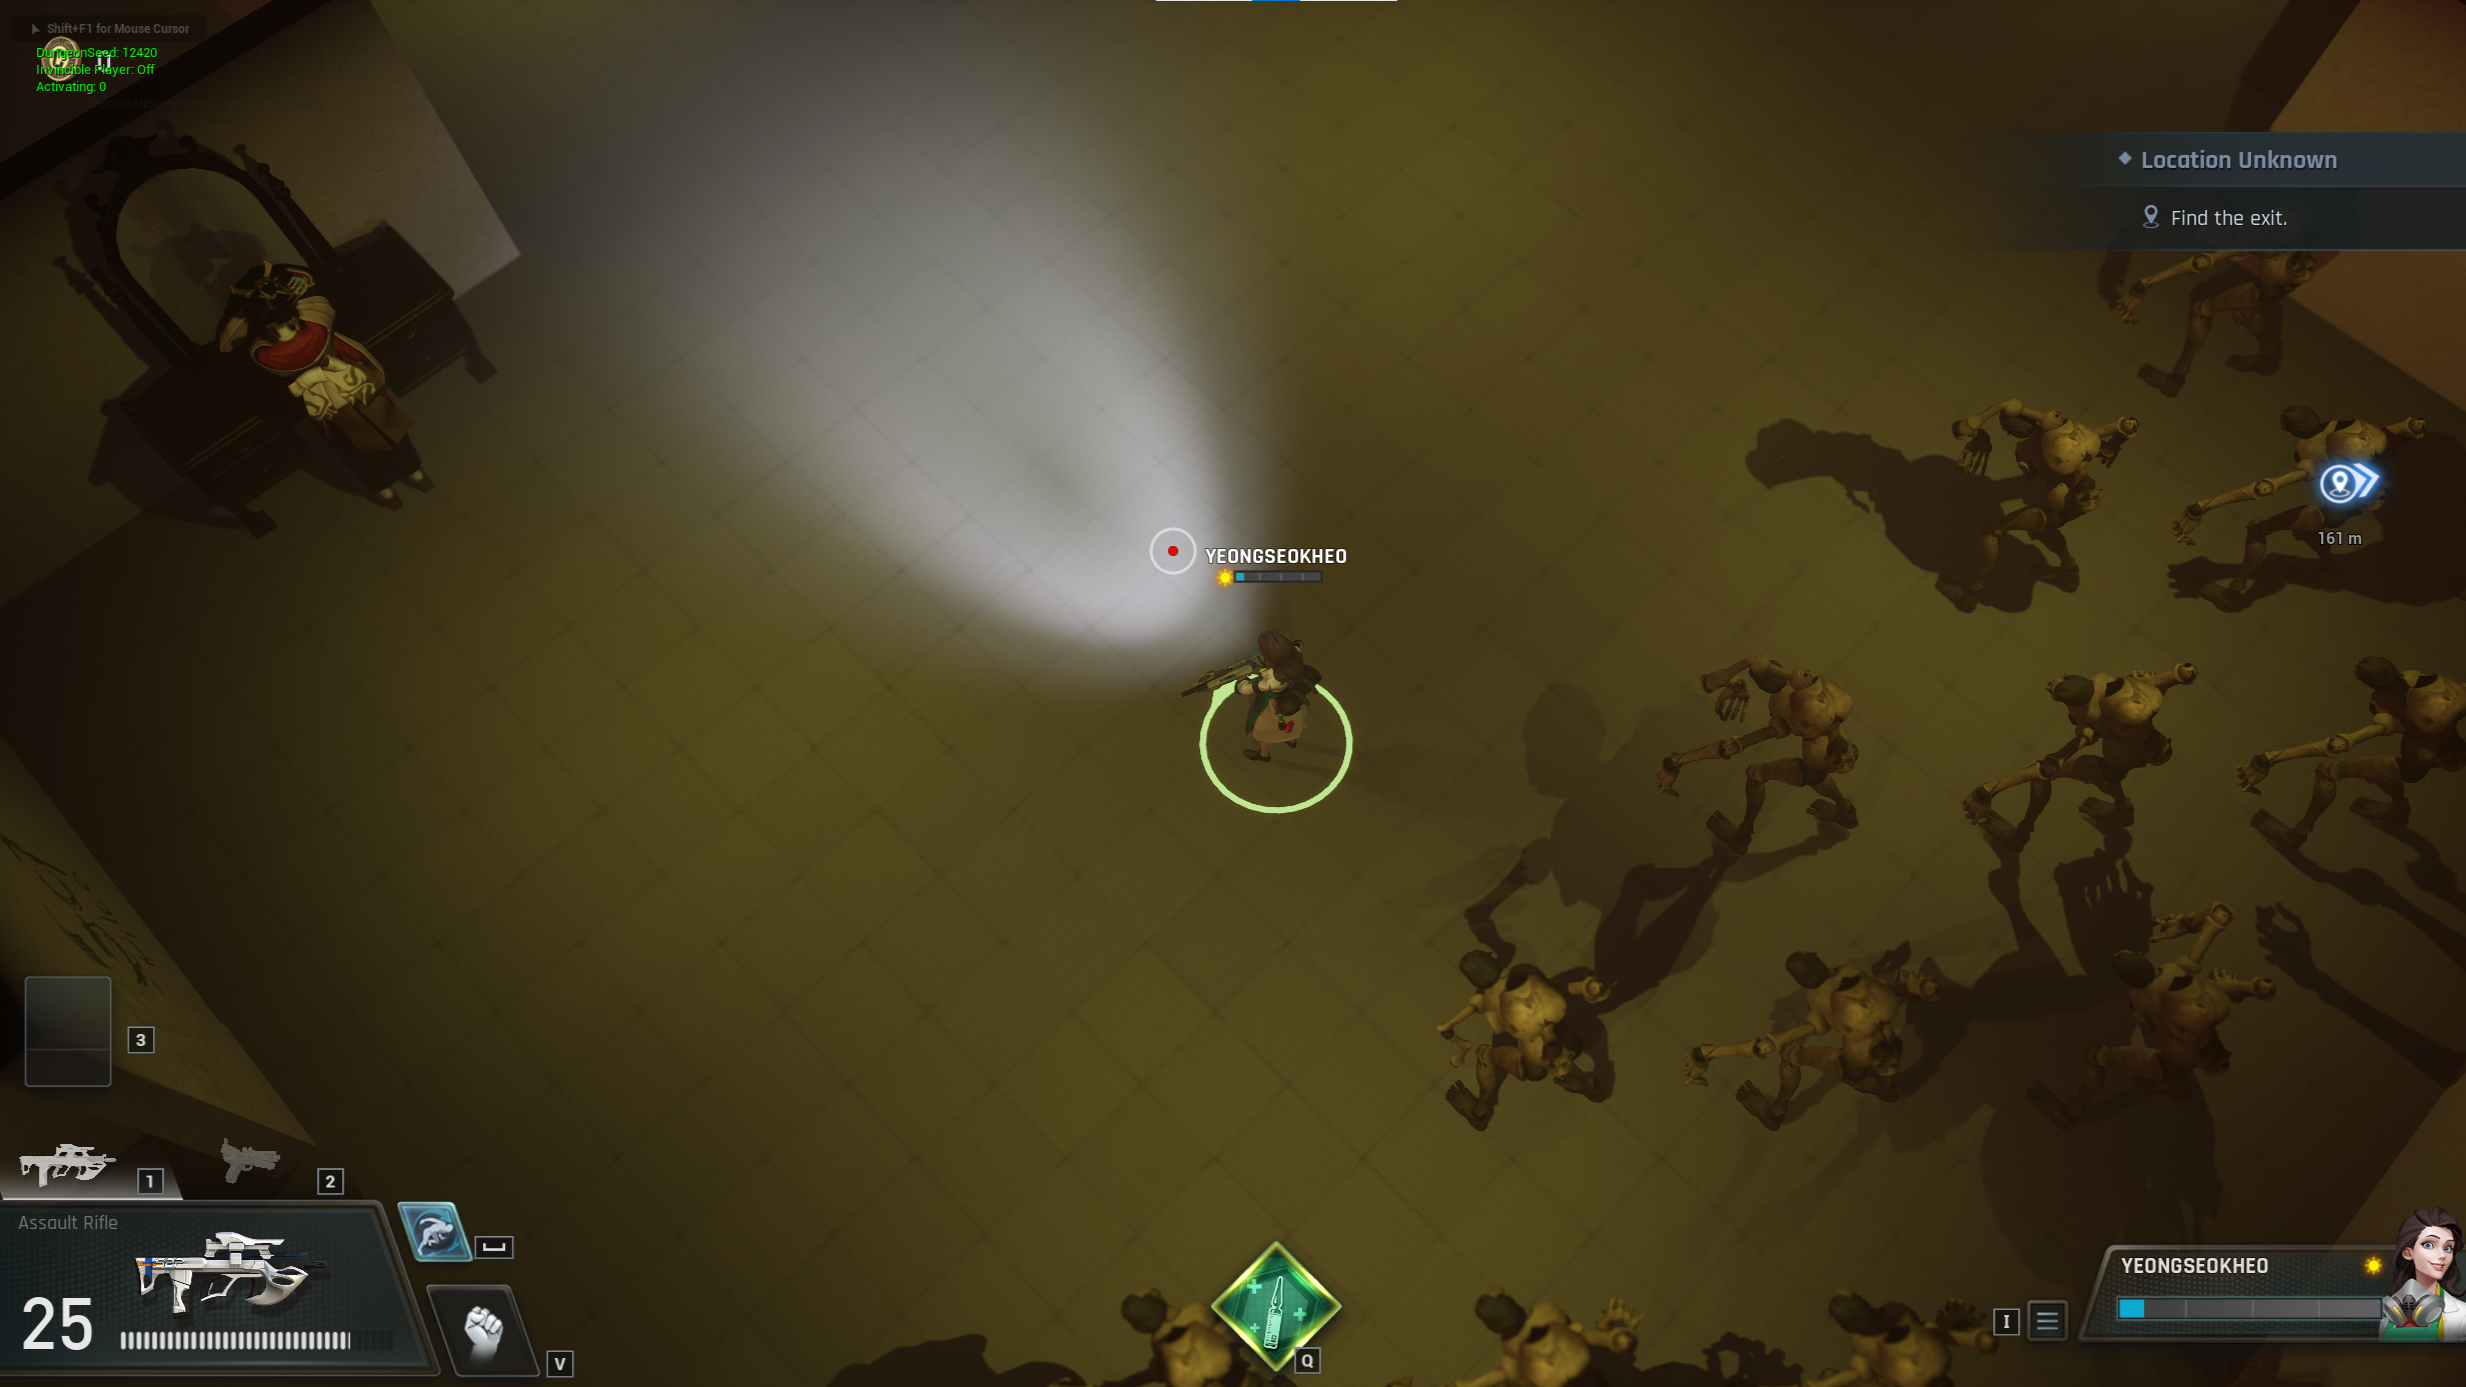 Location Unknown is another procedurally generated level, with a more horror-flavored atmosphere than the rest of the game. If you wind up here, you’d better look for the exit and get back to the office as soon as possible. After all, you still have work to do.)
If you can make it back to the Office from Location Unknown, the entire level will reset – which means the chance to gain more credits and upgrades than you would otherwise.
So if you want a power boost and don’t mind spending a little extra time to get it, get your butt in the hole!
Location Unknown is another procedurally generated level, with a more horror-flavored atmosphere than the rest of the game. If you wind up here, you’d better look for the exit and get back to the office as soon as possible. After all, you still have work to do.)
If you can make it back to the Office from Location Unknown, the entire level will reset – which means the chance to gain more credits and upgrades than you would otherwise.
So if you want a power boost and don’t mind spending a little extra time to get it, get your butt in the hole!
Adjustable Difficulty
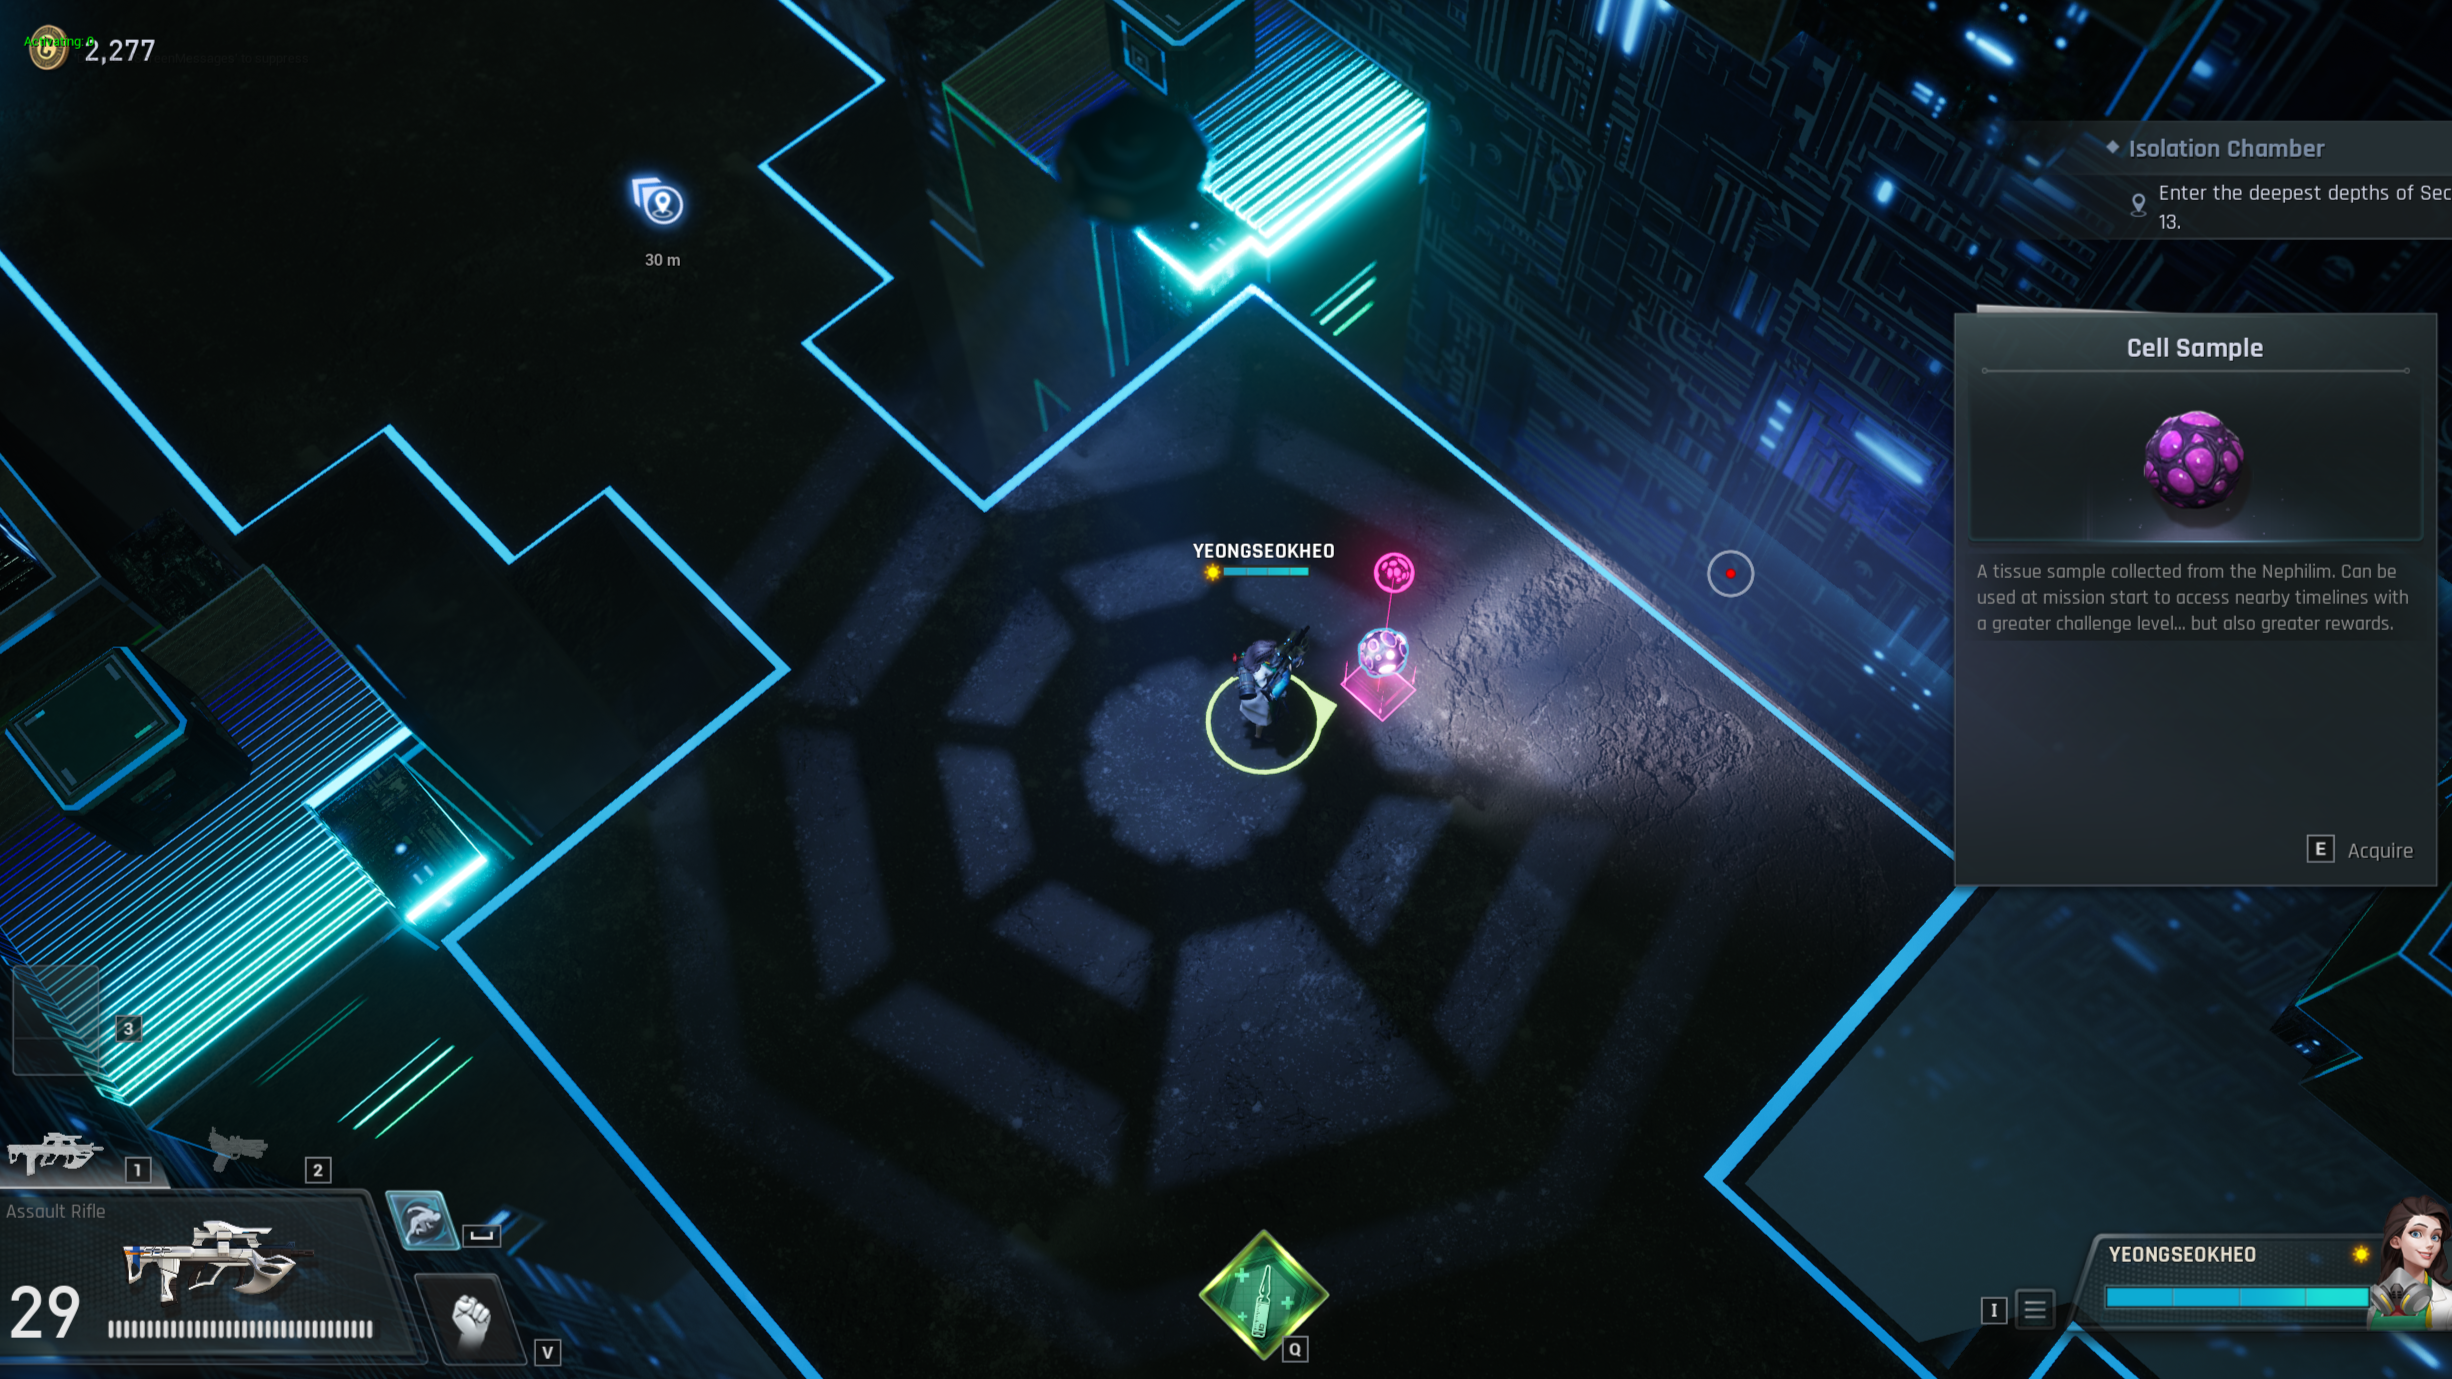 This is the Isolation Chamber, the last level after the March patch. In the current game, you can acquire Cell Samples by reaching this point.
(After the official launch of the game, the final stage will be a new boss fight: the Nephilim.)
This is the Isolation Chamber, the last level after the March patch. In the current game, you can acquire Cell Samples by reaching this point.
(After the official launch of the game, the final stage will be a new boss fight: the Nephilim.)
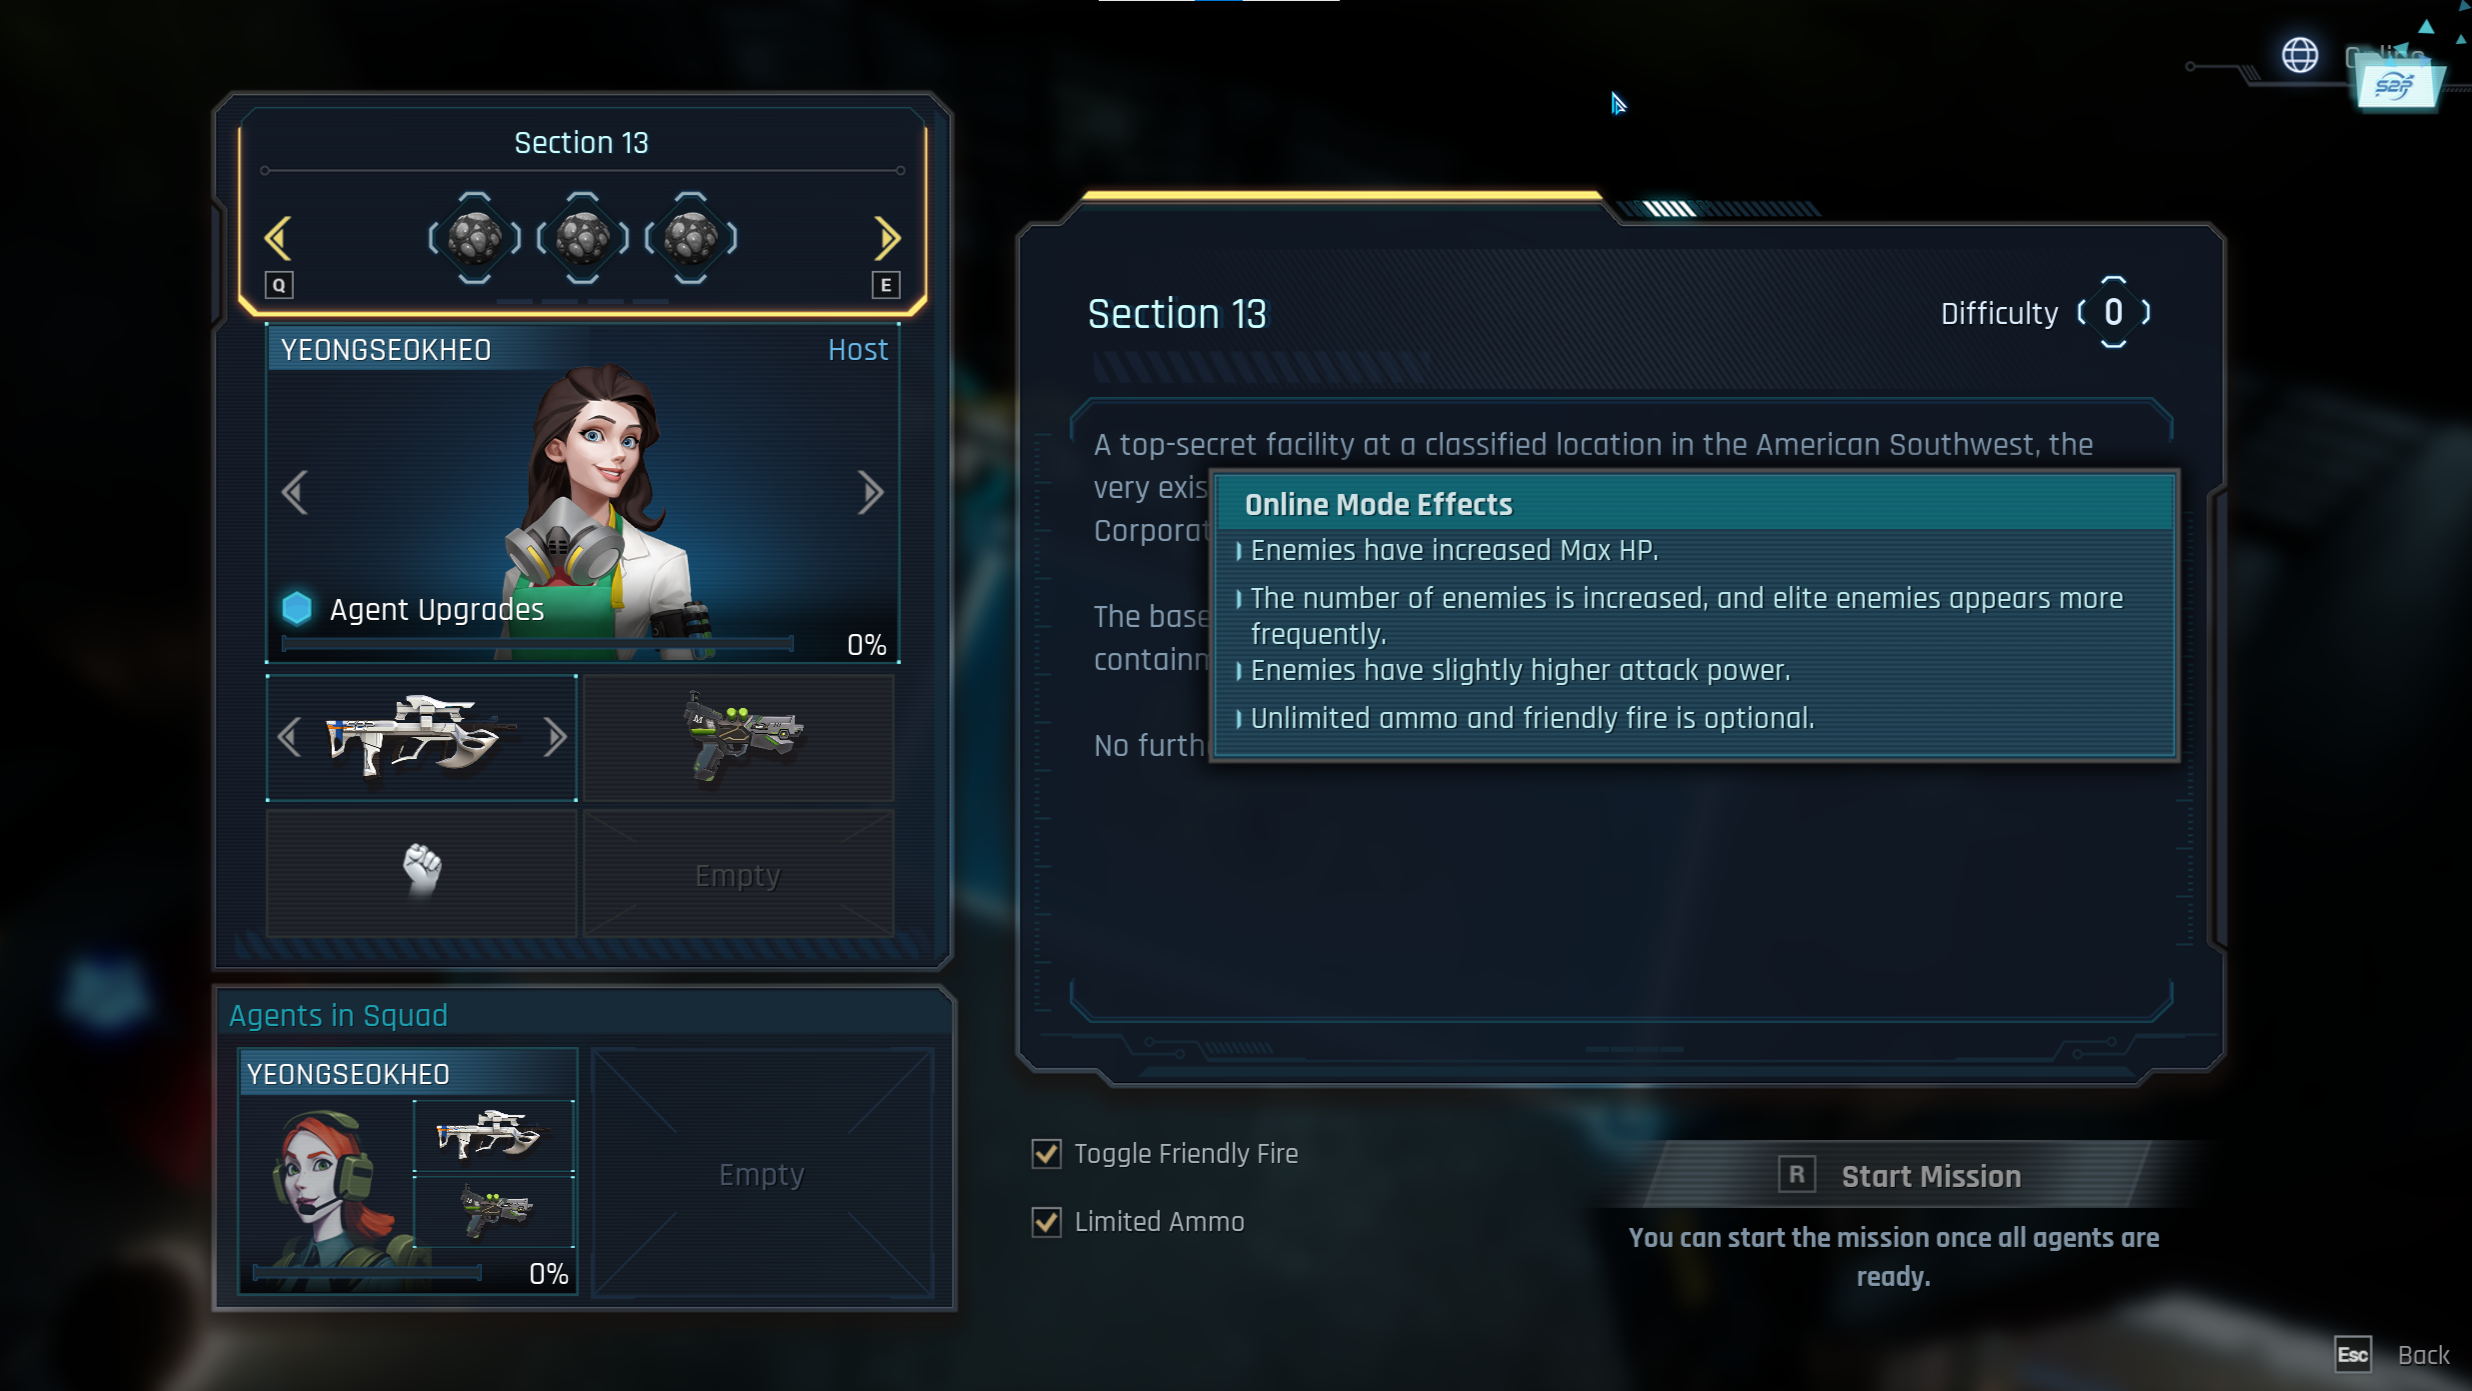
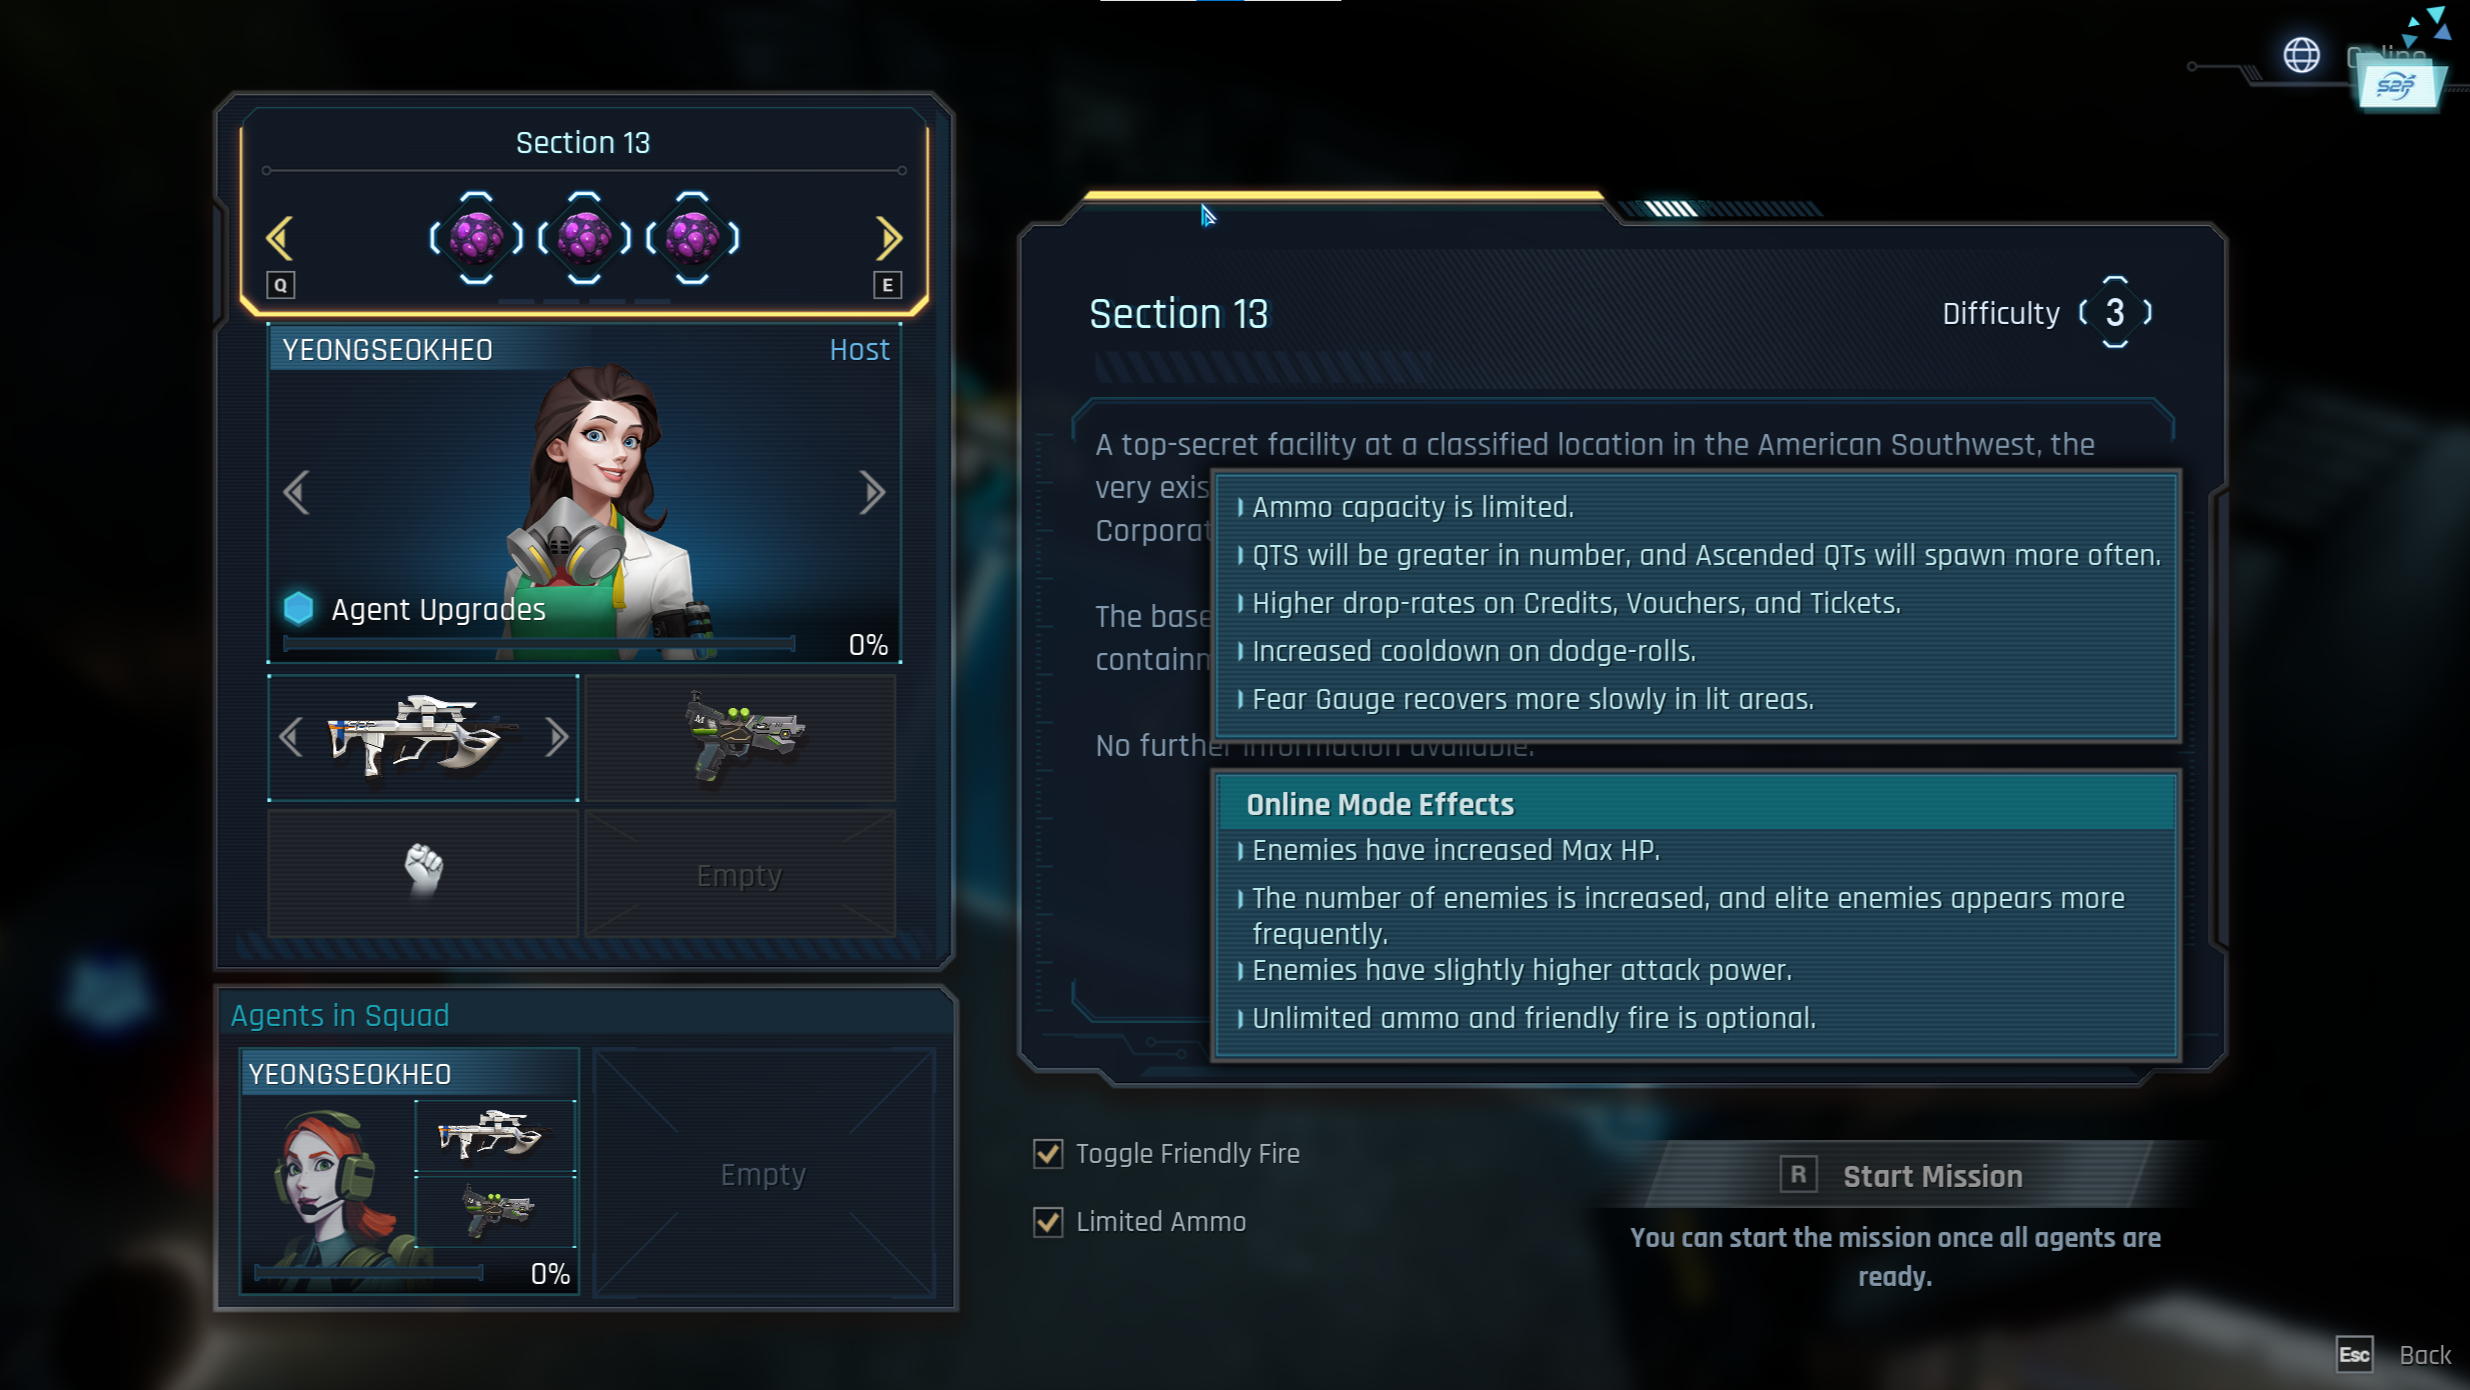 The number of Cell Samples you have determines how challenging your next mission will be. Difficulty level starts at 0 and maxes out at 3.
On higher difficulties, you’ll have limited ammo and stronger enemies. You’ll also find longer dodge cooldowns, slower Fear recovery, and so on. These difficulty modifiers apply in both solo and the recently restored multiplayer mode.
Multiplayer also has a few settings that can be toggled at-will when creating a room, including Friendly Fire and Unlimited Ammo. So whether your group wants a tense, tactical experience, or something a little faster and more arcade-y, it’s your choice.
Between the bonus levels, difficulty settings, and other new content, we hope you’ll enjoy all the new experiences to be had down in Section 13!
Sincerely,
Yeongseok Heo
The number of Cell Samples you have determines how challenging your next mission will be. Difficulty level starts at 0 and maxes out at 3.
On higher difficulties, you’ll have limited ammo and stronger enemies. You’ll also find longer dodge cooldowns, slower Fear recovery, and so on. These difficulty modifiers apply in both solo and the recently restored multiplayer mode.
Multiplayer also has a few settings that can be toggled at-will when creating a room, including Friendly Fire and Unlimited Ammo. So whether your group wants a tense, tactical experience, or something a little faster and more arcade-y, it’s your choice.
Between the bonus levels, difficulty settings, and other new content, we hope you’ll enjoy all the new experiences to be had down in Section 13!
Sincerely,
Yeongseok Heo