
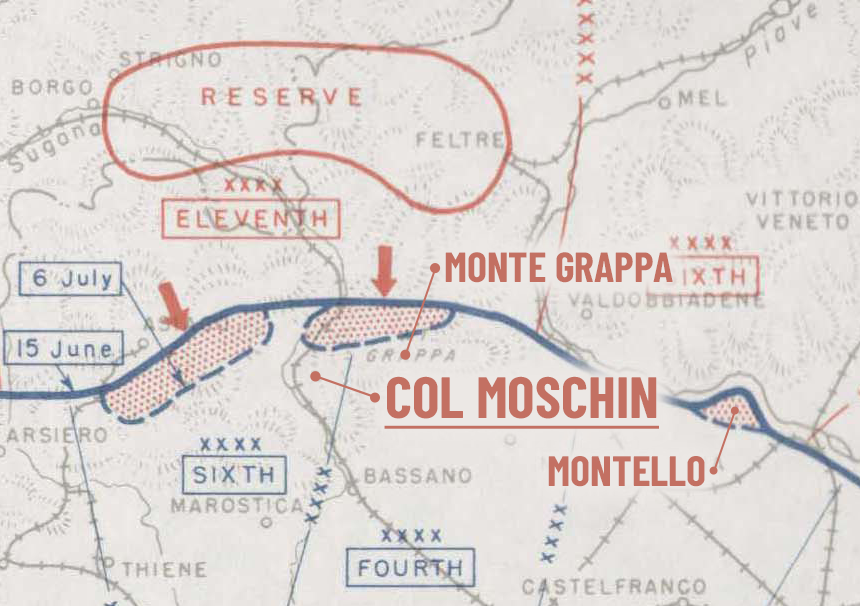
 It’s the late Spring of 1918 when the Austro-Hungarian 10th and 11th Armies moved from the north through the Grappa massif along both sides of the Brenta river. The goal was to breach the Italian defenses at the western and eastern end of the massif. Once through, they could outflank the Italian deployment along the Piave river.
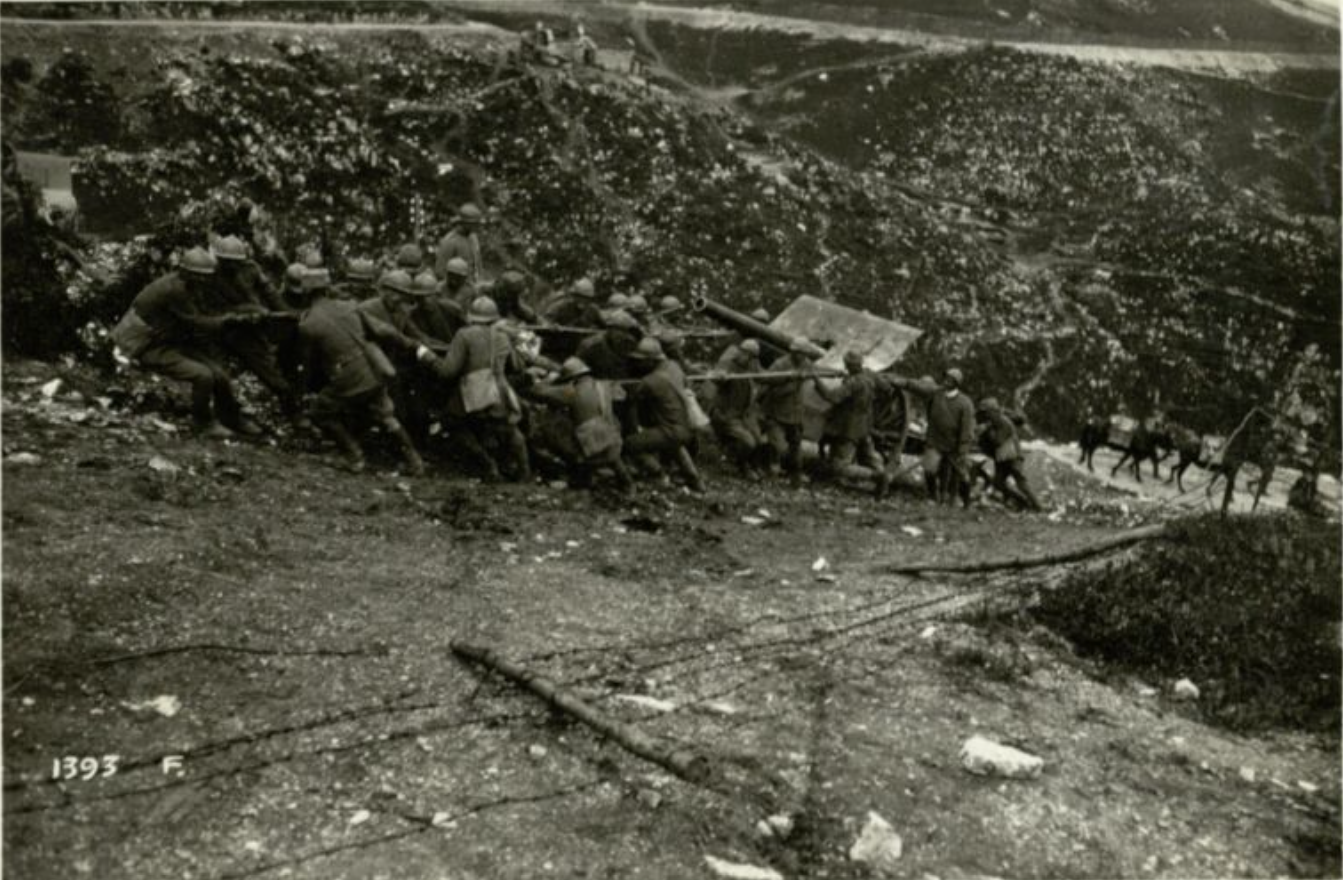 [i]Italians pulling a field gun up Col Moschin.[/i]
In the middle of the night of June 15th, the Austro-Hungarians commenced a heavy bombardment on the Italian defenses on the Grappa massif to follow up with an infantry assault. However, having gathered intelligence on this plan, the Italians bombarded the approaching infantry while they were still moving into position. This proved particularly effective on the eastern side, severely weakening the 11th Army.
[i]Italians pulling a field gun up Col Moschin.[/i]
In the middle of the night of June 15th, the Austro-Hungarians commenced a heavy bombardment on the Italian defenses on the Grappa massif to follow up with an infantry assault. However, having gathered intelligence on this plan, the Italians bombarded the approaching infantry while they were still moving into position. This proved particularly effective on the eastern side, severely weakening the 11th Army.
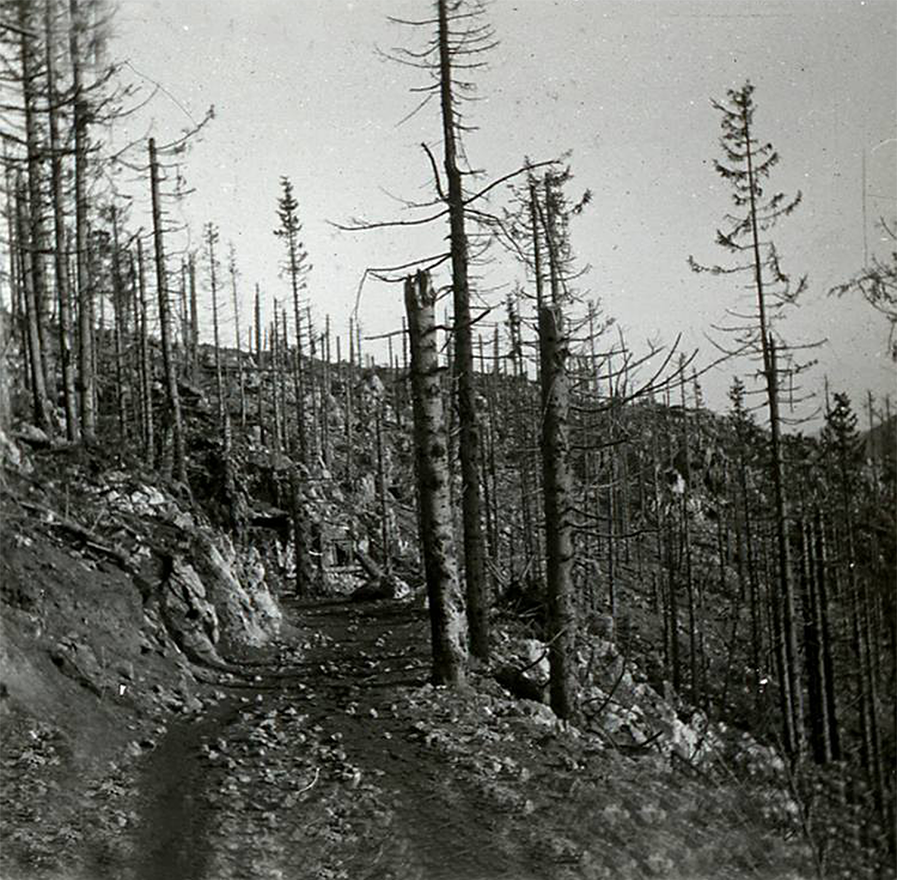 [i]Col Moschin forest, or rather what was left of it.[/i]
Early in the morning, the infantry assault commenced. The 10th Army had great successes on the western side, but the weakened state of the 11th Army on the eastern side meant they had a much more difficult time getting through the Italian defenses at Col Moschin.
[i]Col Moschin forest, or rather what was left of it.[/i]
Early in the morning, the infantry assault commenced. The 10th Army had great successes on the western side, but the weakened state of the 11th Army on the eastern side meant they had a much more difficult time getting through the Italian defenses at Col Moschin.
Introducing: Moschin
 Your eyes do not deceive you, Moschin is indeed an upcoming night map! It’ll be tougher to spot your enemies in the dark, so be sure to bring other tools to help pinpoint them.
However, just because the sun has gone to get some cigarettes doesn’t mean there’s no light at all. The sky is clear and the moon does a decent job of illuminating the battlefield, so you’ll still be able to see where you’re going. Also, in case you haven’t noticed, half the battlefield is on fire. That helps.
Today, we’ll explore the first half of the new map!
Your eyes do not deceive you, Moschin is indeed an upcoming night map! It’ll be tougher to spot your enemies in the dark, so be sure to bring other tools to help pinpoint them.
However, just because the sun has gone to get some cigarettes doesn’t mean there’s no light at all. The sky is clear and the moon does a decent job of illuminating the battlefield, so you’ll still be able to see where you’re going. Also, in case you haven’t noticed, half the battlefield is on fire. That helps.
Today, we’ll explore the first half of the new map!
Initial approach
While Moschin isn’t necessarily mountainous, there’s still a fair degree of elevation here. From the attacker’s perspective, the right side of the map will often be able to overlook the left side and the Austro-Hungarians will have to advance one ridge at a time. Approaching the first ridge, the attackers will have to get through a line of barbed wire. This is easier said than done, as the Italians will be defending from the trenches right behind it. There’s a patch of fire slightly off to the left, separating the approach until you reach the trenches.

Sector #1
Once through with the trenches secured, it’s quite a walk towards the first capture points. You can opt for the left side, where there’s little fire and you get a good amount of coverage from the trees. This offers a more tactile approach to advancing. Or, if war isn’t hell enough for you, use the sea of flames on the right side to cover your advance. Embrace the chaos and let the fire fuel your fury! Disclaimer: fire hurts. Objective A is a cow farm down the slope, with a couple of buildings and trucks that provide excellent cover for the Italians. The treeline clears around this capture point and the defenders will have a clear shot, so the approach may prove difficult if they know you’re coming.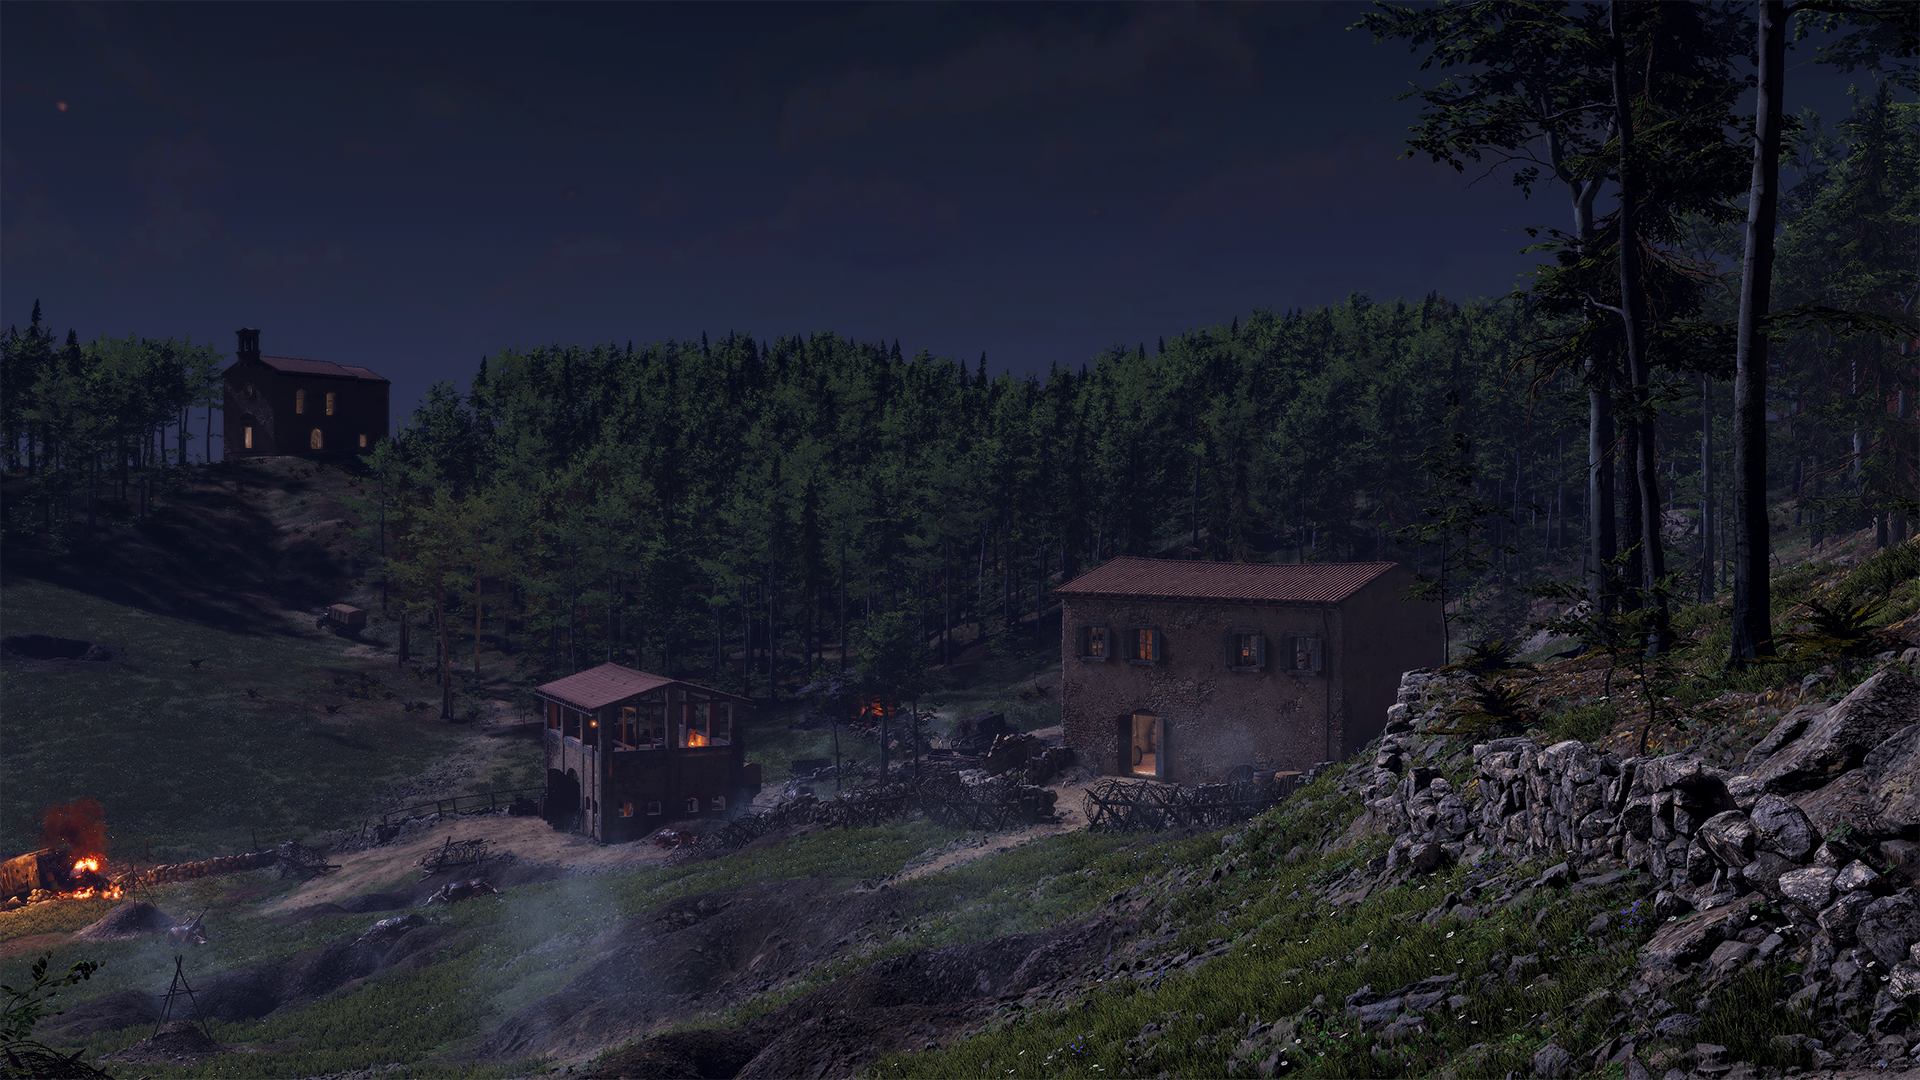 Objective B however, requires the Austro-Hungarians to destroy a cannon that’s surrounded by flames. As if there’s not enough destruction already, you’ll have to plant explosives to explode the Italians’ explosives. I’m sure this won’t set even more things ablaze.
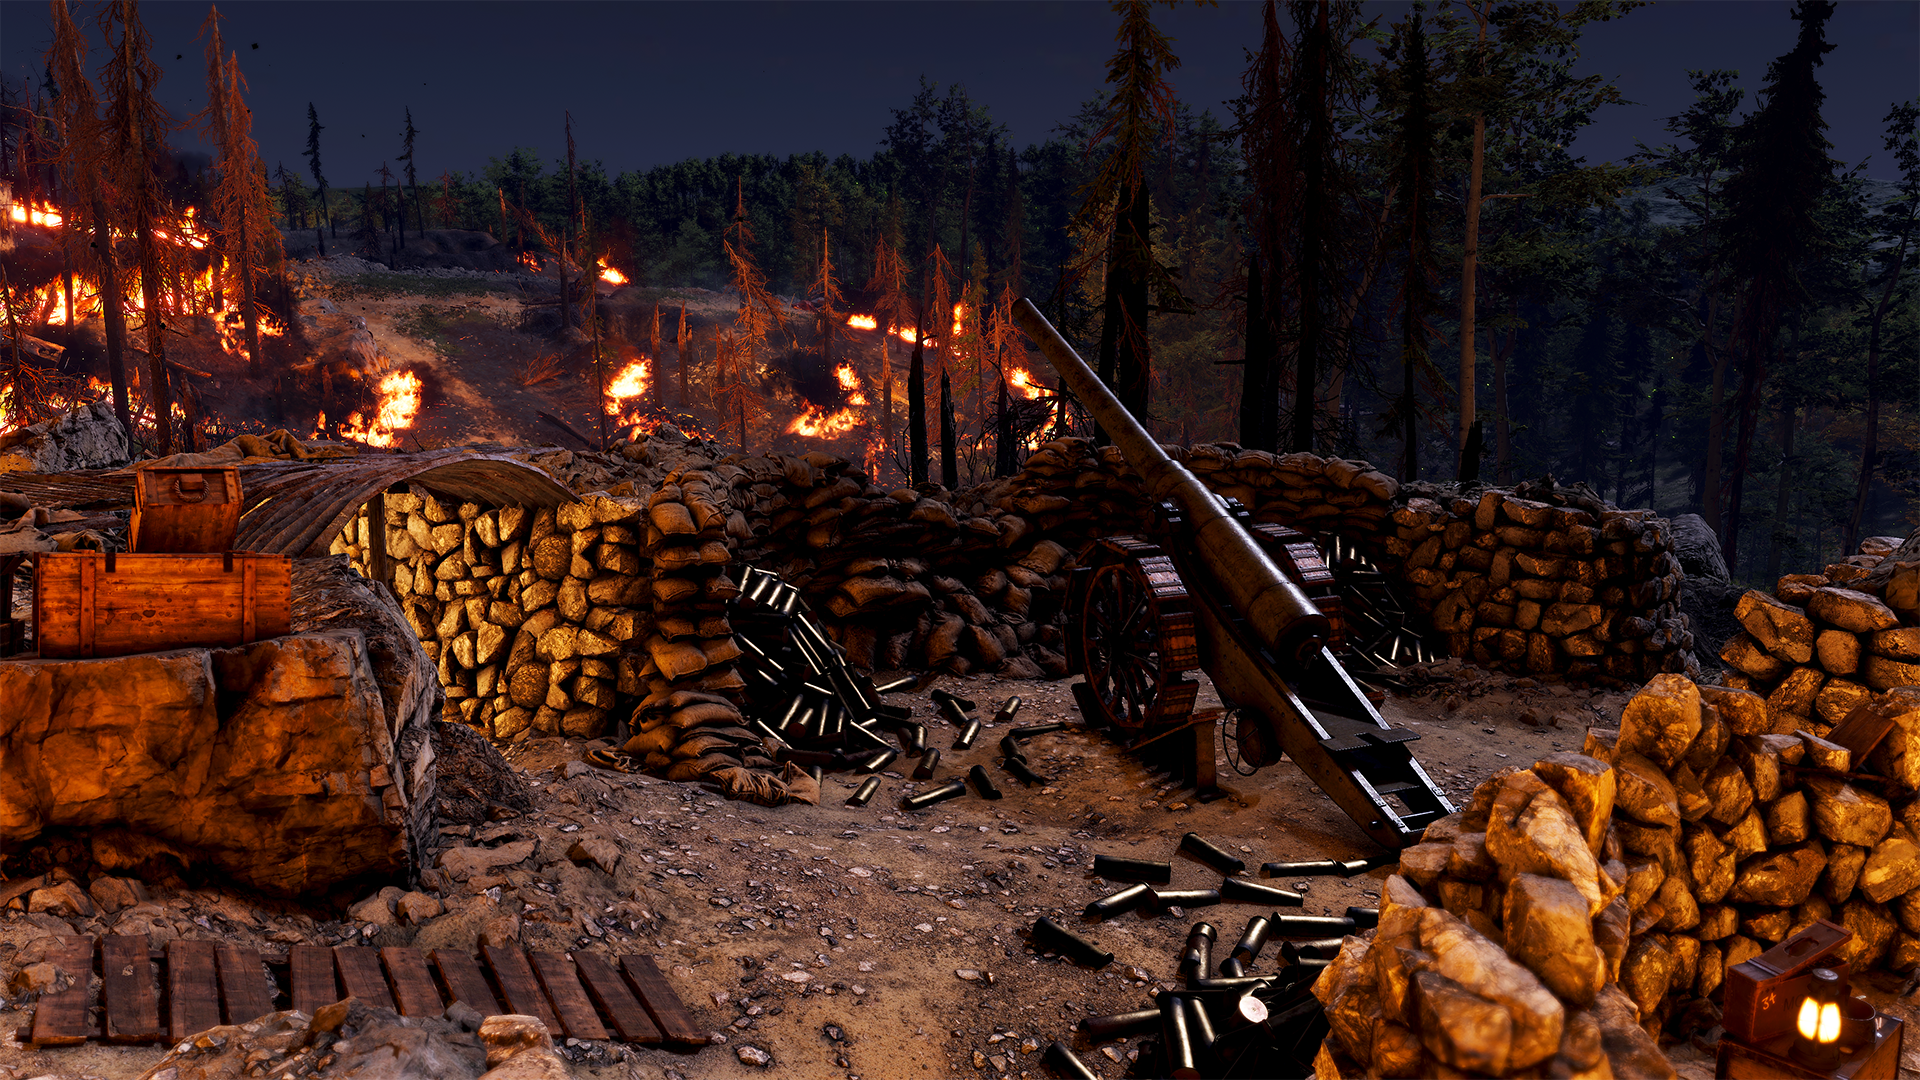
 After a final ridge, the terrain starts to flatten a bit, but we’ll save that for part 2! Spoiler alert: [spoiler]there’s more fire[/spoiler].
[hr][/hr]
After a final ridge, the terrain starts to flatten a bit, but we’ll save that for part 2! Spoiler alert: [spoiler]there’s more fire[/spoiler].
[hr][/hr]
