
 [i]A screenshot of the Piave river in Isonzo alongside reference materials. You can easily imagine how long those pontoon bridges would last under artillery fire.[/i]
On July 19th, four days after the attack began, the Italian General Diaz launched a counterattack into Boroević's flank which inflicted significant losses and further degraded their ability to attack. By the next day, Emperor Karl had taken personal command and ordered a retreat. Three days after that, the Italians finished recapturing all the lost ground on their side of the river. Italy's allies encouraged them to keep up the offensive and chase the Austro-Hungarians across the Piave, but General Diaz figured that the same supply issues that had hindered the Austro-Hungarian operations would block effective Italian attacks as well - not to mention the fact his forces were still scattered and not ready for an offensive. Instead smaller actions were taken to secure useful ground and prepare for a future offensive. Italy would be at no further risk of attack from the thoroughly exhausted Austro-Hungarian military.
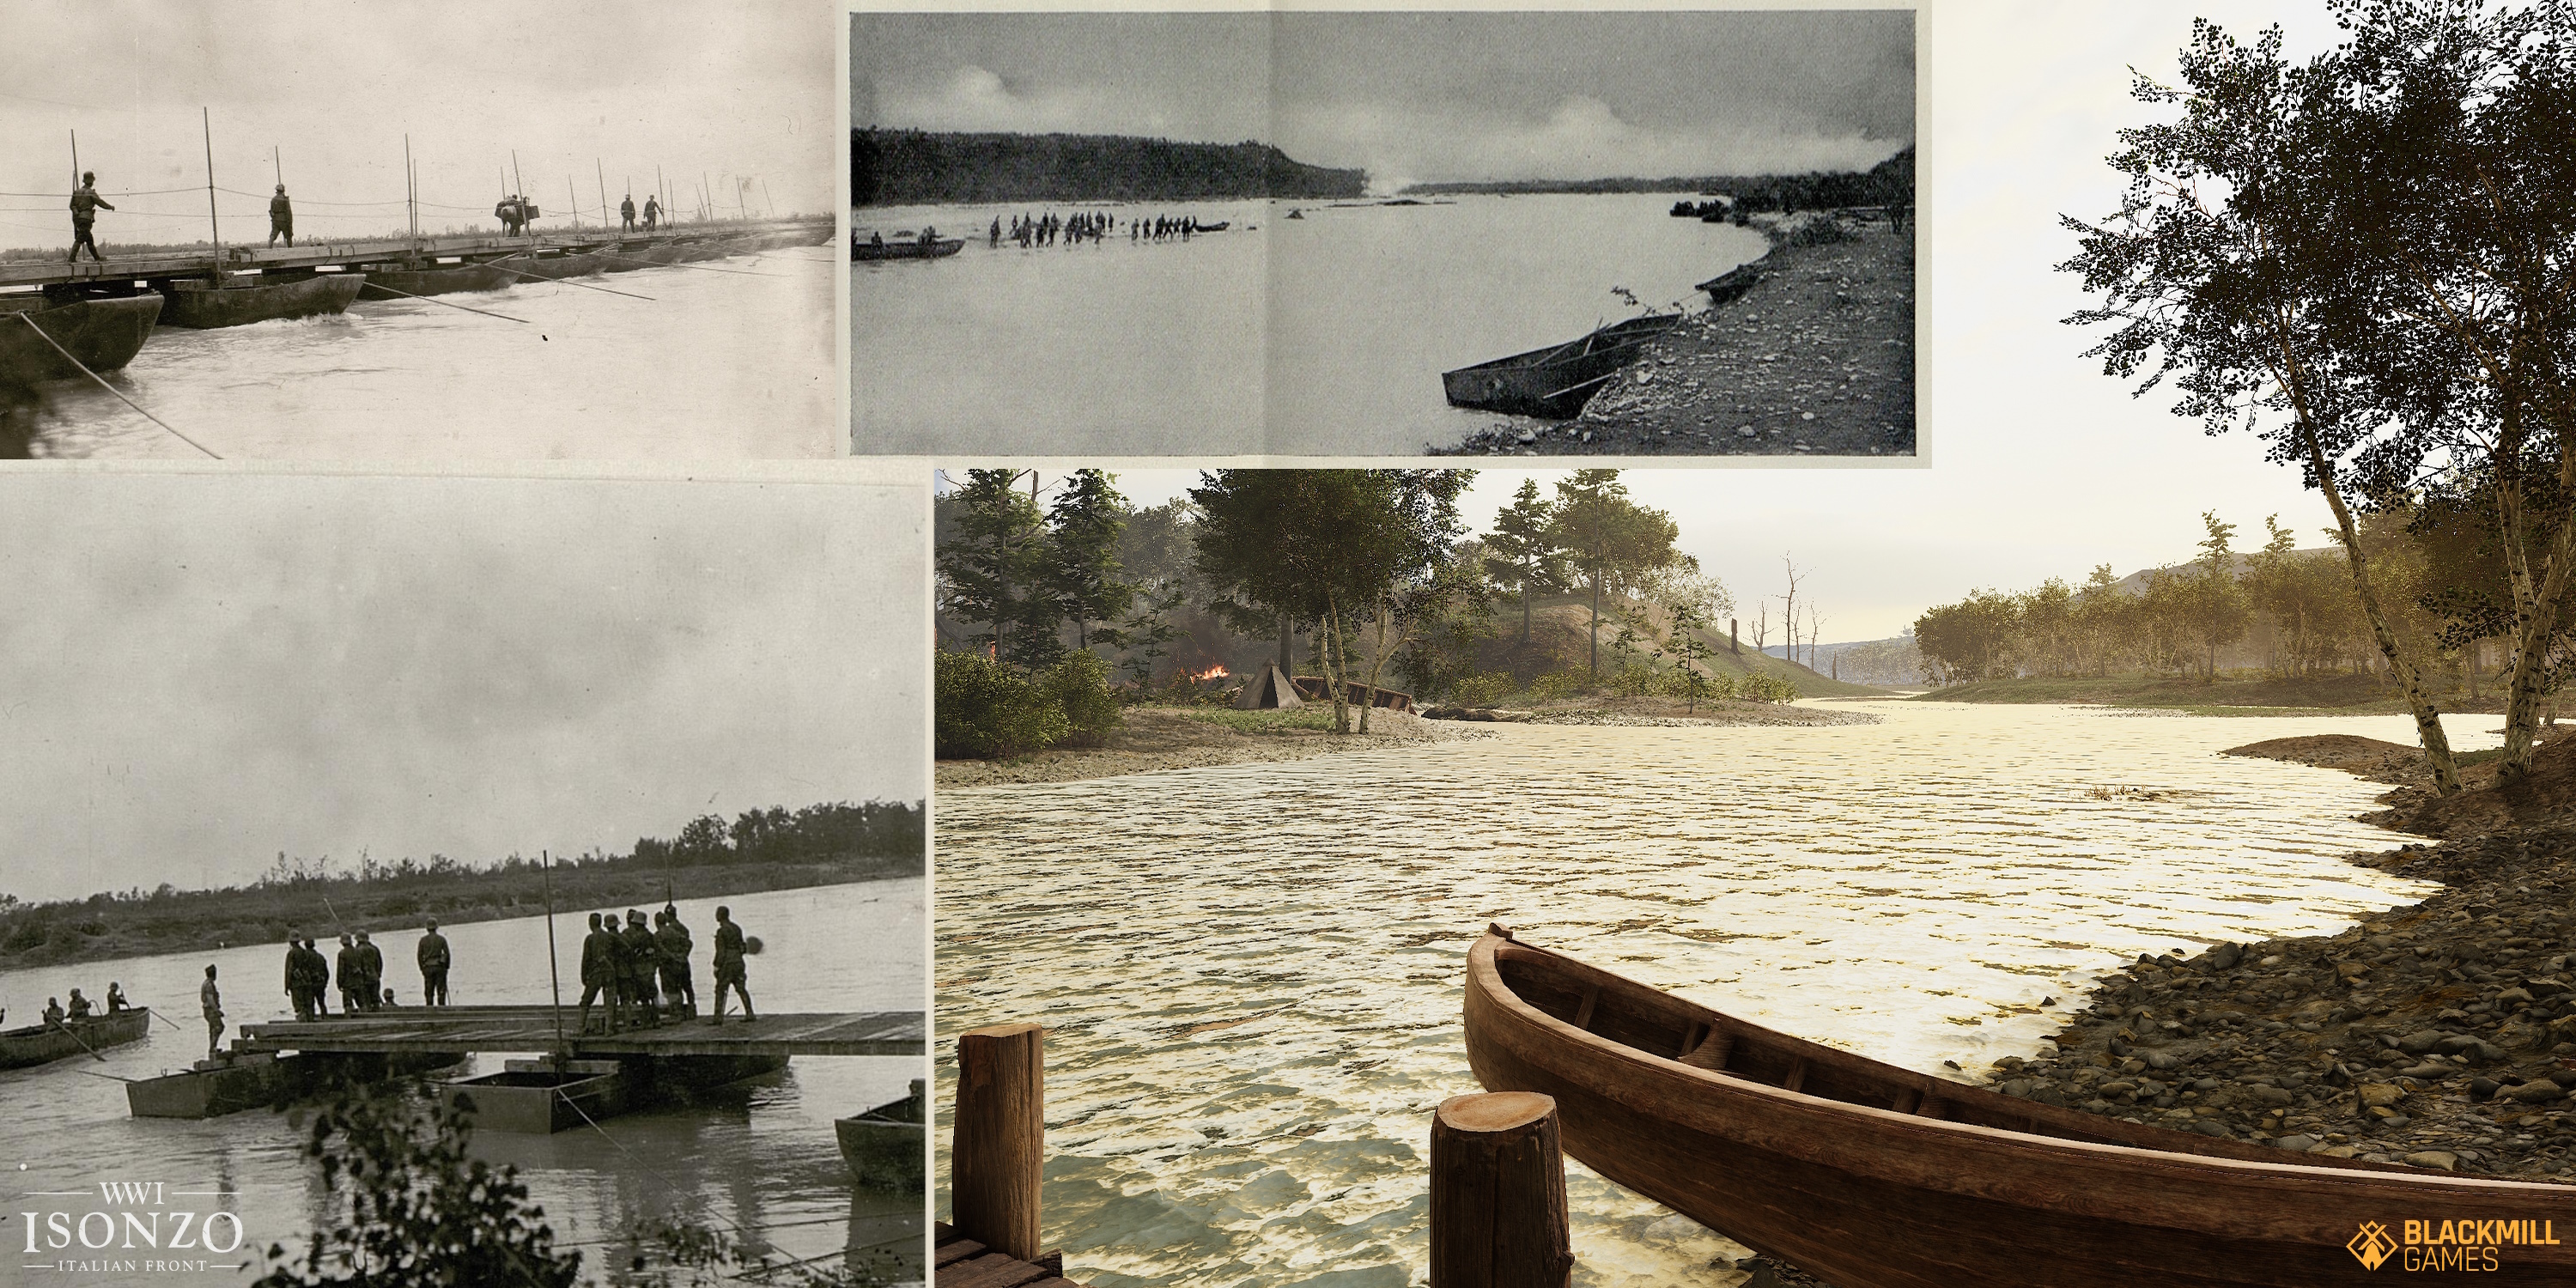
[i]A screenshot of the Piave river in Isonzo alongside reference materials. You can easily imagine how long those pontoon bridges would last under artillery fire.[/i]
On July 19th, four days after the attack began, the Italian General Diaz launched a counterattack into Boroević's flank which inflicted significant losses and further degraded their ability to attack. By the next day, Emperor Karl had taken personal command and ordered a retreat. Three days after that, the Italians finished recapturing all the lost ground on their side of the river. Italy's allies encouraged them to keep up the offensive and chase the Austro-Hungarians across the Piave, but General Diaz figured that the same supply issues that had hindered the Austro-Hungarian operations would block effective Italian attacks as well - not to mention the fact his forces were still scattered and not ready for an offensive. Instead smaller actions were taken to secure useful ground and prepare for a future offensive. Italy would be at no further risk of attack from the thoroughly exhausted Austro-Hungarian military.
 [i]The town of Nervesa della Battaglia in-game, as seen from the defender's perspective looking towards the Austro-Hungarian advance.[/i]
Gameplay and History
As with all our maps, we've done a lot of research to recreate the battlefield while also making it a playable space with entertaining gameplay. This means making sure key landmarks and defenses are represented, but allows for some wriggle room when it comes to proportions and distances. The goal is to capture the challenges and opportunities offered by the landscape, but avoid frustration or particular objectives being too easy. [i]These photographs of the river helped us create a memorable starting area for the battle.[/i]
 [i]People unfamiliar with the First World War might think all trenches are much alike, but as all you veteran WW1 Series players will know, every area of every front had trenches with specific quirks. Getting trenches right for each map is a top priority.[/i]
