
 Each Perk, Ammo Mod, and Field Upgrade has a research path, accessed in the Pre-game Menus between Matches. Revelations you make during your research allow you to unlock the true power of each item, which take the form of Augments. A total of six Augments per item (three Minor, and three Major) are yours to uncover.
A Minor Augment offers a limited advantage to the item, usually during use.
A Major Augment offers a substantial advantage to the behavior of the item, usually during use.
From the six researched Augments, you can imbue two of them (one Minor, one Major) to each Perk, Ammo Mod, and Field Upgrade.
Augments are designed to create a deep progression path, as well as offering you the ability to delve into research that benefits your style of play. Experimenting with all the available Augments, learning how they interact with other Augments for Perks, Ammo Mods and Field Upgrades, and also how your fellow teammates are using their preferred set-ups, provides an incredible depth to the experience.
[b][u]Weapons and Loadouts[/u][/b]
Neutralizing the frothing undead requires more than harsh words and bravado. You’re fortunate to be able to count on an extensive armory from which to perfect your anti-zombie armaments, before the battles begin. Let’s get to the Gunsmith and find out more about perfecting your pre-game Loadouts.
Each Perk, Ammo Mod, and Field Upgrade has a research path, accessed in the Pre-game Menus between Matches. Revelations you make during your research allow you to unlock the true power of each item, which take the form of Augments. A total of six Augments per item (three Minor, and three Major) are yours to uncover.
A Minor Augment offers a limited advantage to the item, usually during use.
A Major Augment offers a substantial advantage to the behavior of the item, usually during use.
From the six researched Augments, you can imbue two of them (one Minor, one Major) to each Perk, Ammo Mod, and Field Upgrade.
Augments are designed to create a deep progression path, as well as offering you the ability to delve into research that benefits your style of play. Experimenting with all the available Augments, learning how they interact with other Augments for Perks, Ammo Mods and Field Upgrades, and also how your fellow teammates are using their preferred set-ups, provides an incredible depth to the experience.
[b][u]Weapons and Loadouts[/u][/b]
Neutralizing the frothing undead requires more than harsh words and bravado. You’re fortunate to be able to count on an extensive armory from which to perfect your anti-zombie armaments, before the battles begin. Let’s get to the Gunsmith and find out more about perfecting your pre-game Loadouts.
 [b]Stats and Camos: [/b]Naturally, each of these Loadout elements have Zombies-related Challenges and Badges related to them, and the weapons have Camos to grind for. This includes four highly-desirable Mastery Camos in Zombies – more information to come!
[b]Keeping Score: [/b]There’s no need to manually tally on how many zombies each individual weapon (Primary, Melee, Field Upgrade, Tactical, Lethal) has eliminated; this menu keeps score.
Creating and continuing to adapt your zombie-culling arsenal is the key to in-game success, and the [i]Black Ops 6[/i] Loadout system shares many features from [i]Black Ops Cold War[/i], as well as a few important differences.
[b][u]Primary Weapon, Fists, and Melee[/u][/b]
Your main method of eliminating the undead consists of a primary weapon, your fists (until you find a second weapon in the match) and a dedicated melee weapon (either sharp or blunt) for when the situation gets even messier, as an alternative to a melee strike with the butt of your gun.
[b]Stats and Camos: [/b]Naturally, each of these Loadout elements have Zombies-related Challenges and Badges related to them, and the weapons have Camos to grind for. This includes four highly-desirable Mastery Camos in Zombies – more information to come!
[b]Keeping Score: [/b]There’s no need to manually tally on how many zombies each individual weapon (Primary, Melee, Field Upgrade, Tactical, Lethal) has eliminated; this menu keeps score.
Creating and continuing to adapt your zombie-culling arsenal is the key to in-game success, and the [i]Black Ops 6[/i] Loadout system shares many features from [i]Black Ops Cold War[/i], as well as a few important differences.
[b][u]Primary Weapon, Fists, and Melee[/u][/b]
Your main method of eliminating the undead consists of a primary weapon, your fists (until you find a second weapon in the match) and a dedicated melee weapon (either sharp or blunt) for when the situation gets even messier, as an alternative to a melee strike with the butt of your gun.
 [b]Primary Weapon: [/b]Choose from any available Assault Rifle, SMG, Shotgun, LMG, Marksman Rifle, Sniper Rifle, Handgun, or Launcher.
[b]Melee Weapon: [/b]Choose from the available Melee armaments.
[b]Further Improvements and In-Game Access[/b]
Weapons can also be:
[b]Primary Weapon: [/b]Choose from any available Assault Rifle, SMG, Shotgun, LMG, Marksman Rifle, Sniper Rifle, Handgun, or Launcher.
[b]Melee Weapon: [/b]Choose from the available Melee armaments.
[b]Further Improvements and In-Game Access[/b]
Weapons can also be:
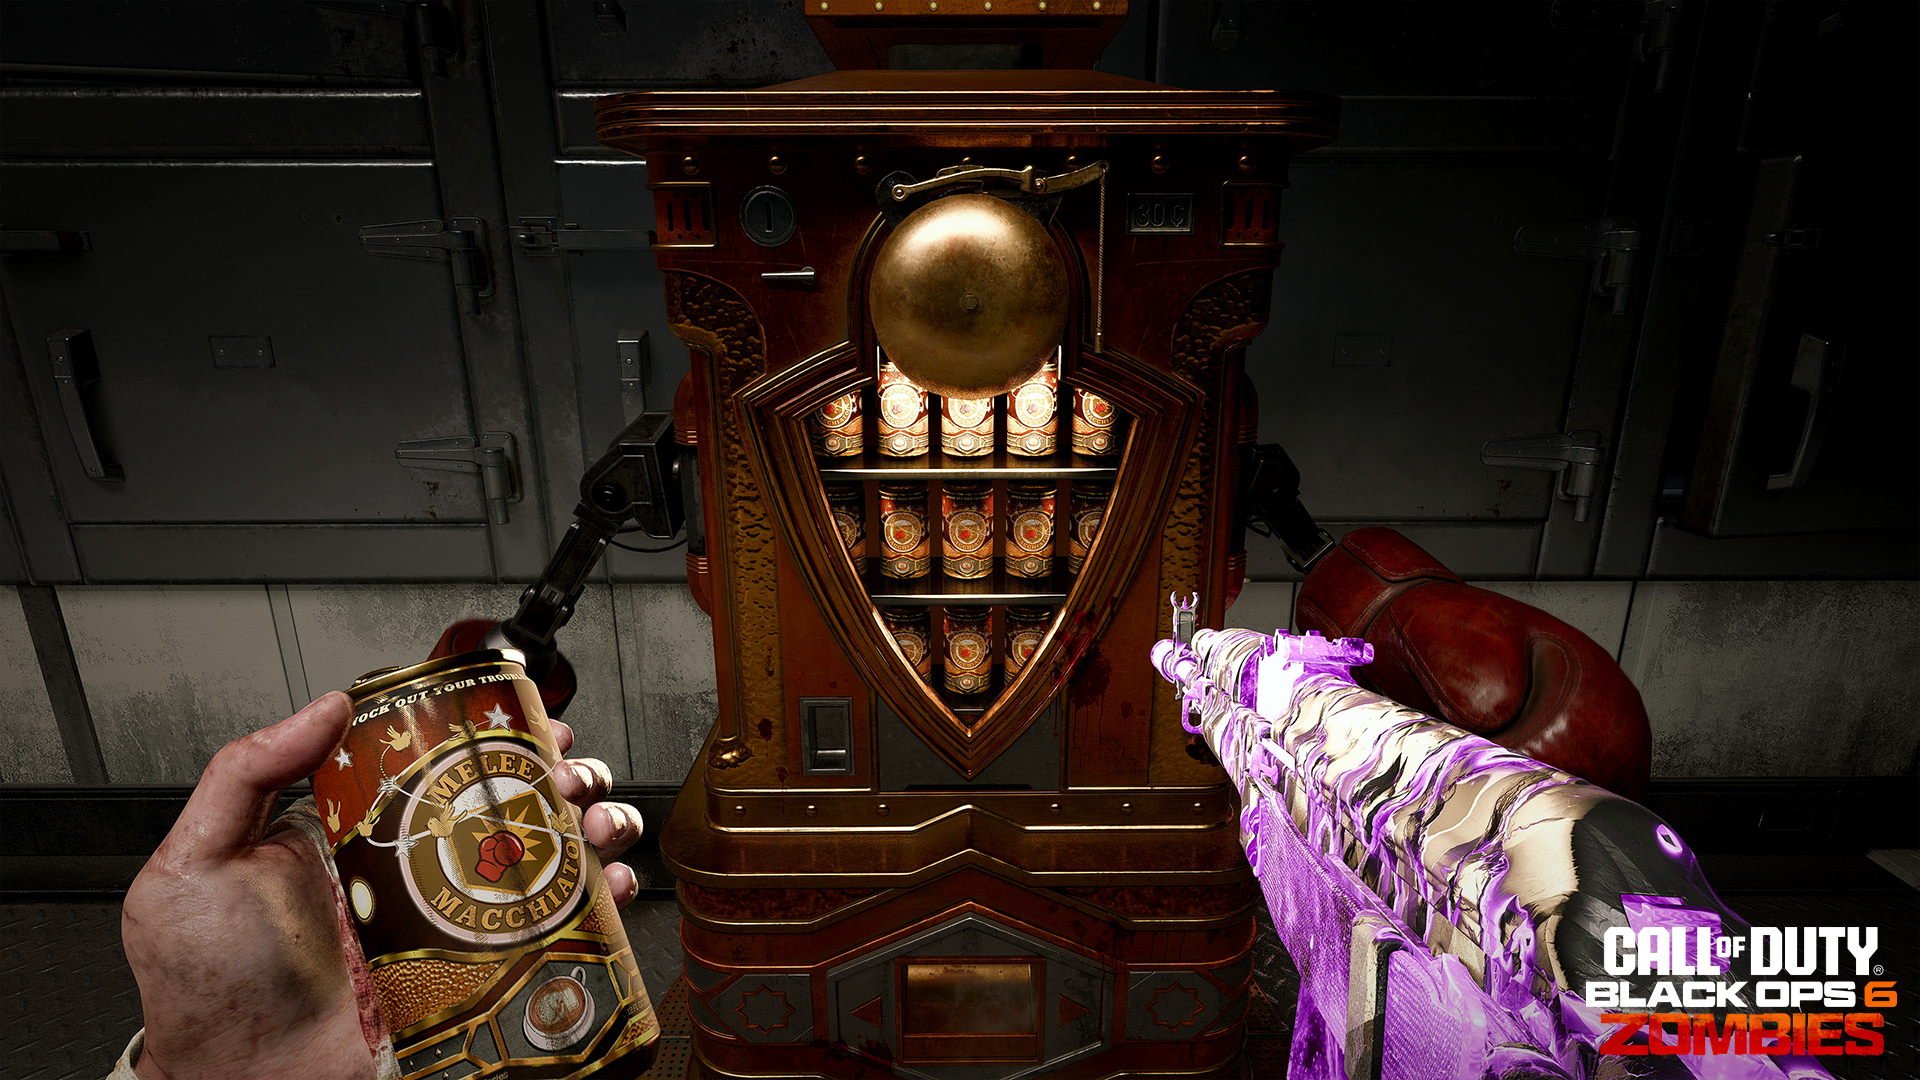
- Purchased with Essence at Wall Buys (with a higher rarity than your loadout weapon) or in Mystery Boxes (randomized, with a higher rarity).
- Dropped and swapped between teammates.
- Improved with damage-increasing rarity powers, found at Arsenal machines.
- Improved with different Ammo Mods, found at Arsenal machines.
- Improved significantly with damage, sometimes hidden effects, and additional ammunition reserves, at the Pack-a-Punch machine.
- Using the Zombie Build system: Found in a Wall Buy or Mystery Box as one of your own personal weapon builds, provided you’ve saved the custom build and assigned it to be accessible at a Wall Buy or Mystery Box, in the Loadout Menu before a match. This will even implement the camo, charm, and stickers you’ve applied to your Zombie Build weapon!
 At launch, expect to choose a familiar Field Upgrade from past [i]Zombies[/i] games:
- [b]Aether Shroud: [/b]Phase into the Dark Aether, becoming hidden from enemy detection.
- [b]Frenzied Guard: [/b]Repair armor and force all enemies in the area to target you. During this time, kills repair a portion of your armor.
- [b]Healing Aura: [/b]Summons beams of energy down on yourself and allies to instantly revive and heal to full health.
- [b]Energy Mine: [/b]Create a mine of pure energy that detonates in rapid succession, dealing lethal electric damage.
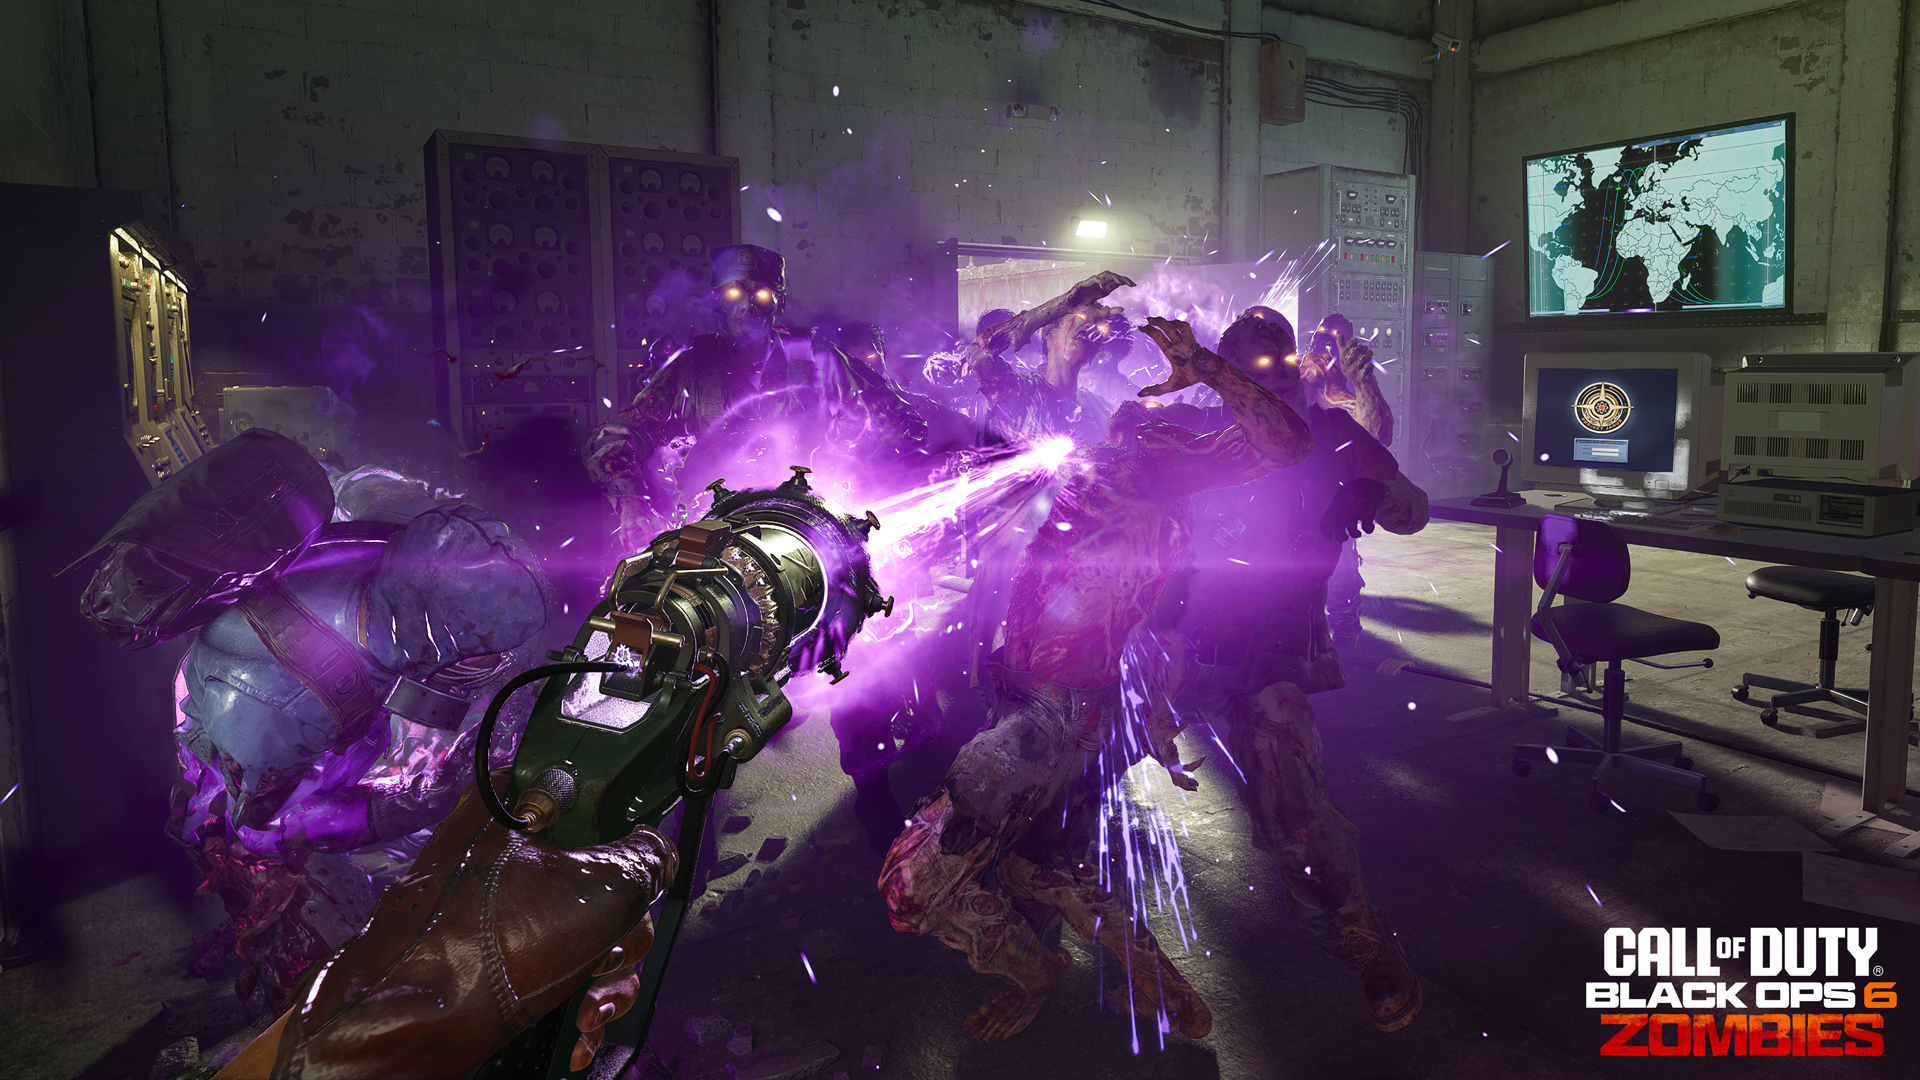
- [b]Dark Flare: [/b]You generate a massive energy beam that deals lethal shadow damage. The beam penetrates everything in its path.
- Field Upgrades can be made even more powerful with the use of Augments.
- Field Upgrades cannot be dropped, but now for the first time in Zombies, you can swap to a different Field Upgrade at any time during a match by using the in-game menu. Note that your cooldown will reset upon switching to a different Field Upgrade.
- [b]Heavy Shadow: [/b]Zombies impacted by the beam are slowed.
- [b]Shadow Ball: [/b]The beam is replaced with a sphere that damages enemies as it travels and detonates at the end of the duration.
 [b]Tacticals[/b] offer the use of an additional, non-lethal advantage to partner with a more devastating attack (from a Lethal or another Weapon). Current Loadout Tacticals include Concussion or Decoy Grenades, or the ever useful Stim Shot.
Once in-game, you can use Salvage you’ve acquired from dropped zombies (Ground Loot) to construct a wide variety of Tactical Equipment, each with a different cost (in Salvage). Craft as many as you like until your Inventory is full, or a lack of Salvage prevents you:
[b]Tacticals[/b] offer the use of an additional, non-lethal advantage to partner with a more devastating attack (from a Lethal or another Weapon). Current Loadout Tacticals include Concussion or Decoy Grenades, or the ever useful Stim Shot.
Once in-game, you can use Salvage you’ve acquired from dropped zombies (Ground Loot) to construct a wide variety of Tactical Equipment, each with a different cost (in Salvage). Craft as many as you like until your Inventory is full, or a lack of Salvage prevents you:
- [b]Concussion:[/b] Grenade that slows victim’s movement and aiming.
- [b]Stim Shot:[/b] Combat stim that heals wounds and refreshes Tactical Sprint.
- [b]Smoke:[/b] Deploys a smoke screen that blocks vision and automated targeting systems.
- [b]Decoy Grenade:[/b] Attracts nearby zombies for a short duration.
- [b]Shock Charge:[/b] Electrical trap that sticks to surfaces and electrocutes enemies, stunning them.
- [b]Cymbal Monkey:[/b] Attracts zombies for a short duration before exploding.
- [b]LT53 Kazimir:[/b] Creates a small singularity that pulls in and kills enemies.
- [b]Frag:[/b] Cookable fragmentation grenade.
- [b]Sticky:[/b] Timed sticky grenade.
- [b]Molotov: [/b]Thrown incendiary weapon creates a patch of flames.
- [b]C4:[/b] Sticky explosive with large damage radius. Detonate remotely.
- [b]Combat Axe:[/b] Thrown axe that kills enemies in one hit. Bounces off surfaces.
- [b]Impact Grenade: [/b]Precision grenade that explodes on impact.
- [b]Thermo Grenade: [/b]Creates a large fuel-air cloud that explodes after a duration.
- [b]Blast Trap: [/b]Planted explosive device detonates when enemies come near.
- Some Tacticals and Lethals are intermittently dropped by Zombies to be gathered as ground loot.
- A full complement of Tacticals and Lethals can be constructed at Crafting Tables, along with more powerful ordnance, such as Scorestreaks.
- [b]Self-Revive:[/b] Use when downed to revive yourself.
- [b]ARC-XD:[/b] Explosive RC car that emits small Aether Blasts.
- [b]Sentry Turret:[/b] Automated turret that scans for and attacks nearby enemies in a forward-facing cone.
- [b]Mutant Injection:[/b] Temporarily transforms you into a Mangler… with all the bells and whistles.
 The GobbleGums you can choose are based on the collection you have in your inventory. One of the ways to continuously keep your GobbleGum collection filled is by earning them in-game (see below). GobbleGums are single-use items and are permanently removed from your inventory once received in-game.
[b]GobbleGum Rarity[/b]
GobbleGums come in a variety of rarities: Rare, Epic, Legendary, Ultra, and Whimsical, with the general rule that the higher the rarity, the more powerful the effect of the GobbleGum:
The GobbleGums you can choose are based on the collection you have in your inventory. One of the ways to continuously keep your GobbleGum collection filled is by earning them in-game (see below). GobbleGums are single-use items and are permanently removed from your inventory once received in-game.
[b]GobbleGum Rarity[/b]
GobbleGums come in a variety of rarities: Rare, Epic, Legendary, Ultra, and Whimsical, with the general rule that the higher the rarity, the more powerful the effect of the GobbleGum:
- [b]Rare GobbleGum[/b] examples include “Shields Up” (your armor is twice as a strong for three minutes) and “Kill Joy” (spawns an Insta-Kill Power-up).
- [b]Epic GobbleGum[/b] examples include “Free Fire” (firing weapons consumes no ammo for the next 60 seconds) and “Soda Fountain” (the next Perk purchased gives an additional random Perk).
- [b]Legendary GobbleGum[/b] examples include “Phoenix Up” (revive all teammates and they keep their perks) and “Wall-to-Wall Clearance” (Wall Buys cost 10 Essence).
- [b]Ultra GobbleGums[/b] include “Perkaholic” (gives the player all Perk-a-Colas in the map) and “Wonderbar!” (the next gun from the Mystery Box will be a Wonder Weapon).
- [b]Whimsical GobbleGums[/b] include “Newtonian Negation” (Zombies killed fall straight up for three minutes).
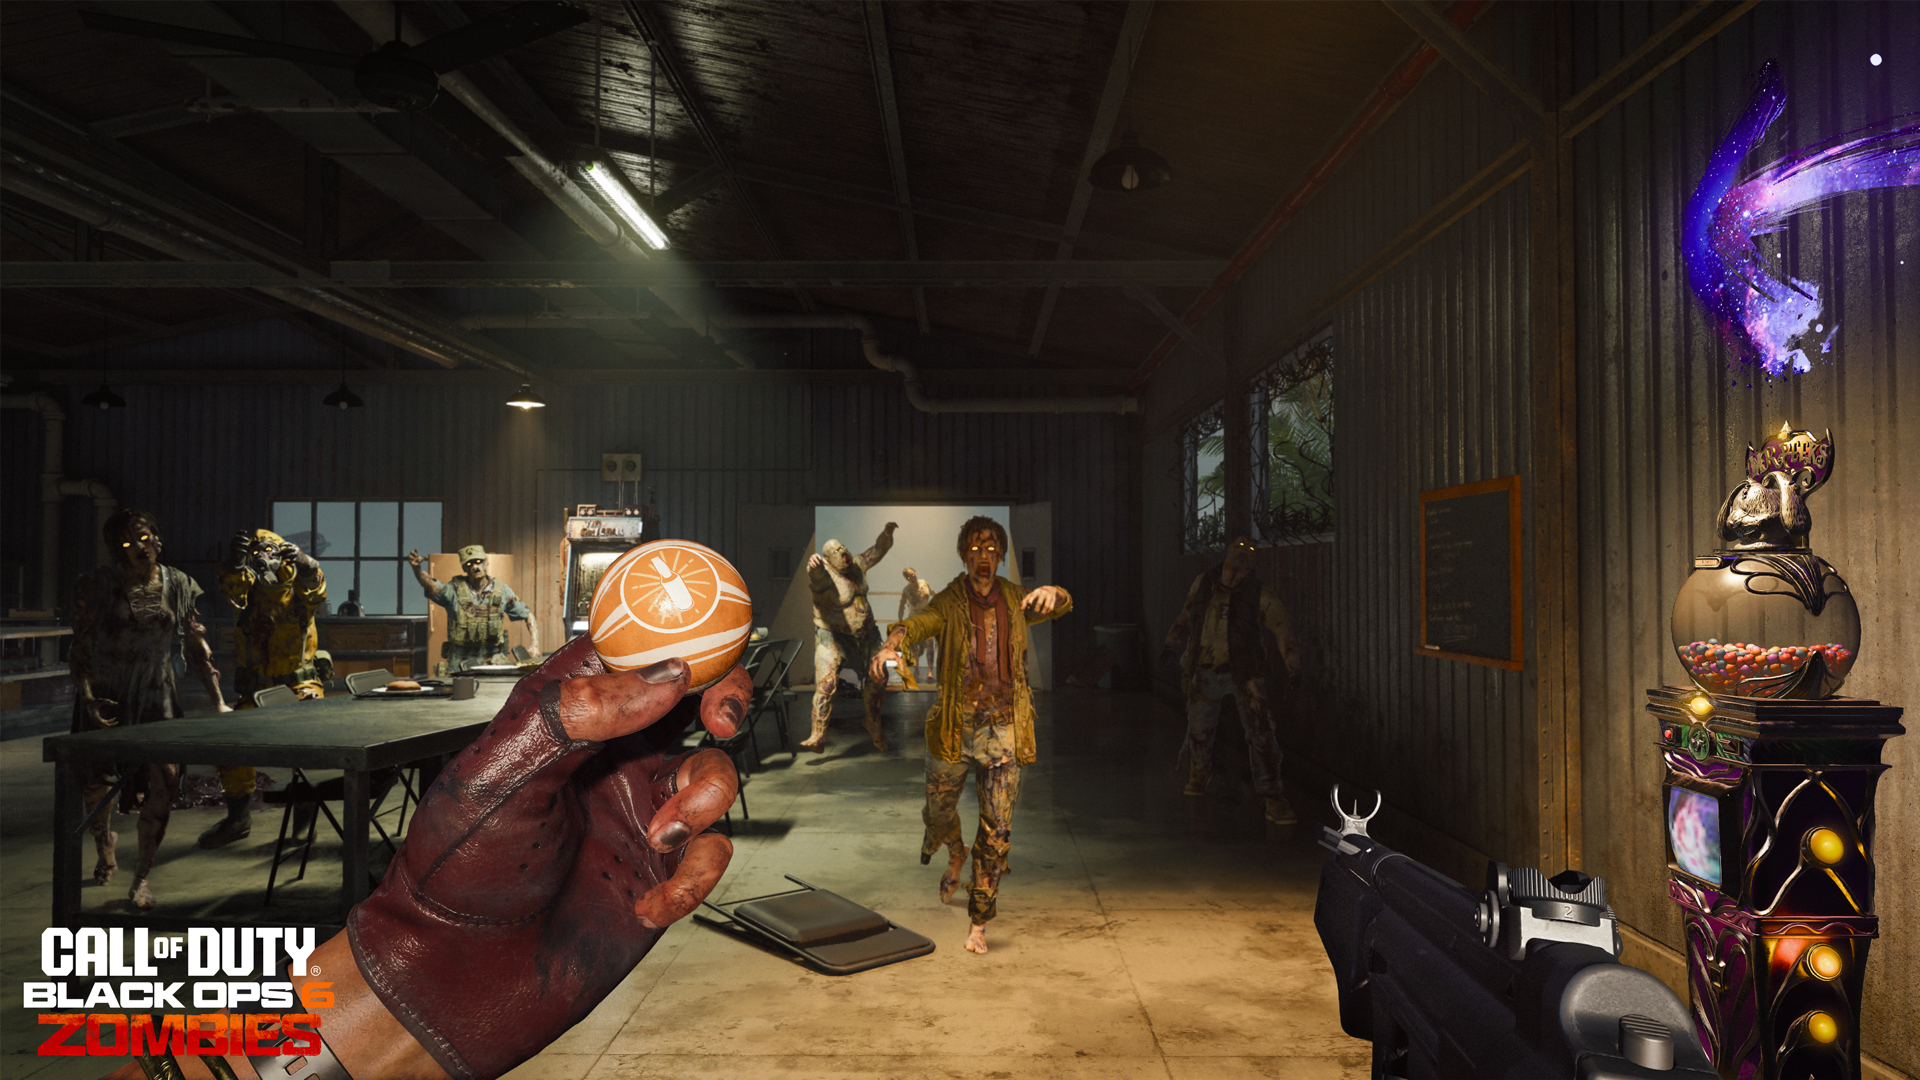
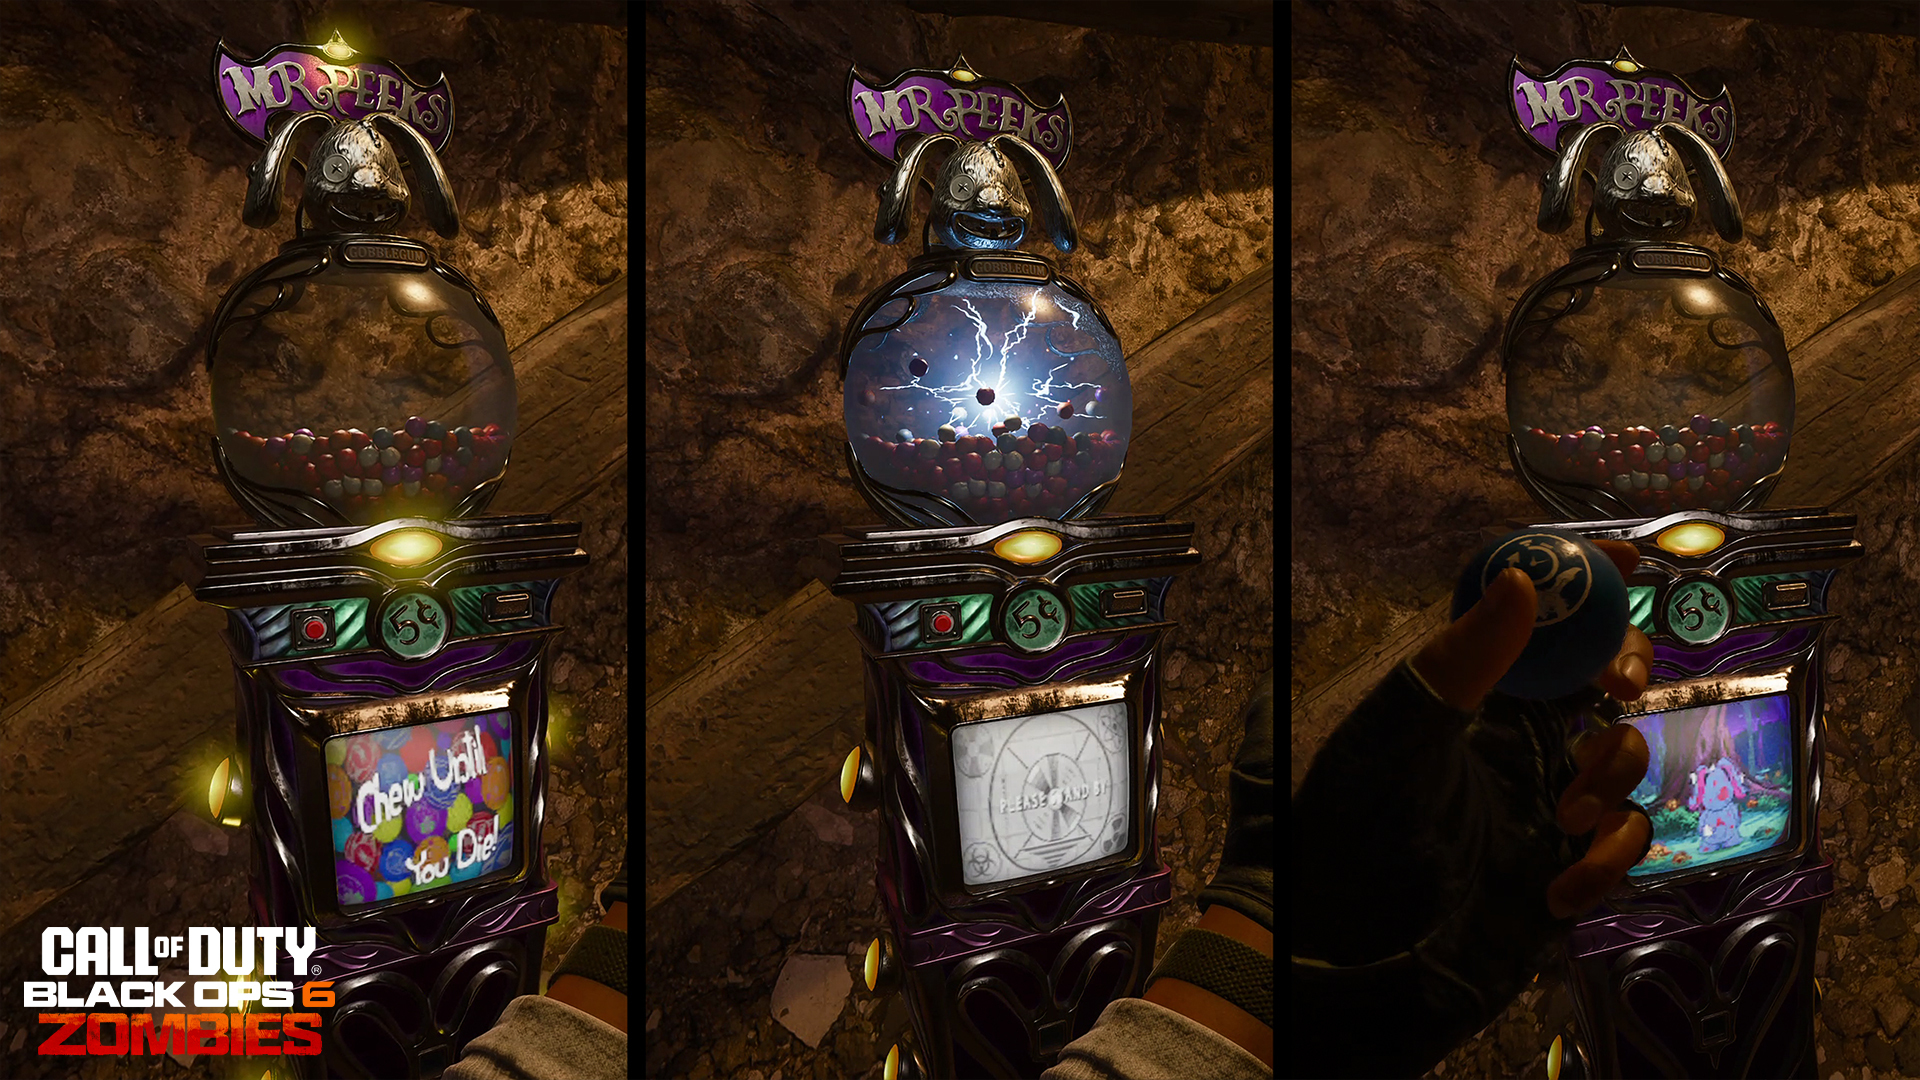 Mr. Peeks is only too happy to provide you with an in-game confectionary machine from which to extricate your gobstopper. Simply interact with it (no Essence required!) and a GobbleGum is randomly dropped, ready for pickup. The machine then cools down on a timer or will be immediately reset on the next round. Grab the sweet, and then it’s added into your inventory and HUD. You can store up to three unique GobbleGums at once, and use one, two, or all three of them at once as well. This may very well add many new dimensions to combat as these GobbleGum effects interact with your fellow teammates and other augmentations and powerups….
[b]Further Improvements[/b]
Mr. Peeks is only too happy to provide you with an in-game confectionary machine from which to extricate your gobstopper. Simply interact with it (no Essence required!) and a GobbleGum is randomly dropped, ready for pickup. The machine then cools down on a timer or will be immediately reset on the next round. Grab the sweet, and then it’s added into your inventory and HUD. You can store up to three unique GobbleGums at once, and use one, two, or all three of them at once as well. This may very well add many new dimensions to combat as these GobbleGum effects interact with your fellow teammates and other augmentations and powerups….
[b]Further Improvements[/b]
- GobbleGums cannot be dropped or shared, but you can swap to a different GobbleGum Pack at any time during a match by using the in-game menu. Changing the pack will reset the randomized order of the new pack.
- New GobbleGums are earnable in game, simply for playing. Expect to earn one (or more!) random GobbleGums every few rounds. You’ll know when you’ve been awarded a new GobbleGum due to a reward sequence at the start of a subsequent Round.
- Any unused GobbleGums are kept between matches, and you won’t lose them if you happen to disconnect from a match.
